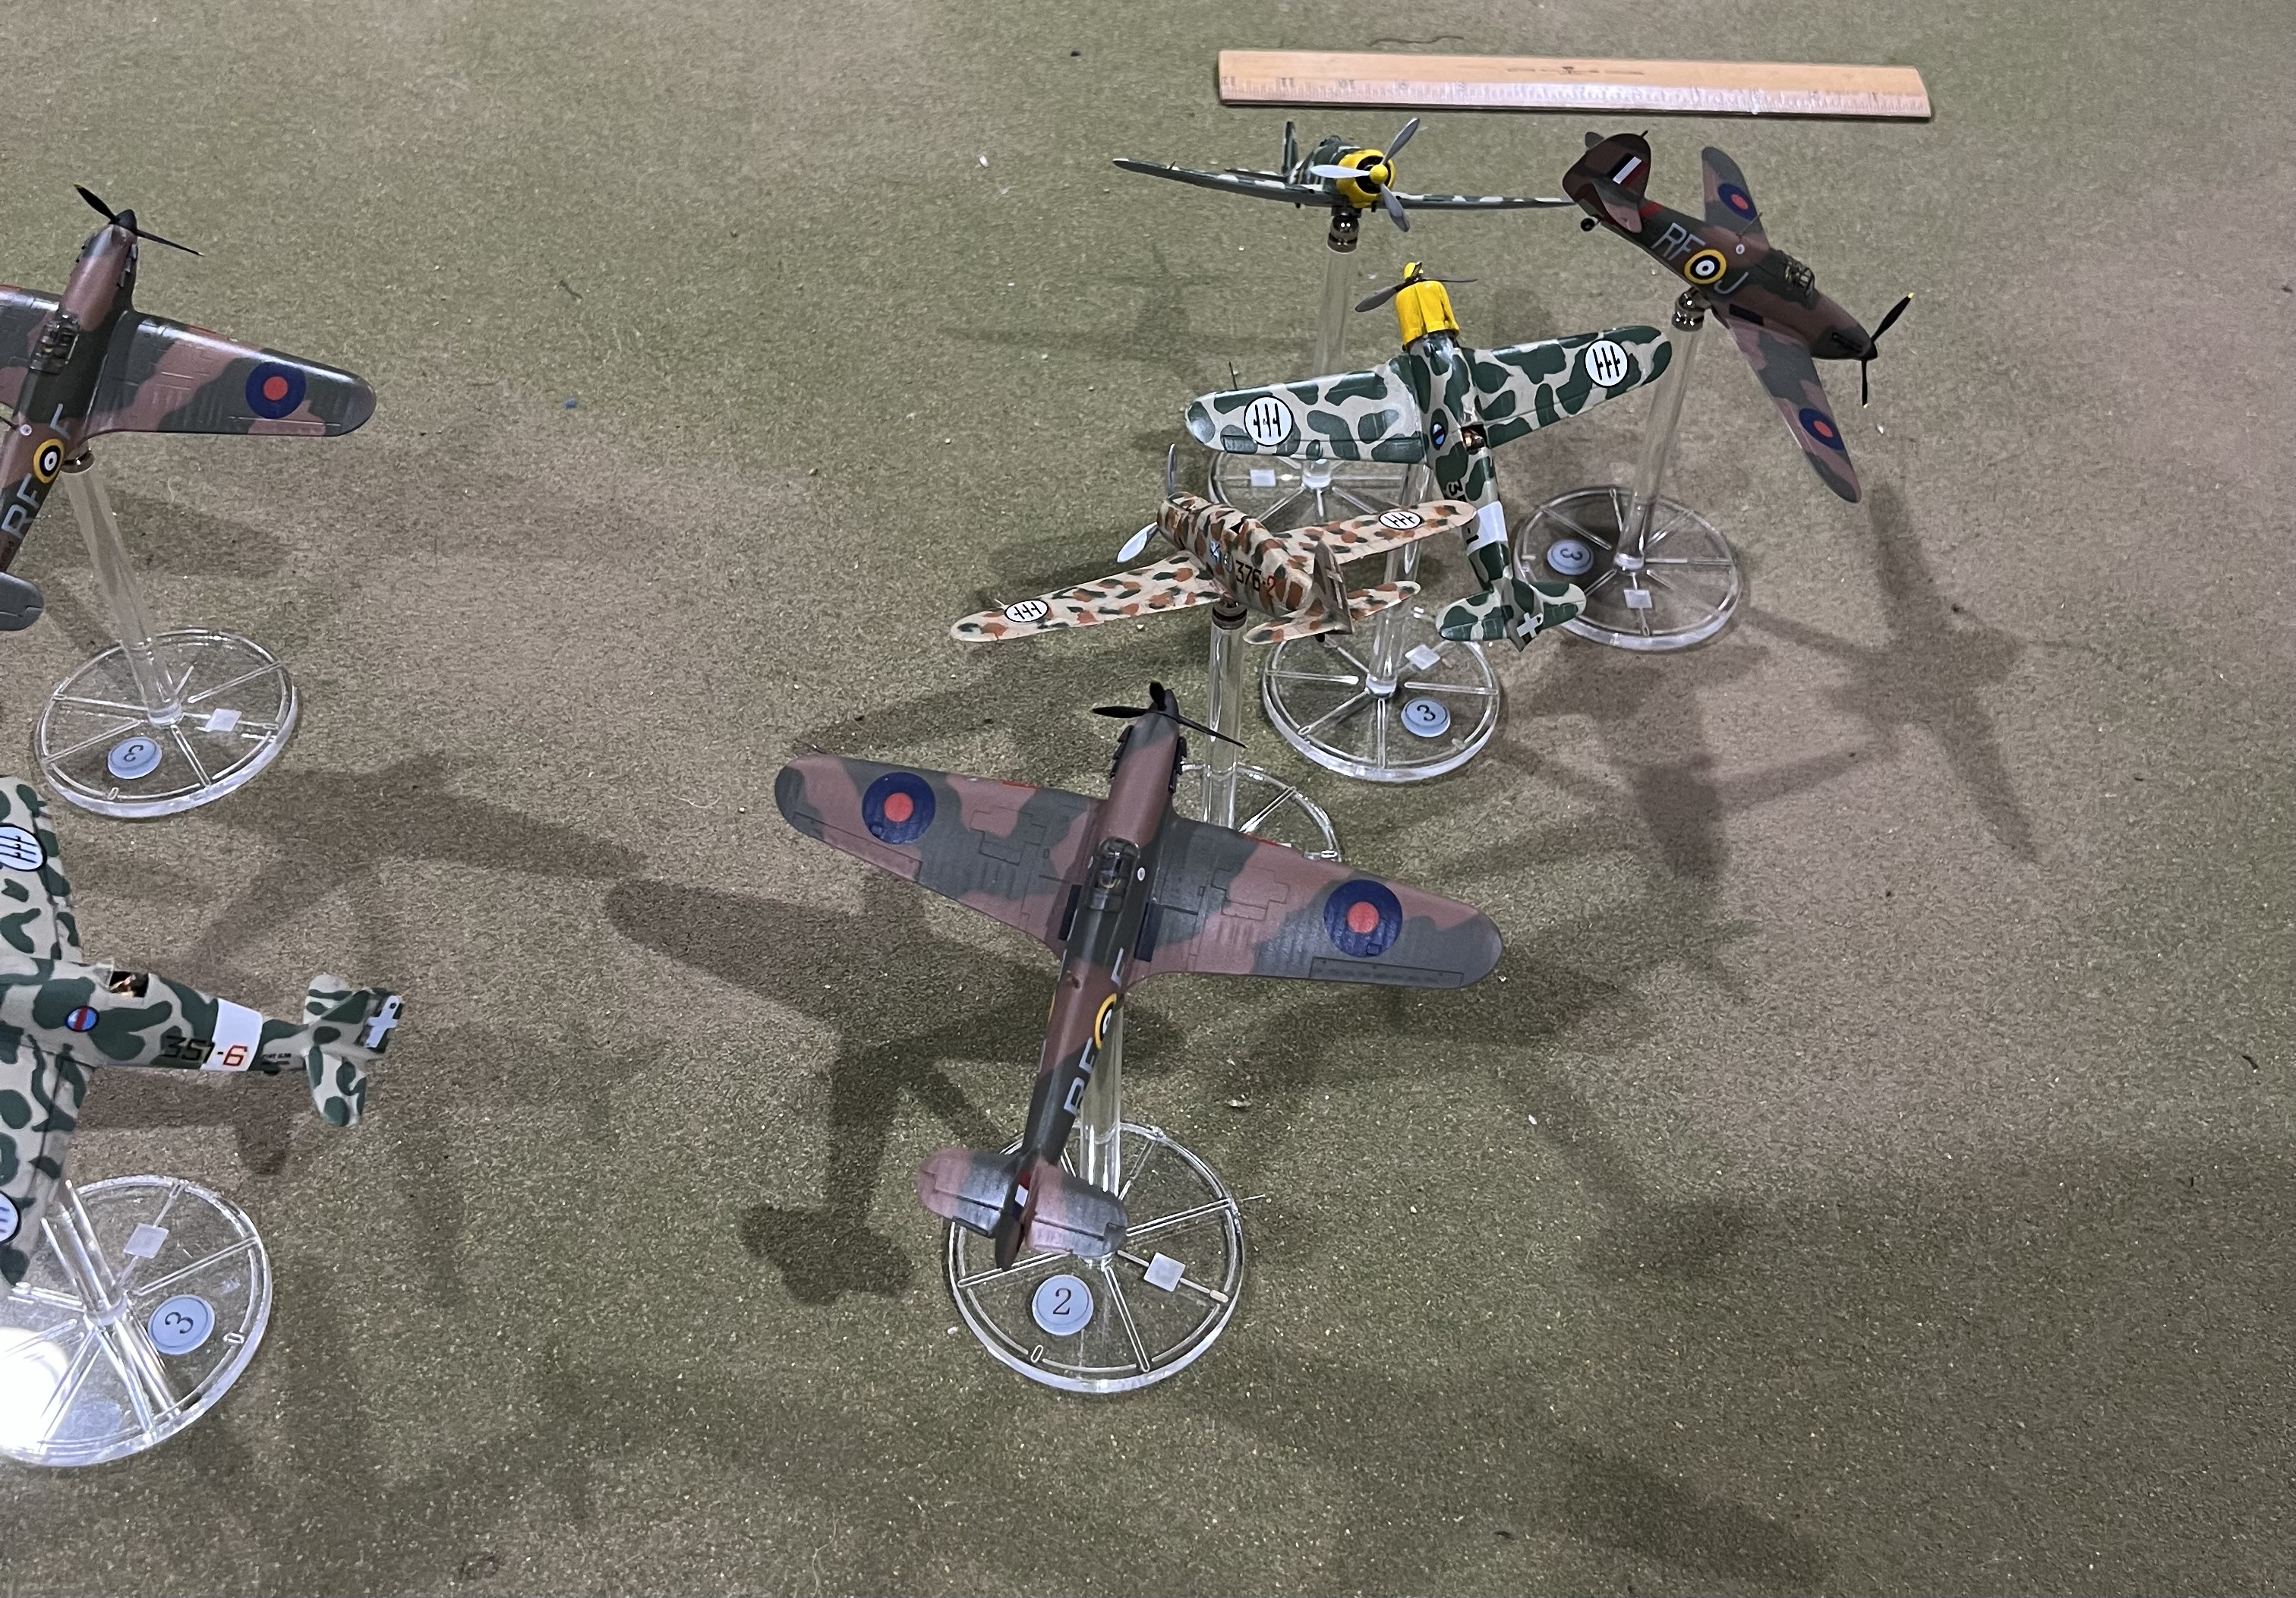
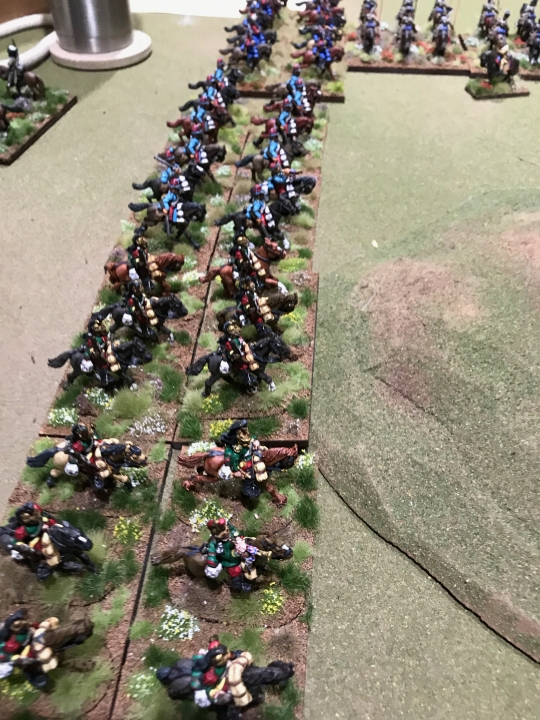
Some years ago, a regular opponent of mine, whom we shall call P, for internets privacy reasons, played Blood Red Skies a few times. We both found it a very satisfactory air combat game. However, we were not thrilled with the models. P is a modeler of some skill, and I was willing to have a go. So we decided to try it with 1/72 aircraft.
And then life and covid intervened. P made good progress on models, and flight stands, indeed, but I was much slower. I finally de digitated and made (very poorly) some Italian aircraft, as P had addressed the RAF/Luftwaffe.
This was the recent result.
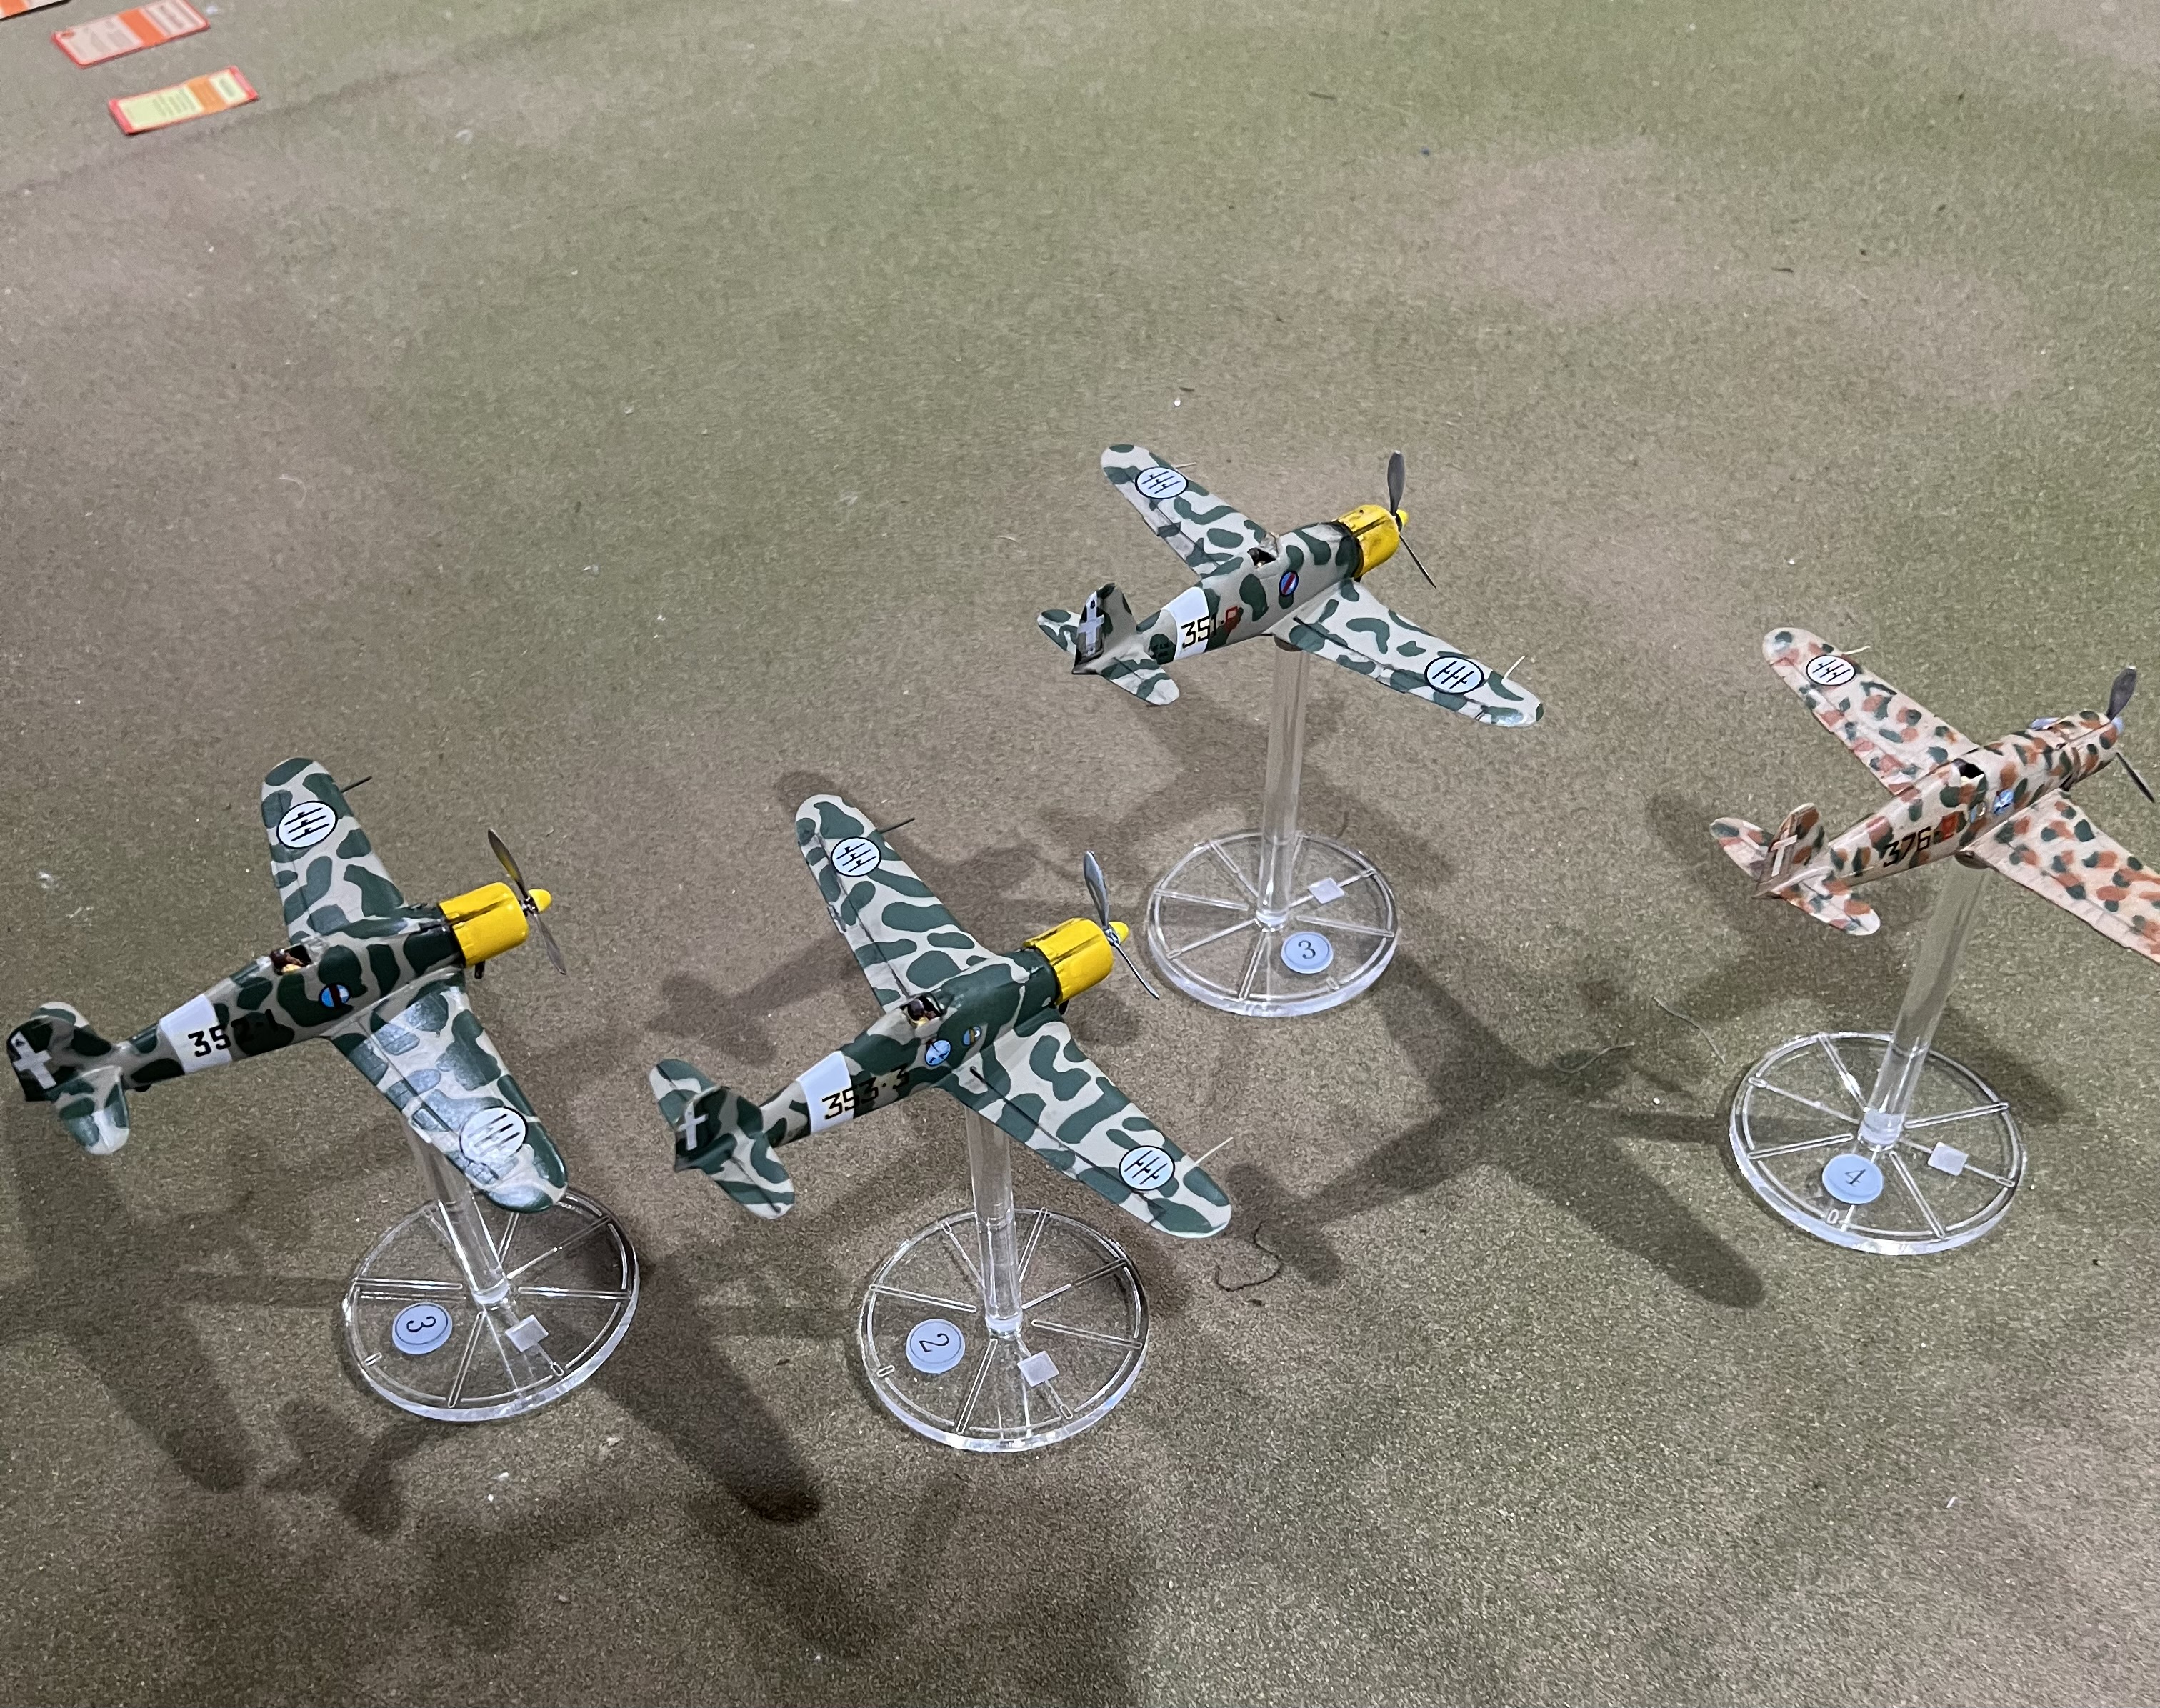
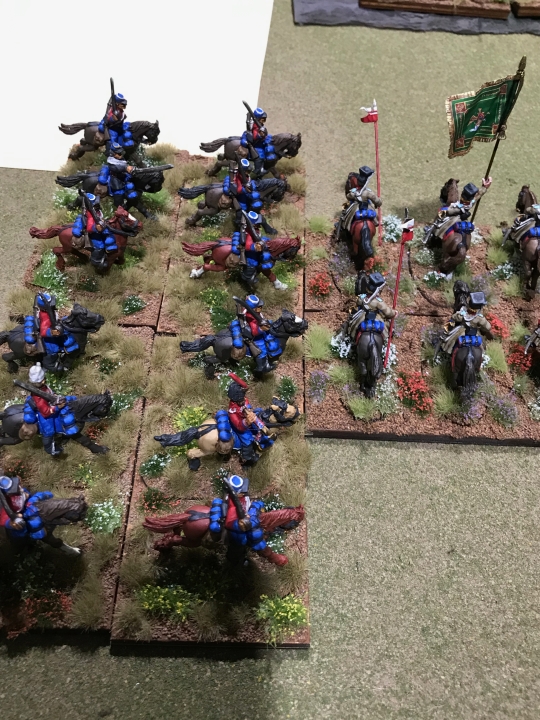
The Regia AeronauticaThe RAF
OK, first thing to note.. The RAF is wildly outpointed. But this was at Ps place, and he set it up. I did point out that he was going to have issues, but we just wanted to have a go, and get re-acquainted with the rules, so we went ahead.
I separated my two elements, in a futile attempt to gain advantage
I tried to separate to come in from 2 directions. The ‘Poor Quality’ card resulted in us not starting that well, and some other card gave us a boom chit.
The better pilots go in head on
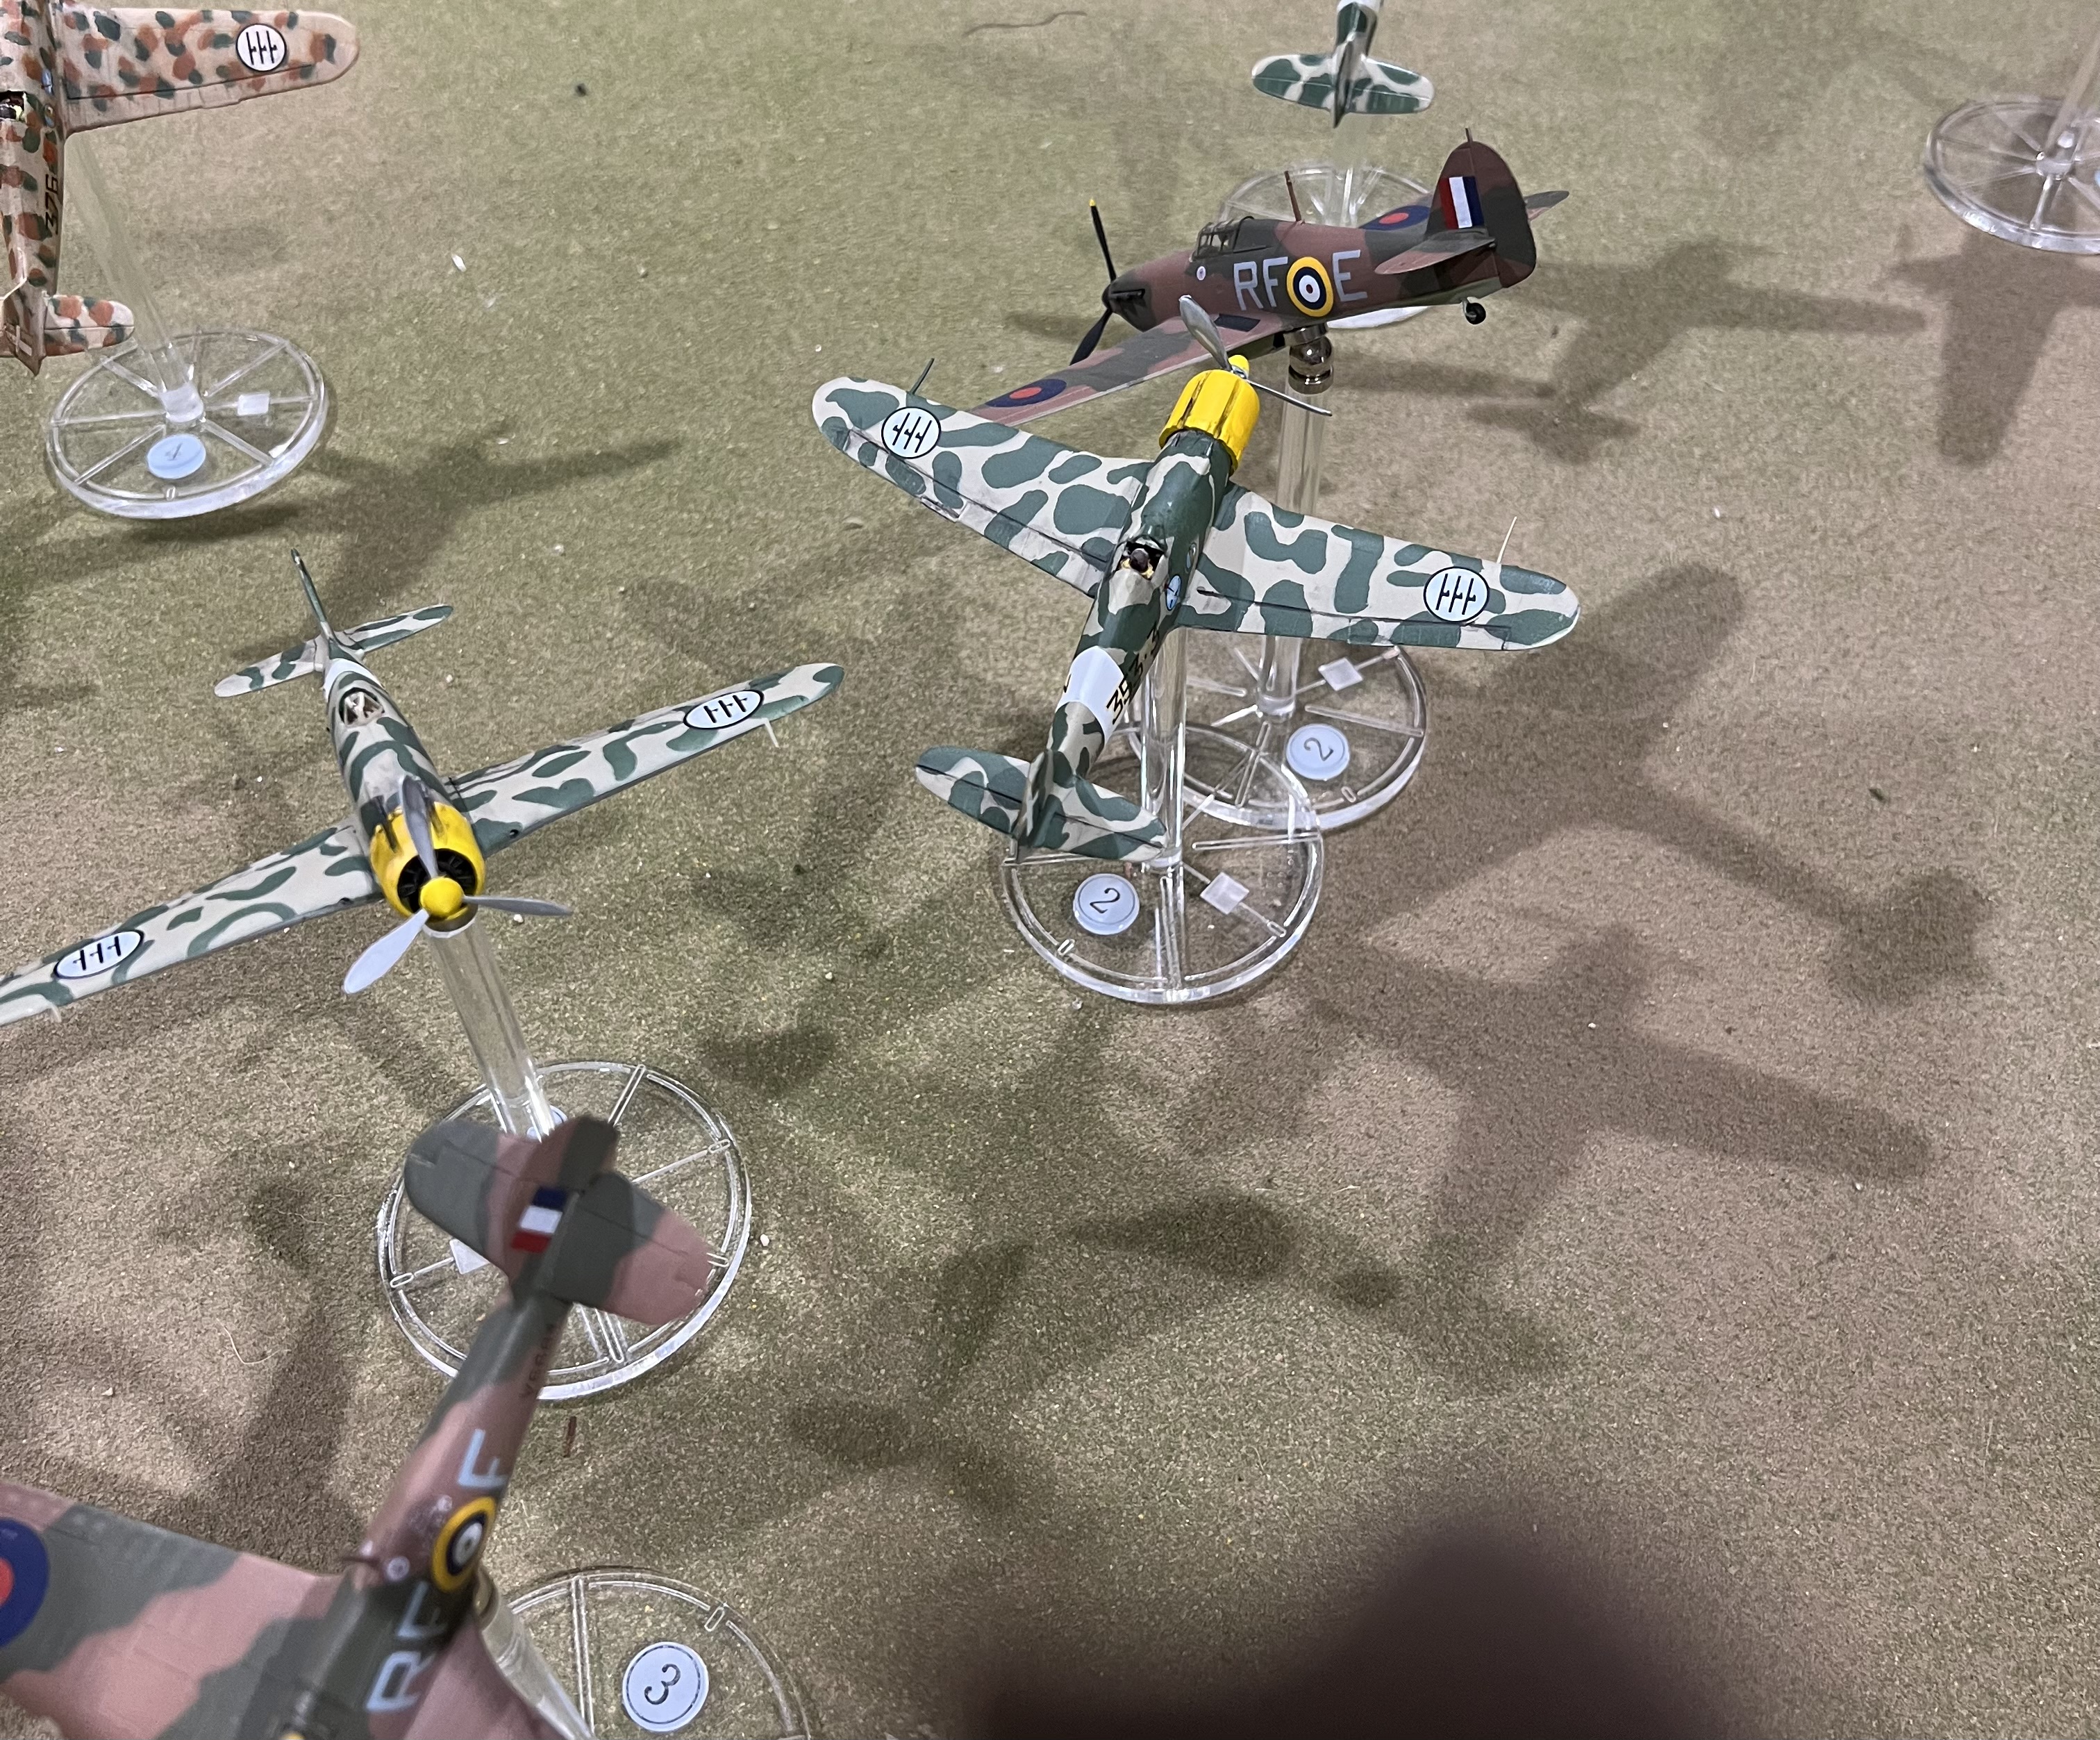
My more skilled guys tried to go head on, while the other lads tried to creep around behind.
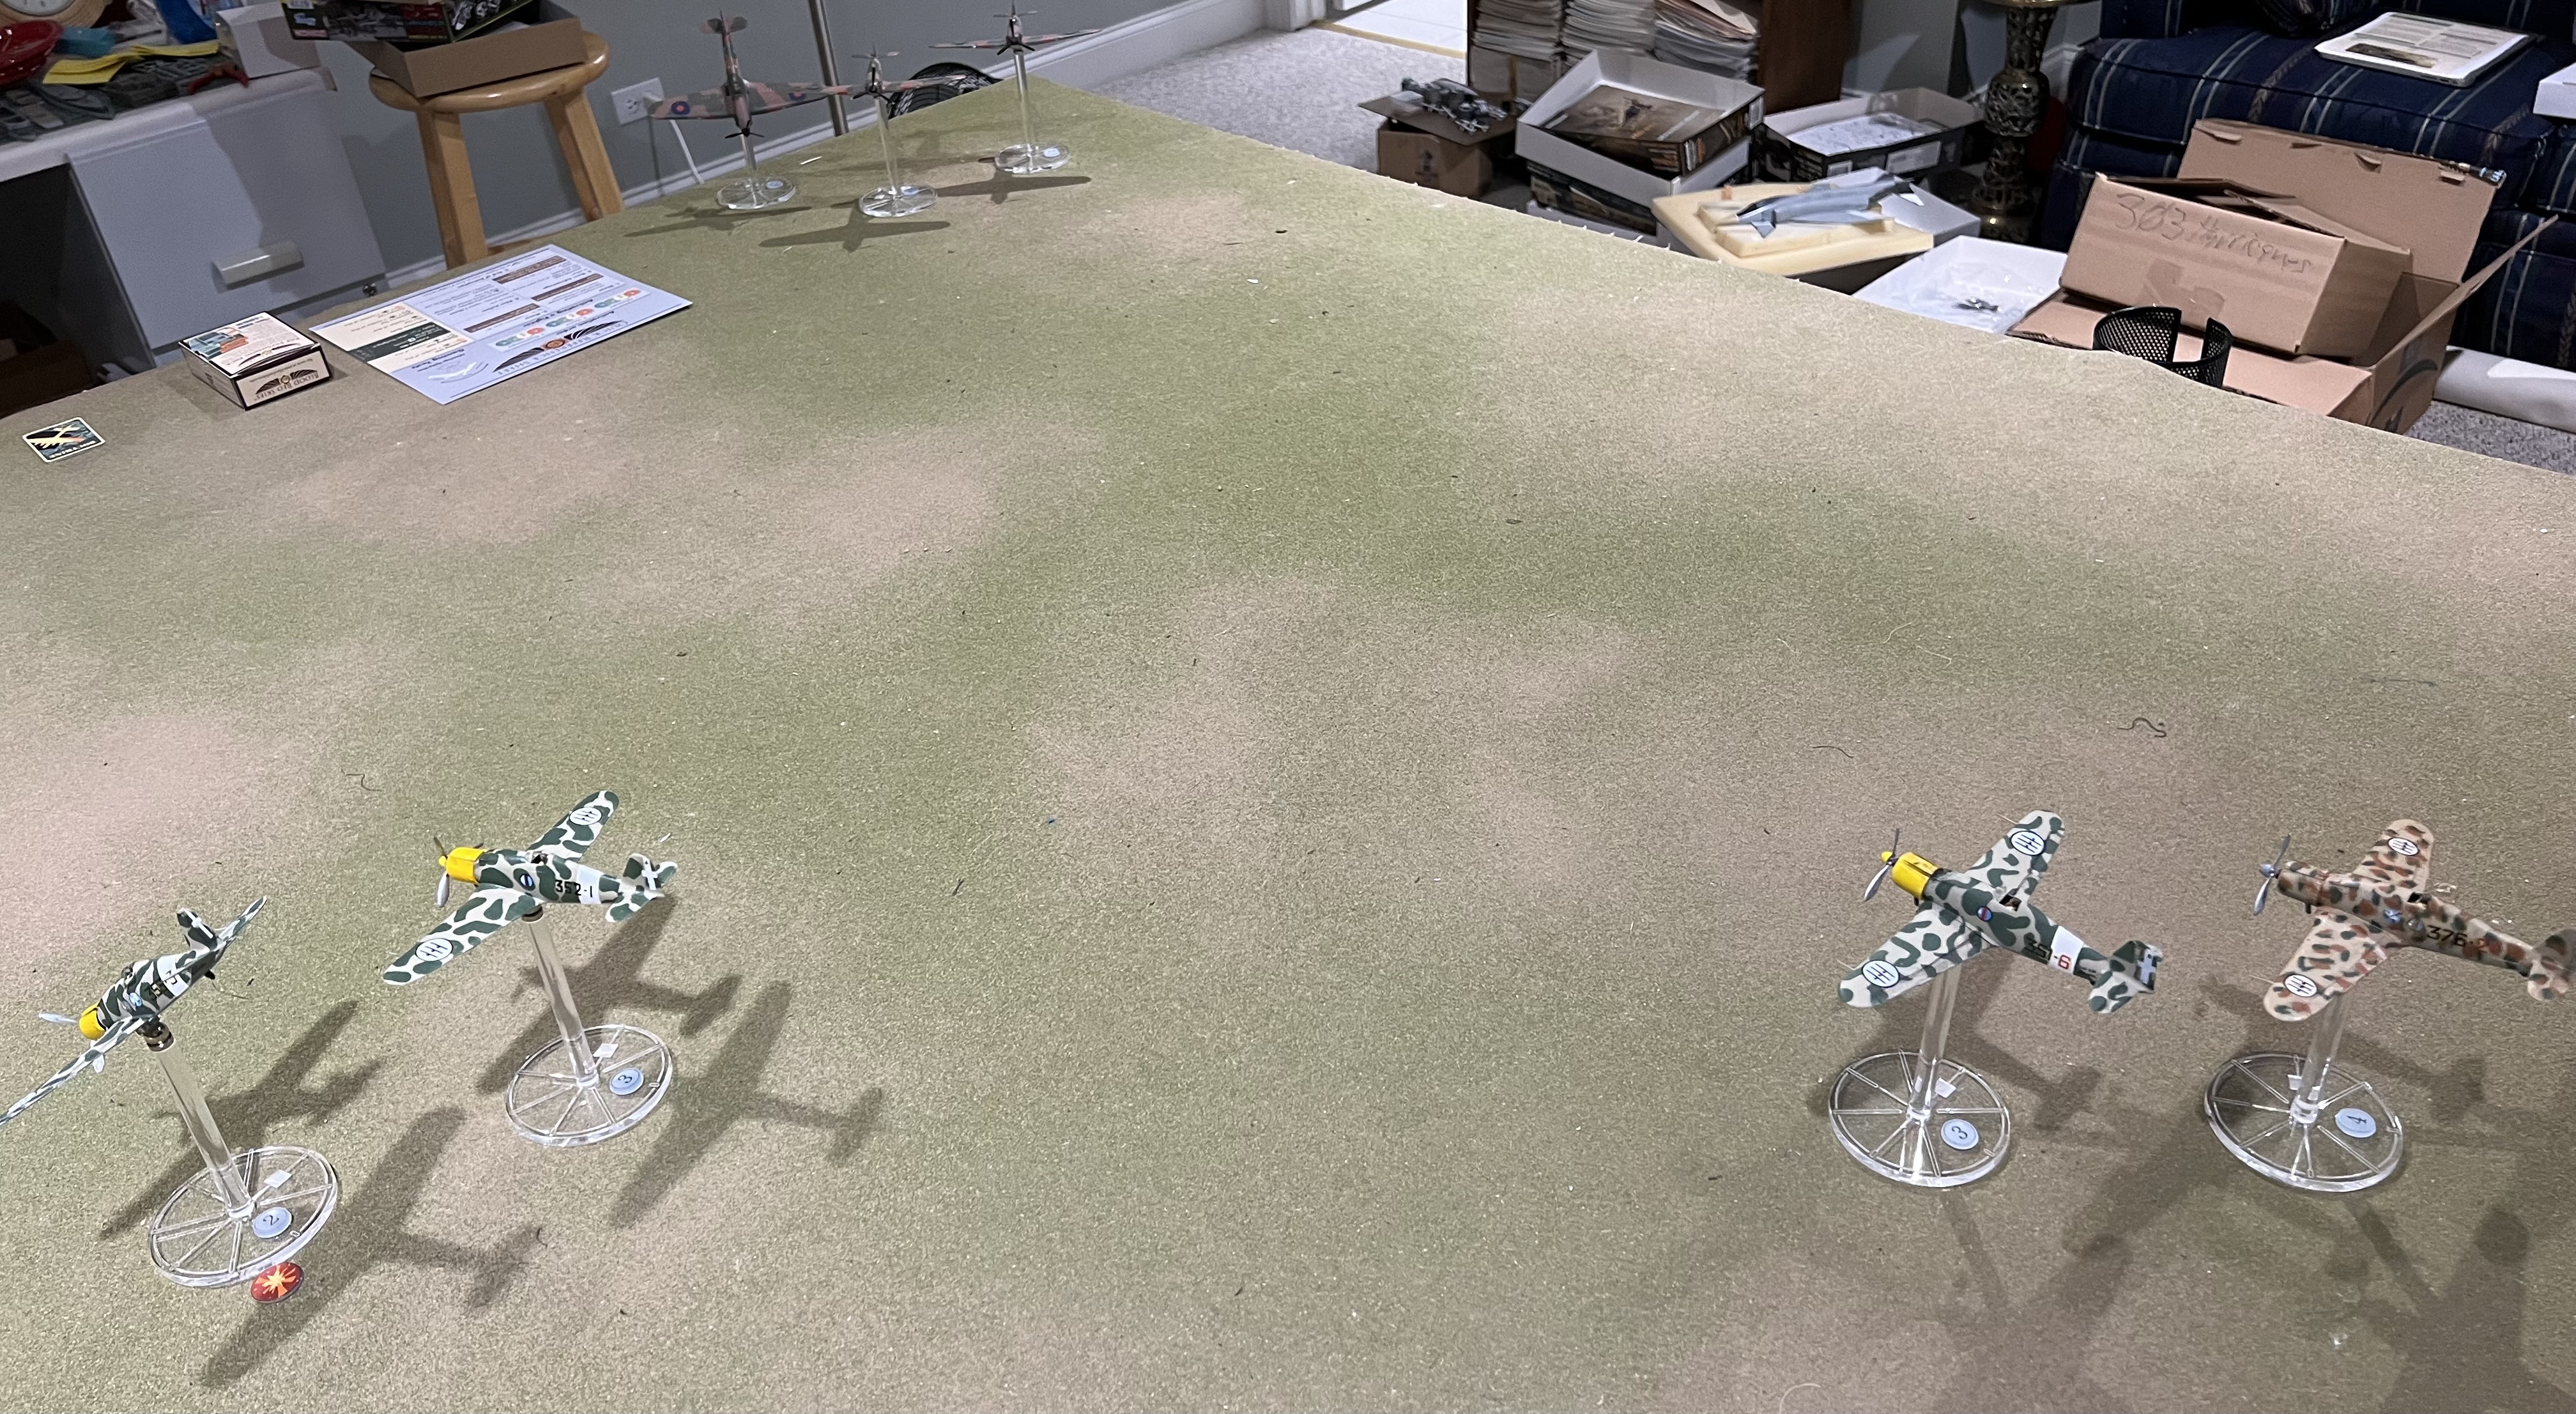
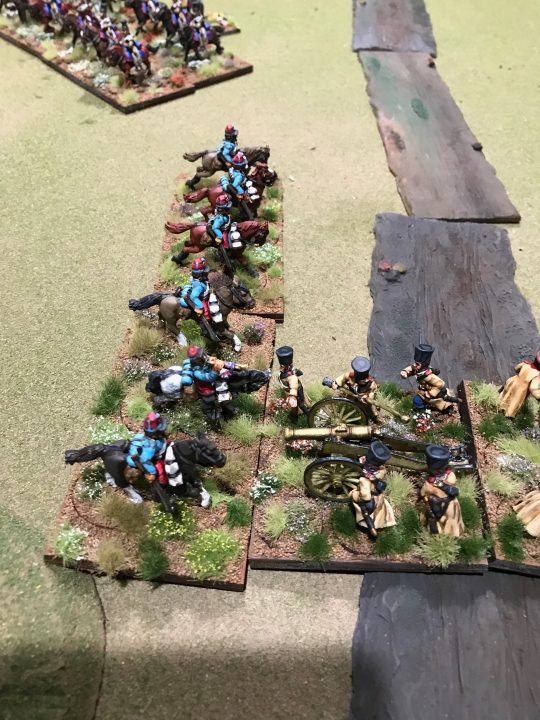
Merge. I thought I was doing not terribly at this stage, though was concerned about the rear of my lead element
Nothing much happening. No successful shooting, but I’m getting forced ‘down’. It was at this stage we realised we were doing the move order wrong; we were doing it by advantage state within pilot skill; we would have been doing it as Pilot skill within advantage state. Oh well.
This still looks ok, but my lead pilot is in a questionable spot
My second element is coming in, but the first is in the furball, and not in great position.
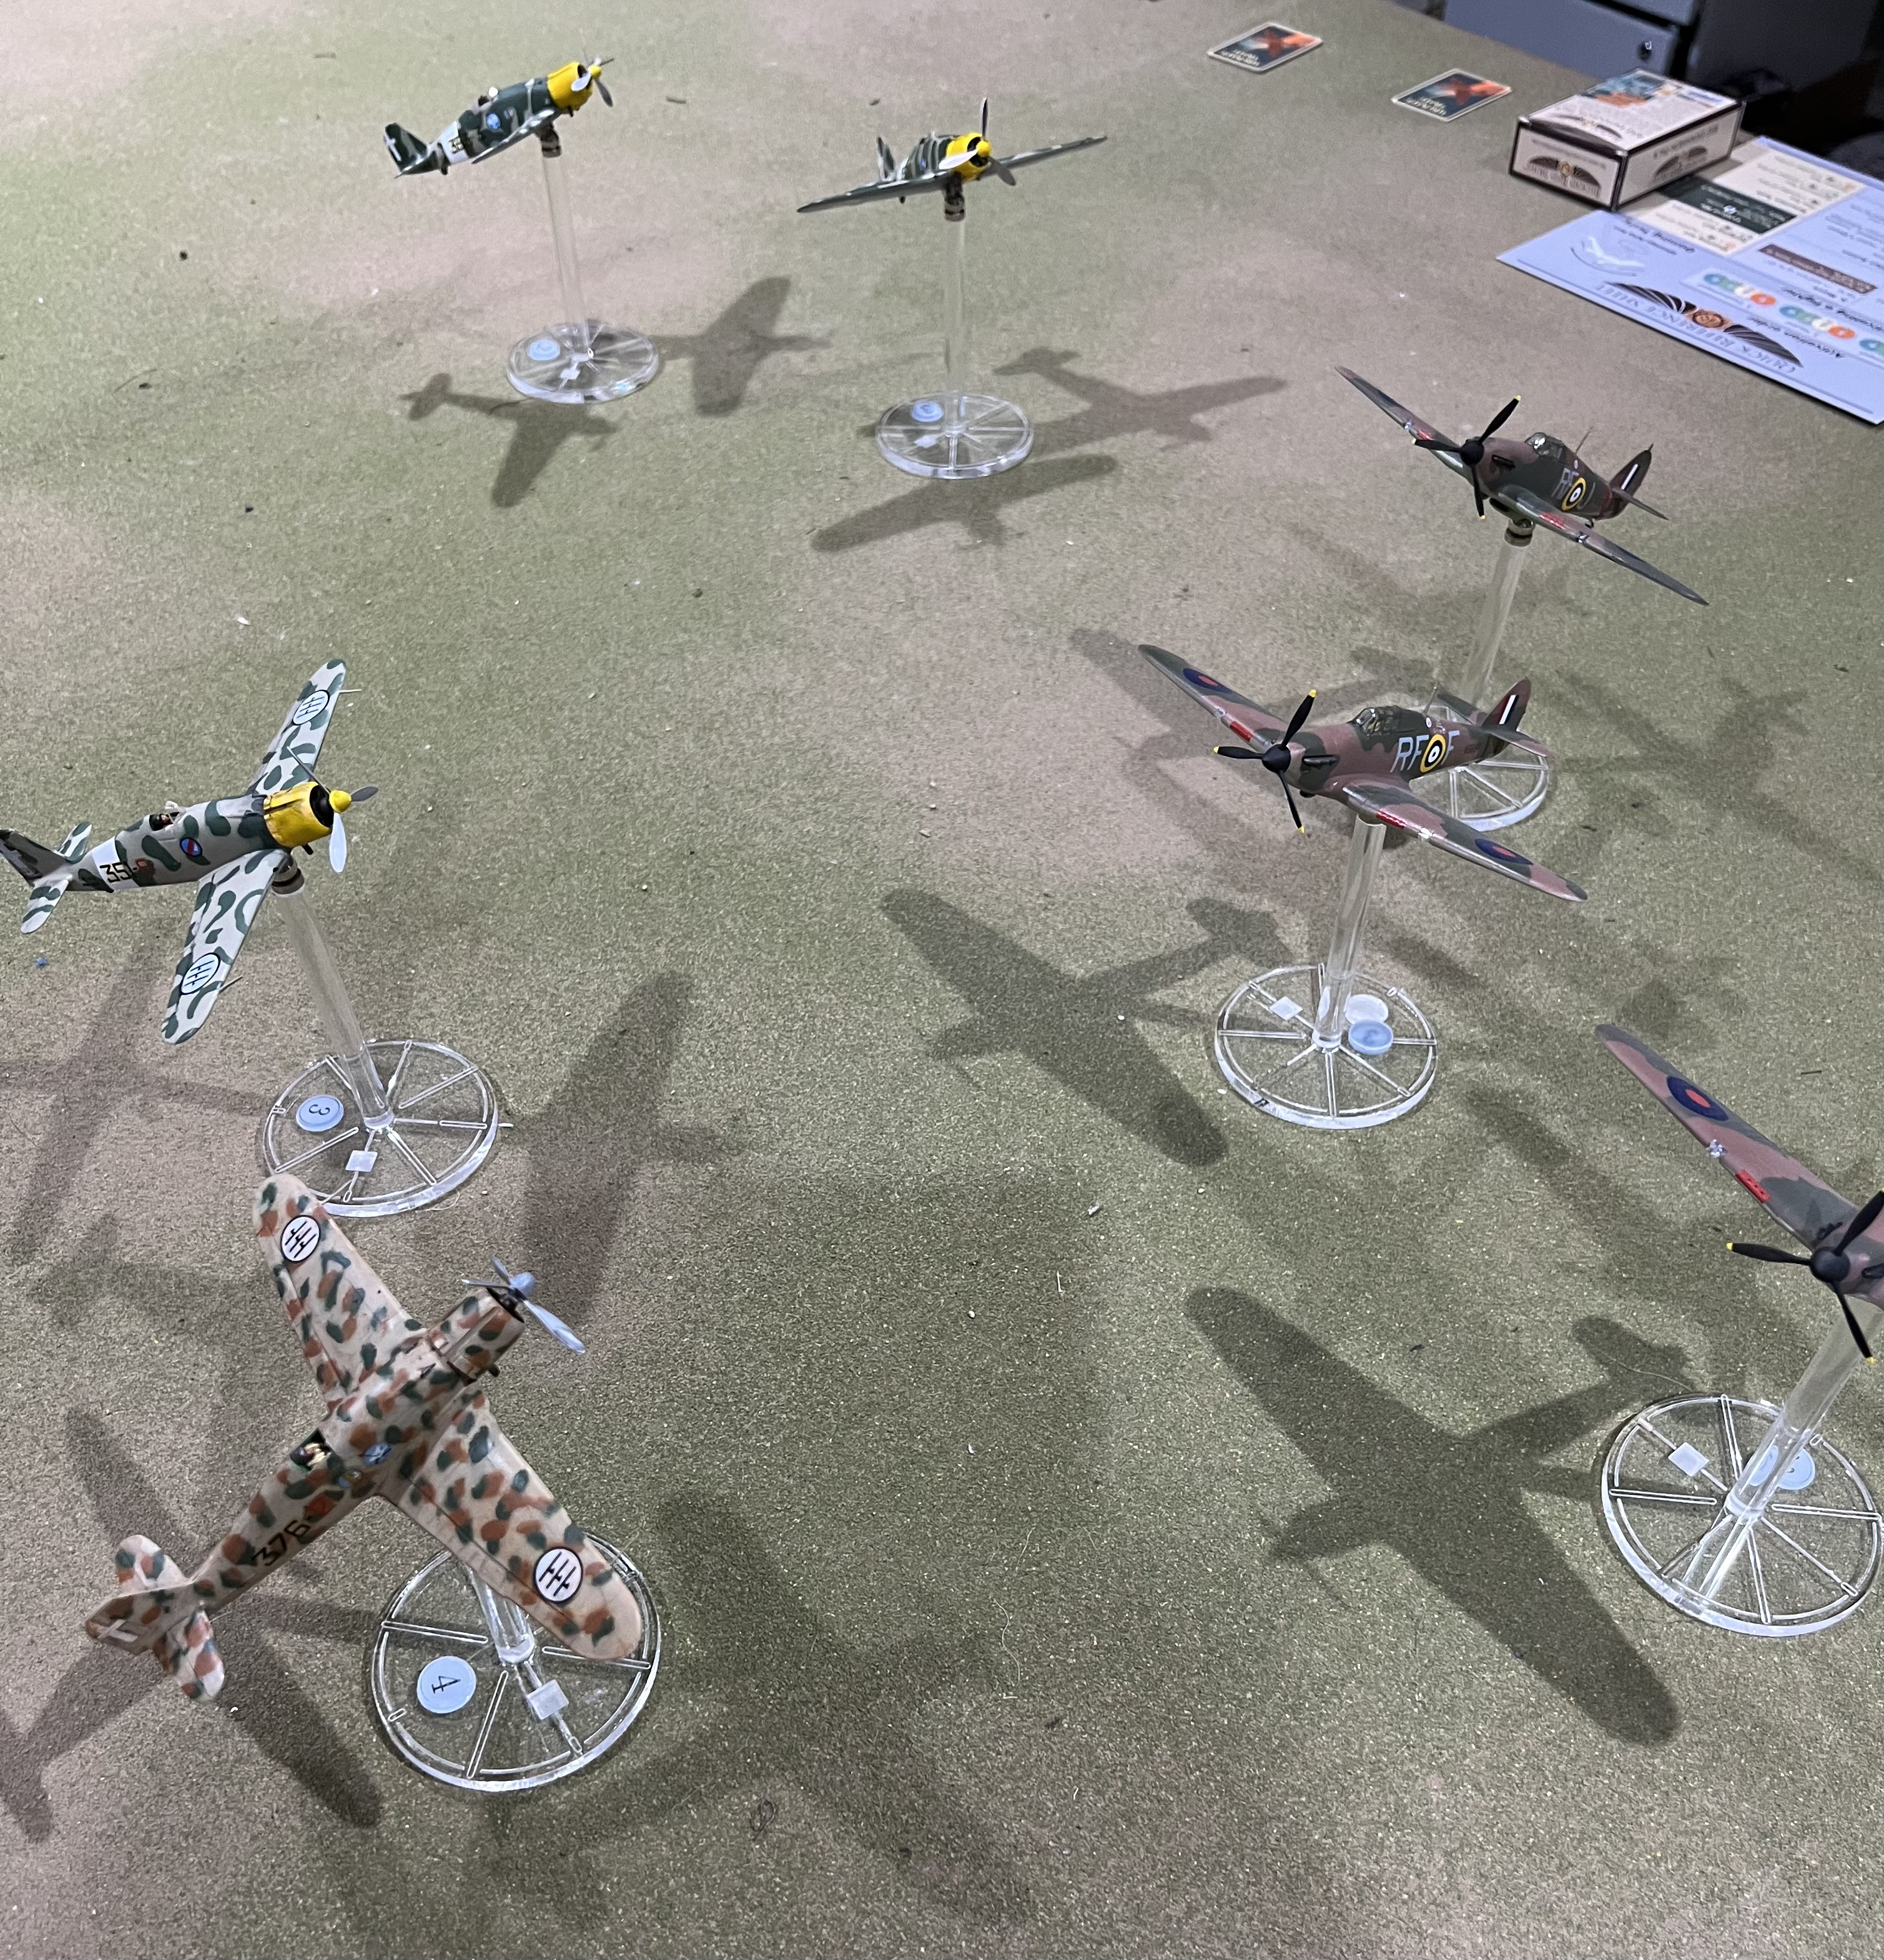
Yep. Hurricanes all over me like white on rice. Risotto, presumably. However the hurricane on the right is also in difficulties
My lead plane is tailed. However P’s shooting dice deserted him, and the Capitano survives. That hurricane on the right is having problems also.
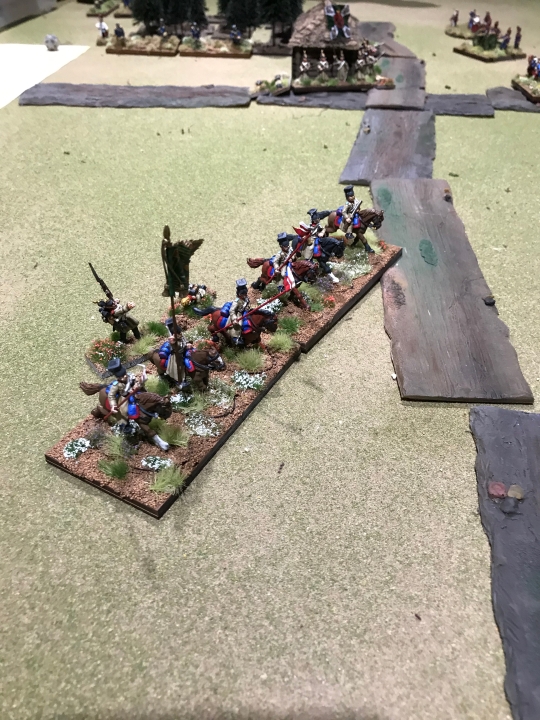
My lead pilot escaped, due to good die rolls. The Hurricanes lost the 2 skill pilot and withdrew, boom chitted out
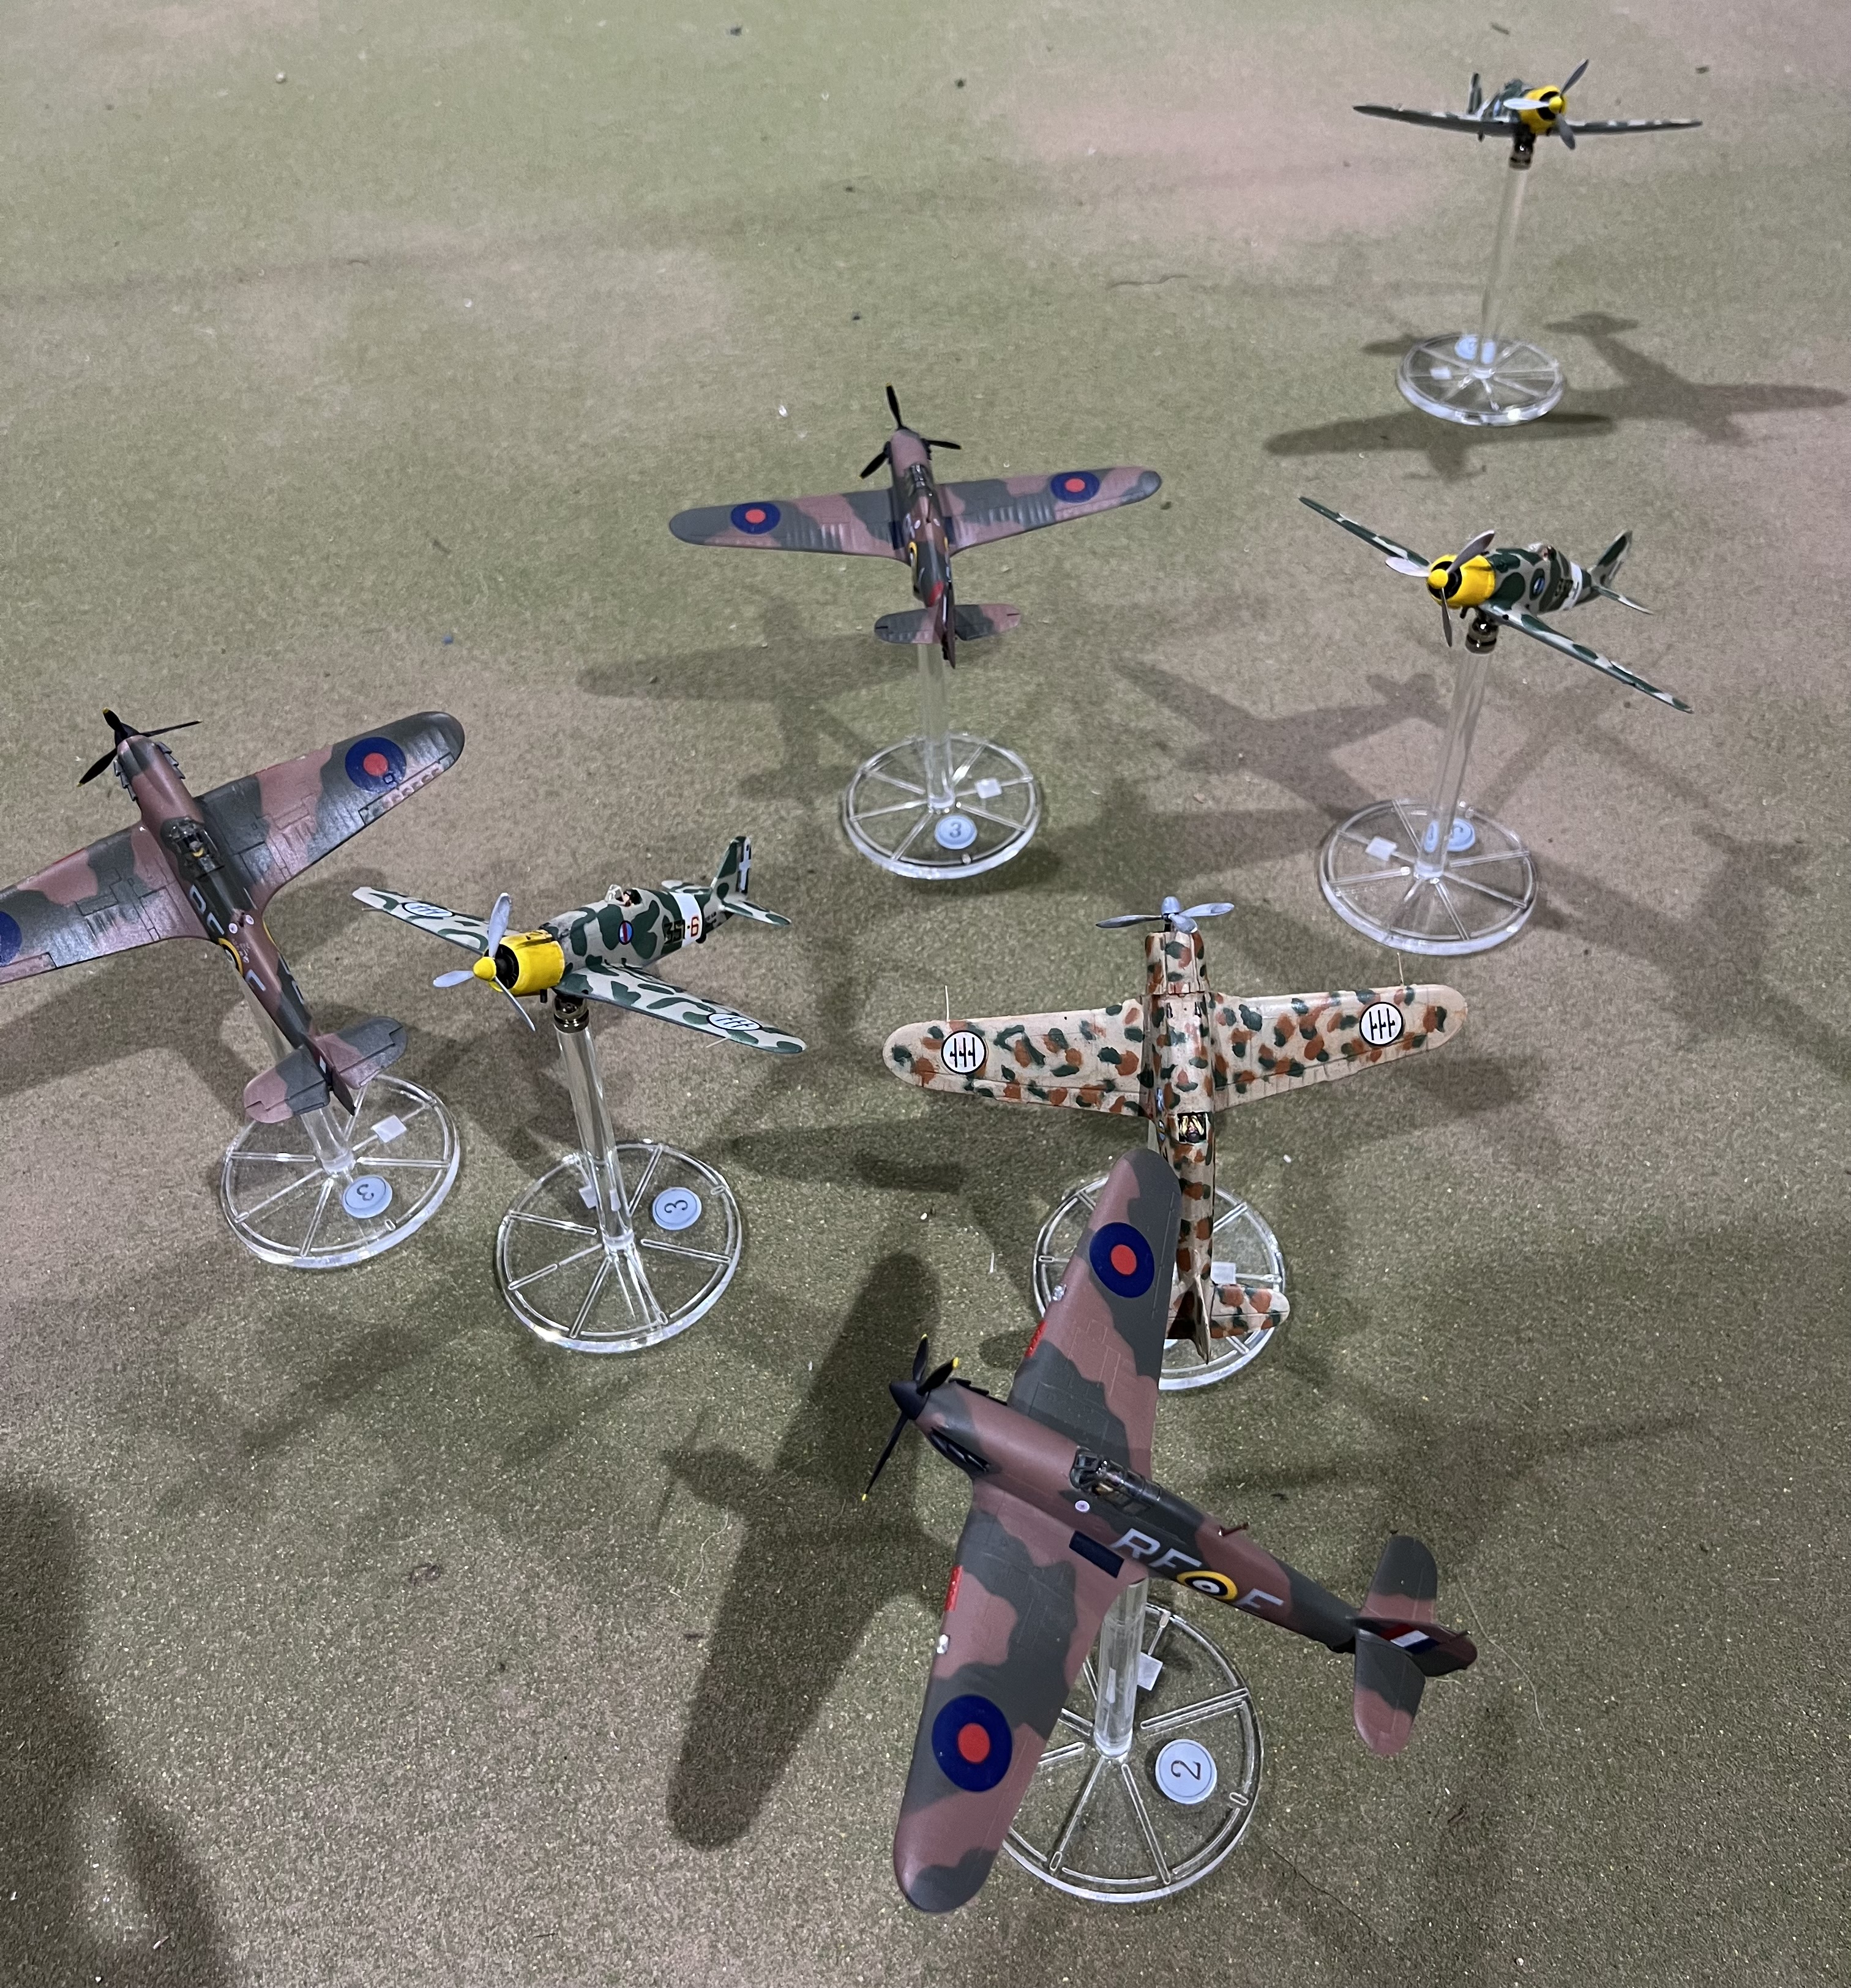
The unfortunate lad in the hurricane goes for a swim in the channel, and the other 2 RAF aircraft depart.
We thought to try a bomber scenario; unfortunately we didn’t read the scenario deployment rules thoroughly and….
Reading the scenario rules is important. The Blenheim will be based properly “soon”.
My guys turned up in high cover behind the bomber, and the escorts were out of position to prevent tailing, and shortly after, destruction. The lesson, boys and girls, is RTFM. Ask an old person to explain the abbreviation.
Lessons learned. Hum. We need to pay more attention to the designed table size, we were playing on too large an area. Having said that, we both thought that, due to playing in 1/72, we need to increase measurements by about 50%. We speculated that a 40mm ‘measurement unit’ would serve. Also, we both thought we would reduce aircraft numbers by 1/3; 6 going to 4, for instance. This would imply a reduction in hits on ground targets when we get that far.
All that having been said (written?) we had a good time, and are invigorated in the exercise.
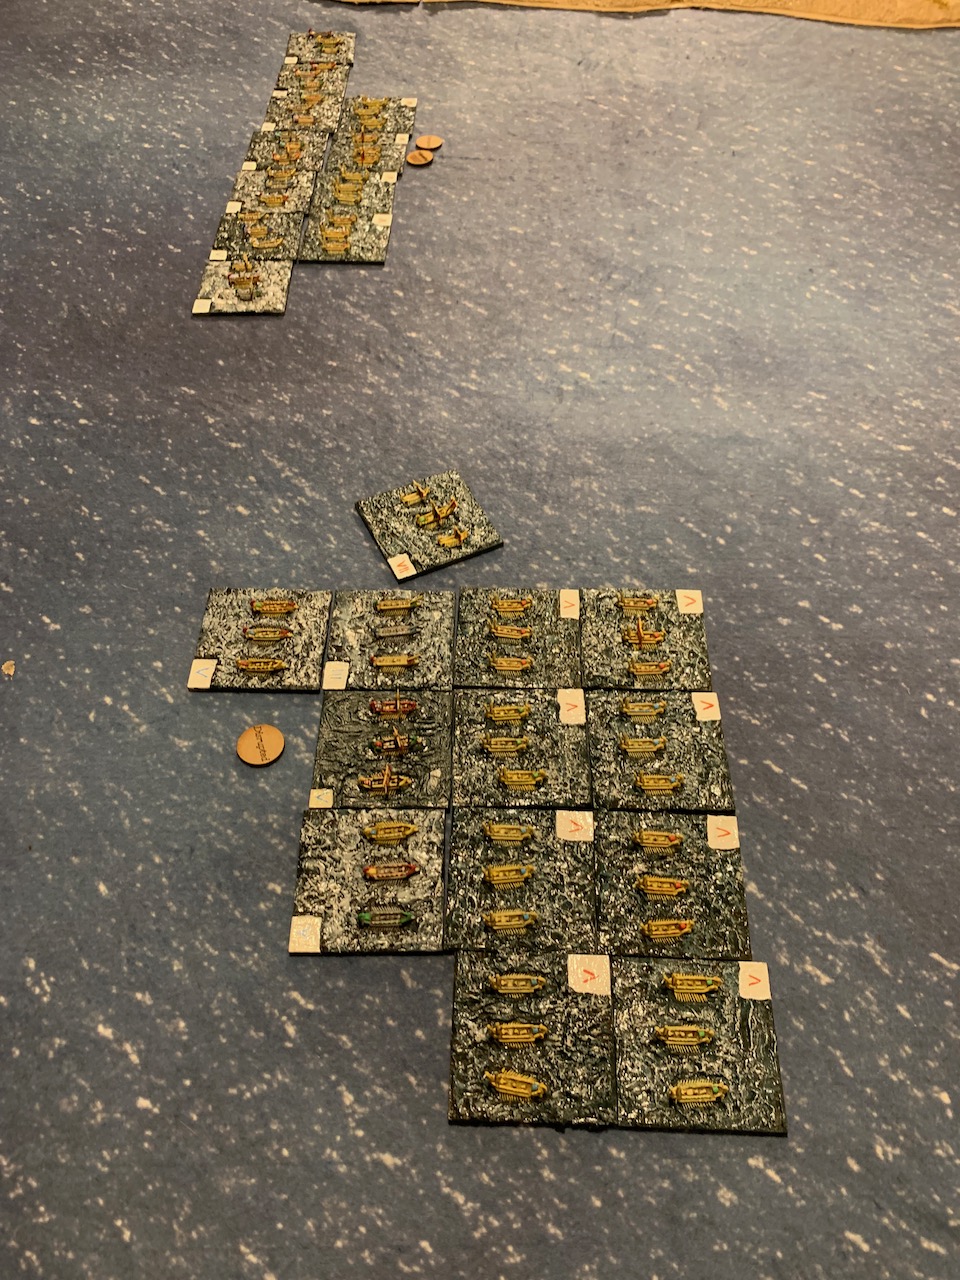
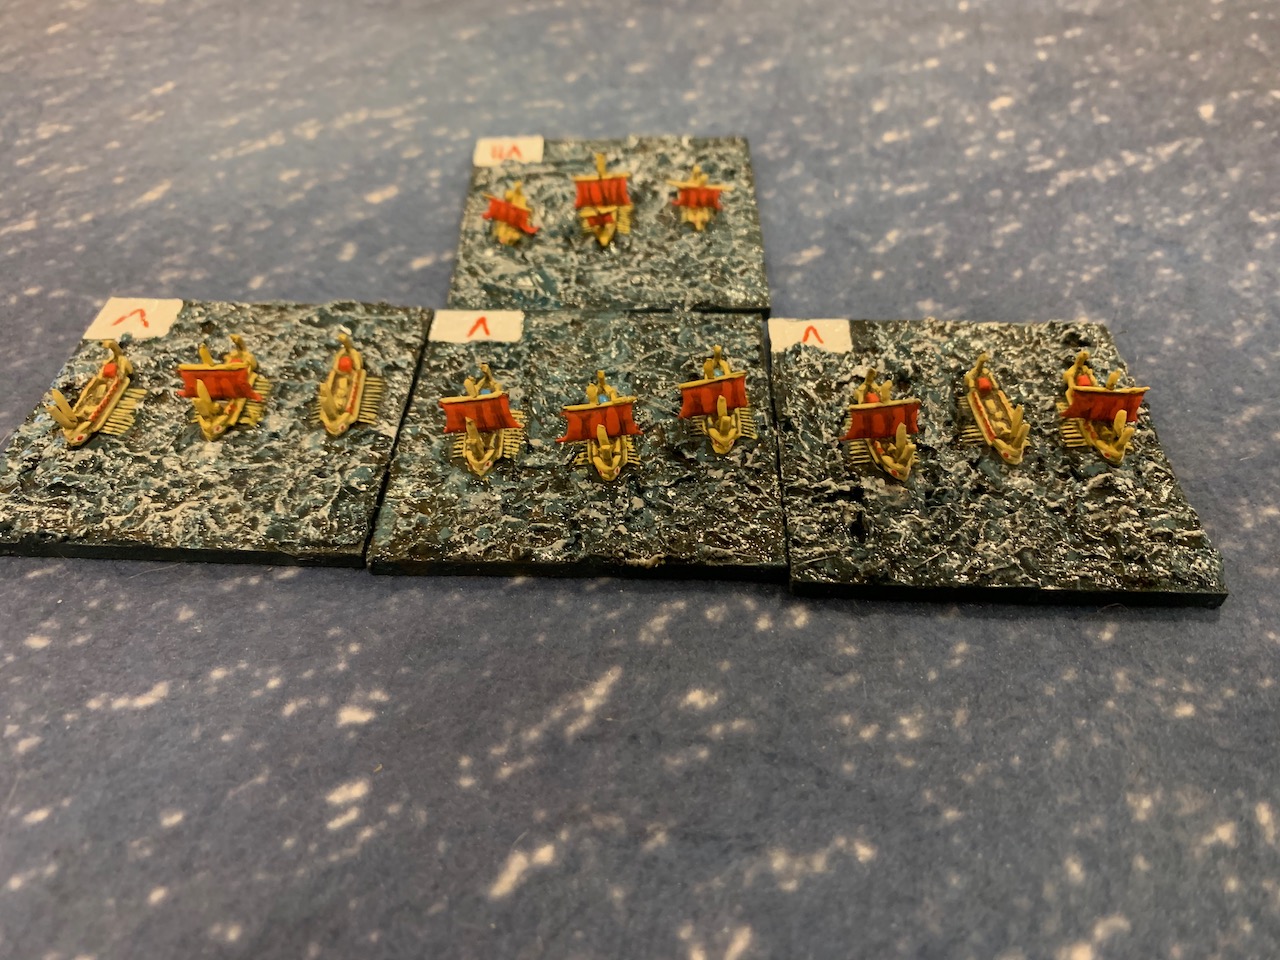
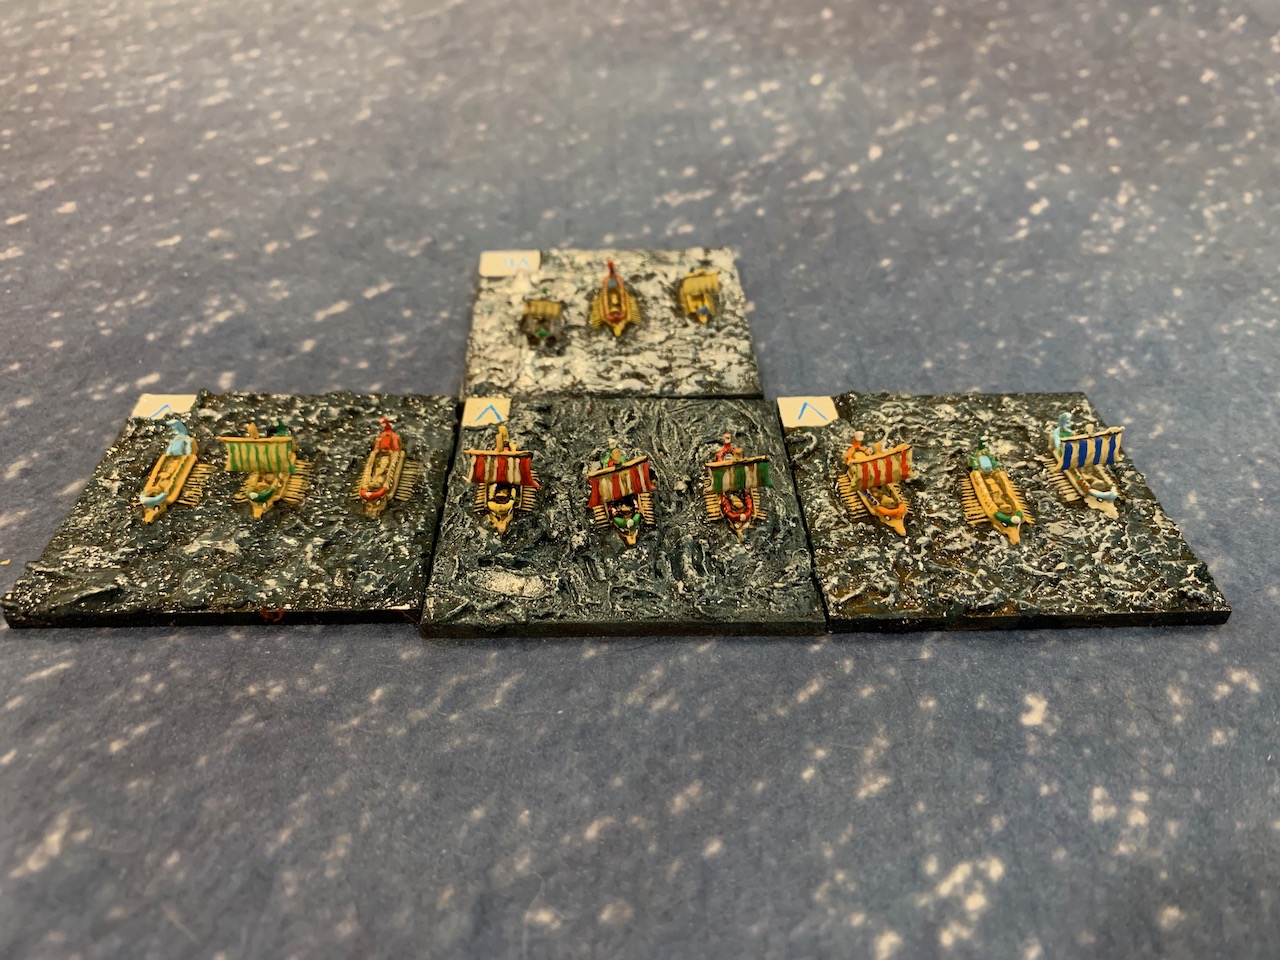
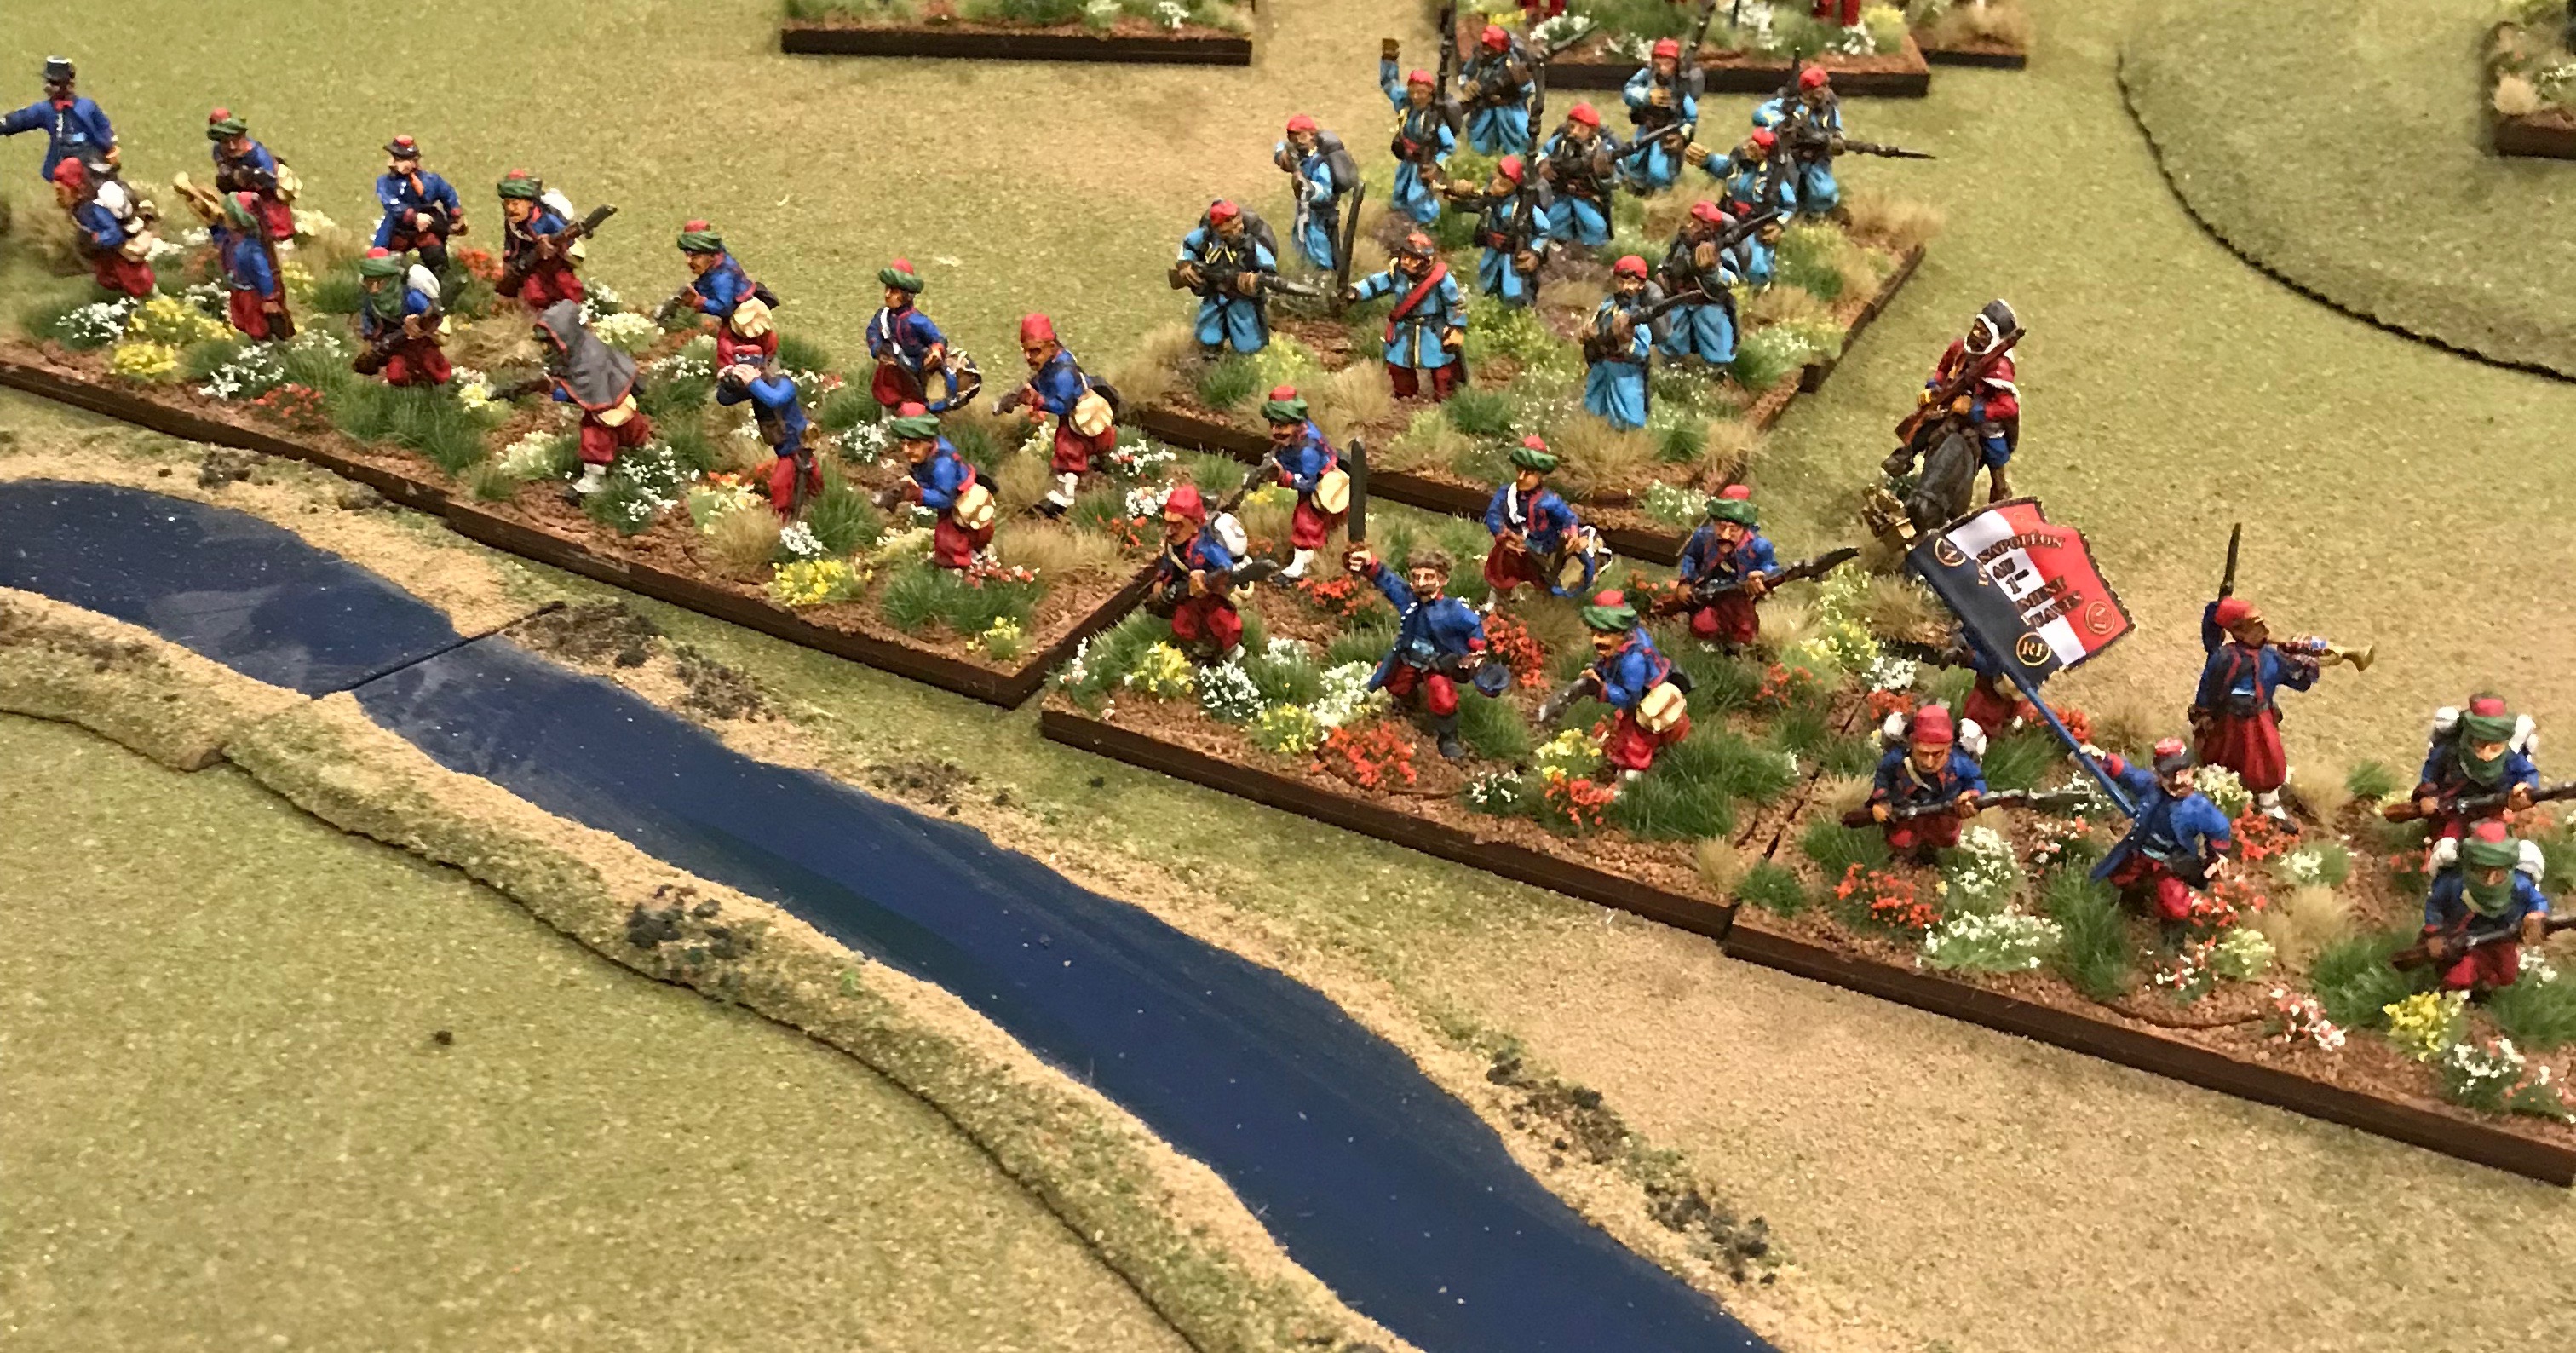
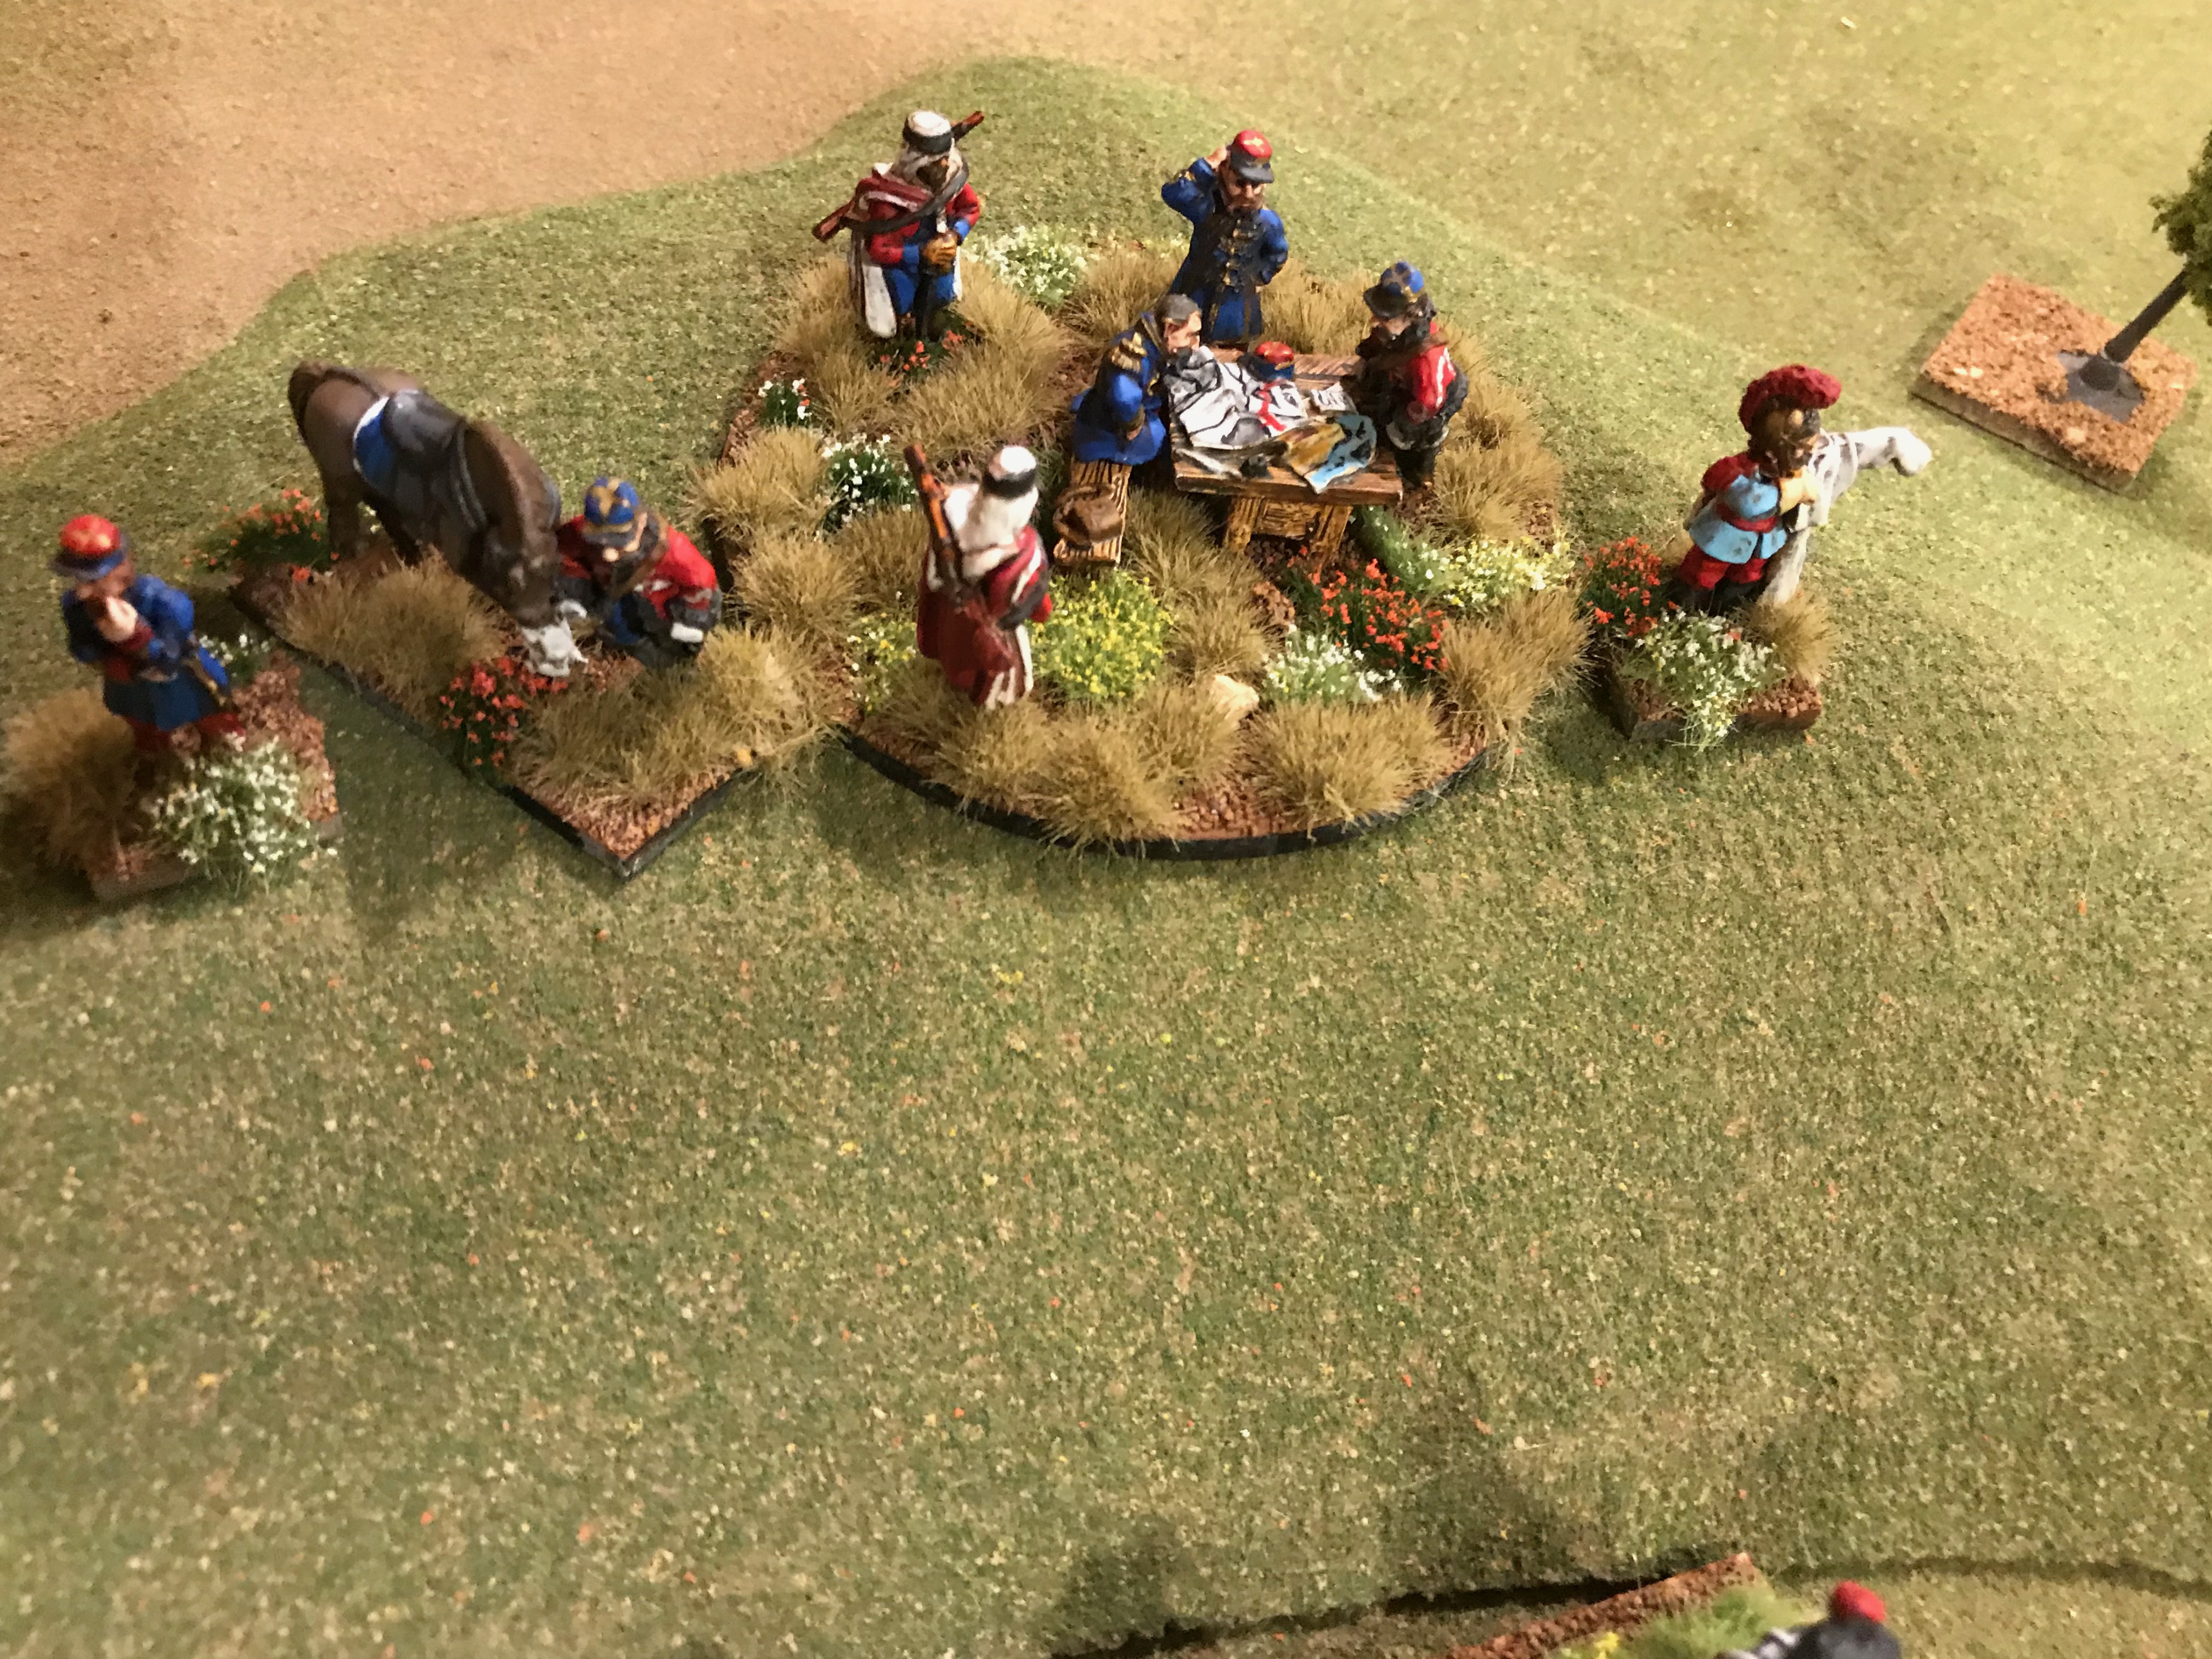
We got together to play a first game using the He Hemetera Thalassa, and the newly painted galley models.
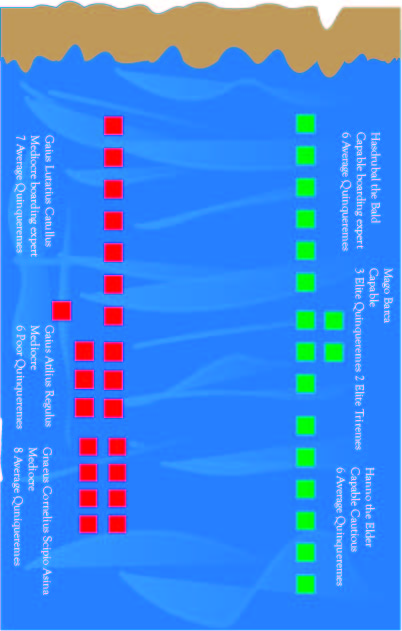
Two sides were amateurishly put together using the points from the rules, and we ended with this :
Squadron
Leader Quality
Personality
Quinqueremes
Hepteres
Squadron quality
Corvus
Cost
Publius Claudius Pulcher
Mediocre
Boarding Expert
1
Average
TRUE
69
Gaius Lutatius Catulus
Mediocre
Boarding Expert
7
Average
TRUE
335
Gaius Atilius Regulus
Mediocre
Dependable
6
Poor
TRUE
145
Gnaeus Cornelius Scipio Asina
Mediocre
Dependable
8
Average
TRUE
380
929
Roman Fleet
Squadron
Leader Quality
Personality
Triremes
Quinqueremes
Hepteres
Squadron quality
Cost
Bomilcar (CinC)
Exceptional
Dependable
1
Average
104
Hasdrubal the Bald
Capable
Boarding Expert
6
Average
280
Mago Barca
Capable
Dependable
2
3
Elite
342
Hanno The Elder
Capable
Cautious
6
Average
280
1006
Carthaginian Fleet.
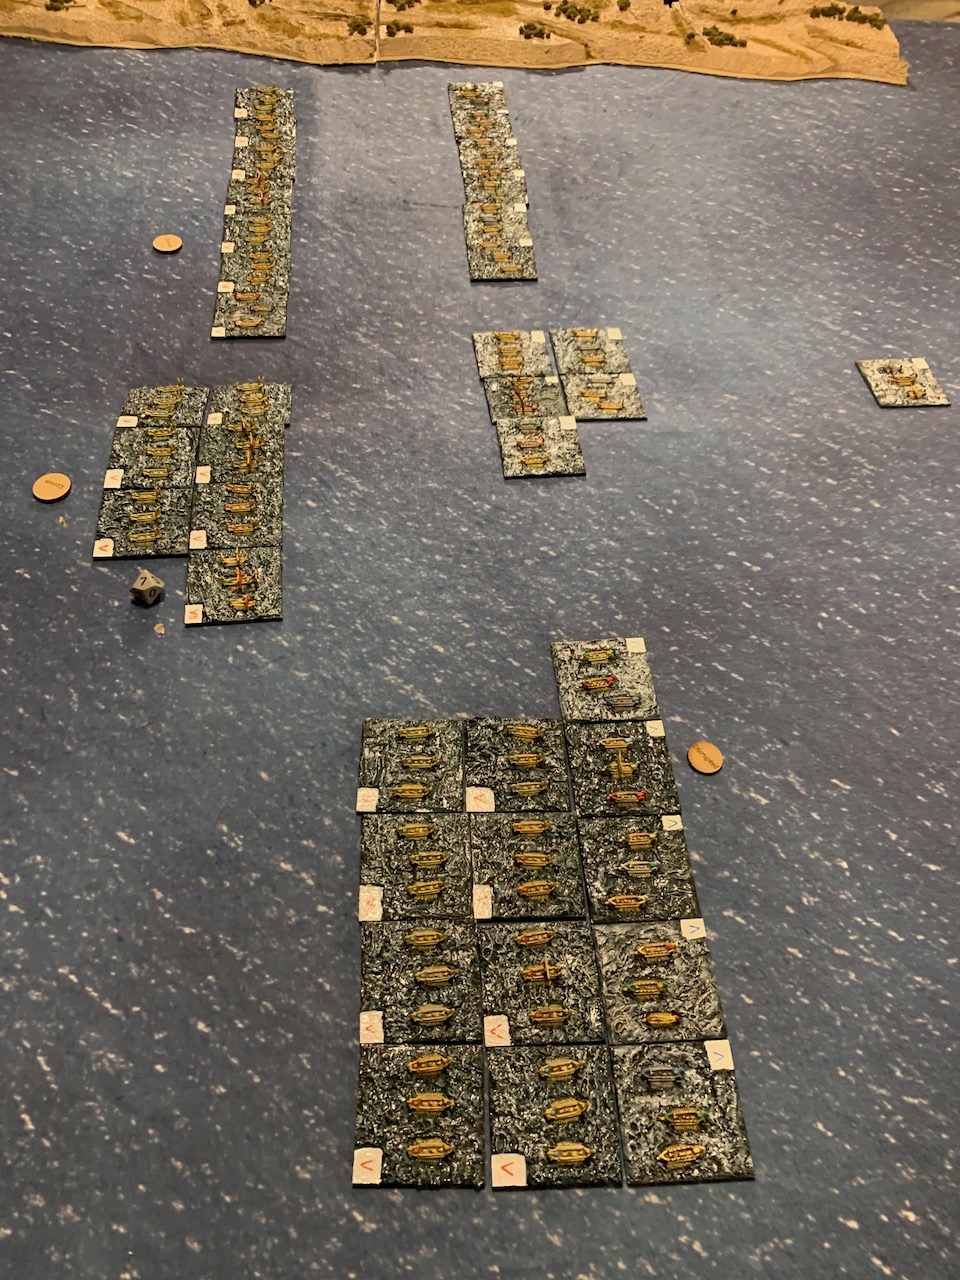
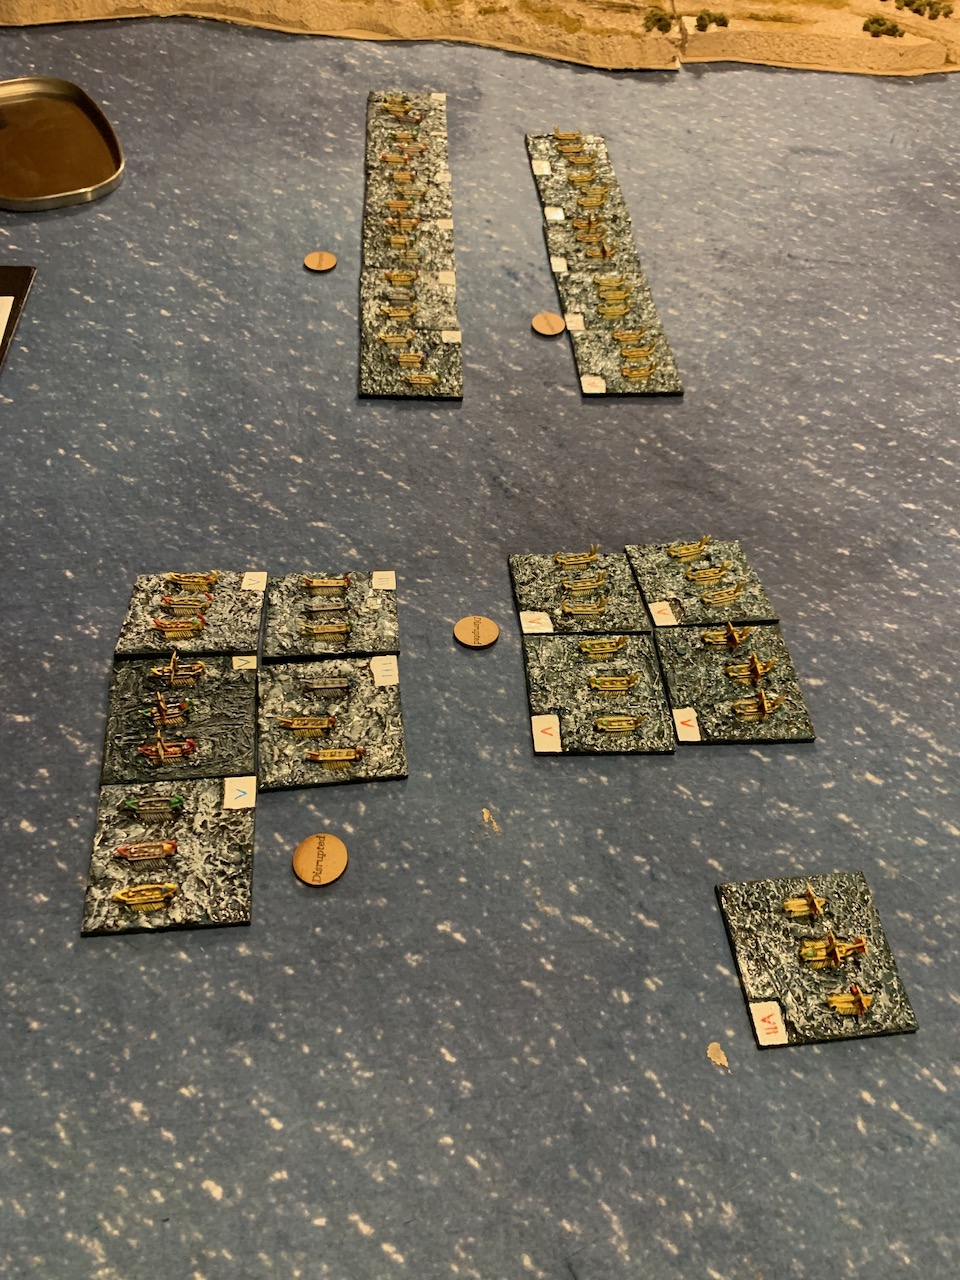
I threw down a mat and some poorly made coastline, and we were off!
Despite Hanno the Elder being cautious, Scipio Asina has caught him and inflicted casualties. Due to Corvus, they are still in contact. Everyone else is eyeing the opposition dubiously
As neither of us were really sure how it would work, we adopted the standard ‘advance toward to bad guys to see how it works’ strategy. Despite being Cautious, poor Hanno got caught and beaten.
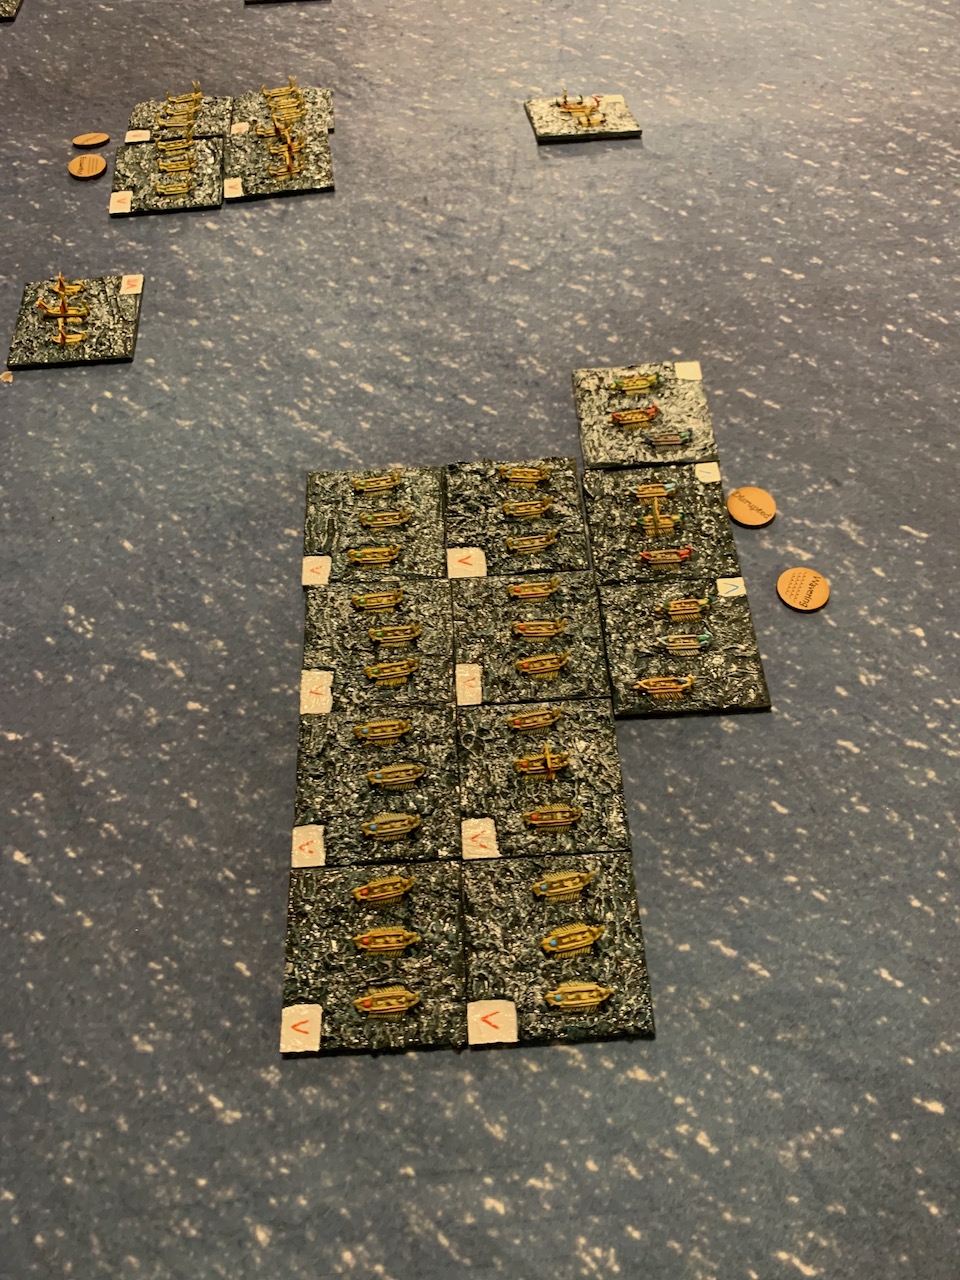
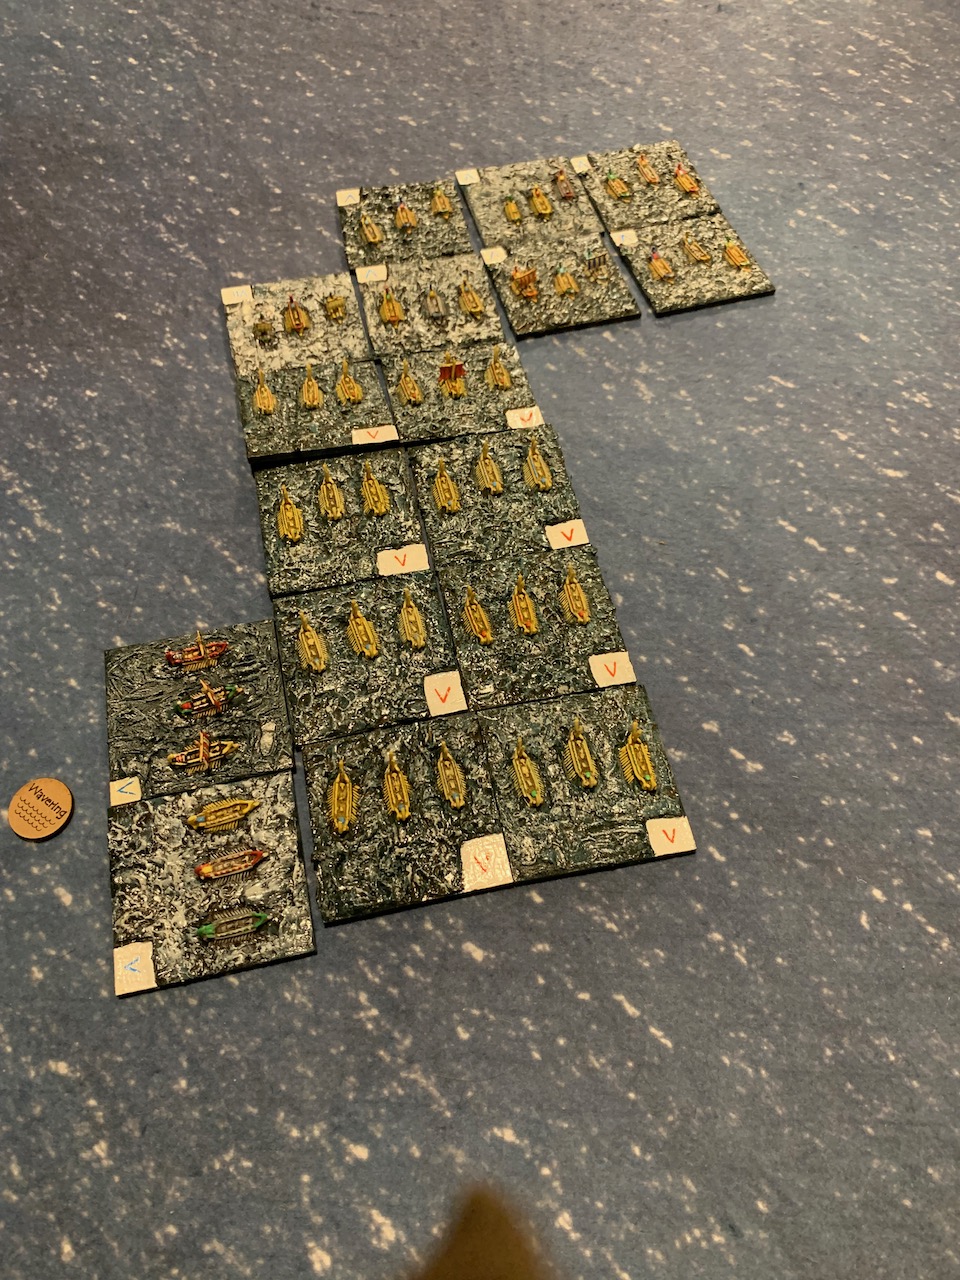
The next move the other two Roman squadrons were engaged; despite using their Corvae, they were thoroughly trounced. My opponent, the Carthaginian player, chose to move through and try and turn around. This was, on consideration, an error, as neither of his squadrons made their roll, and if he had stayed in contact the Romans would probably have disintegrated in the next turn. We only really discovered this later…
The other squadrons engage. Despite using their corvae, the Romans got hammered. The Carthaginians have passed through, but have failed to turn around
Hanno, poor chap, was only allowed to move a 1/4 move. It was not clear from the rules how far one could move backward on a 1/4 move; a normal ‘backing oars’ move is only 1MU. We arbitrarily decided that we would let him go back 1MU.
It continues to be a bad day for Hanno the Elder. Morale breaking, boats sinking, etc., etc.
It didn’t help much, as the Romans pounded onwards, and his squadron broke.
Hanno has gone wherever it is that Cathaginians go. The other Roman squadrons are trying to stay ahead of the vengeful (and re-organised) Carthaginians.
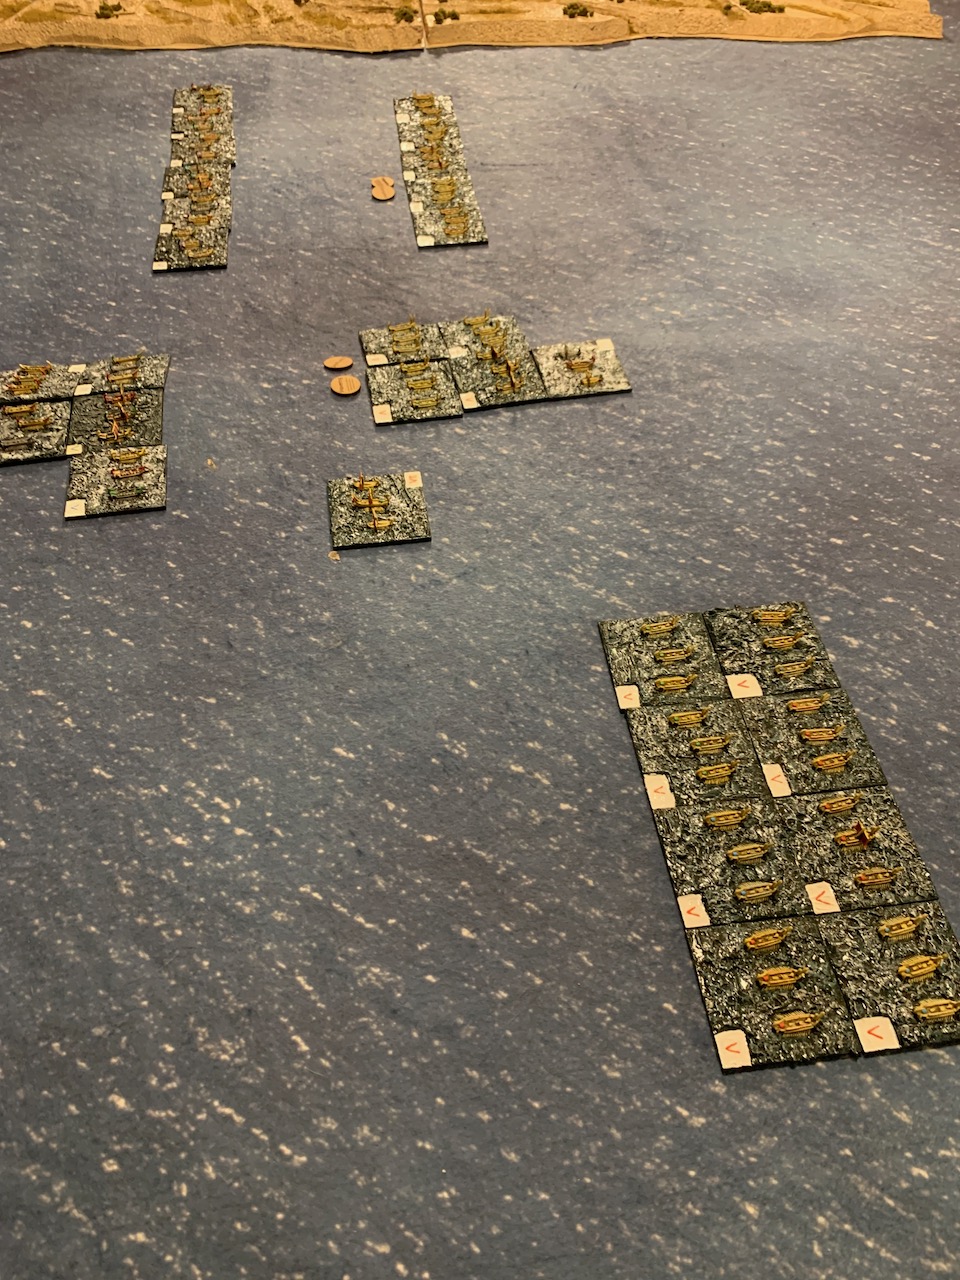
On the other half of the board, the Carthaginians were chasing the disorganized and despairing Romans
Atilius Regulus got caught by Mago Barco, and was last seen swimming toward Sicily. Lutatius Catulus has turned around in confident expectation of a miracle
As expected the poor Roman squadron was obliterated. The other turned around, expecting no better result. Scipio formed double column to try and get into the fight
Somewhere around here questions about the Fleet admirals came up. They had ships, but were not assigned into a squadron. But the Rules say that squadrons of one are removed. We ignored this because Rules do not apply to admirals (clearly).
Both of them got sunk, anyway.
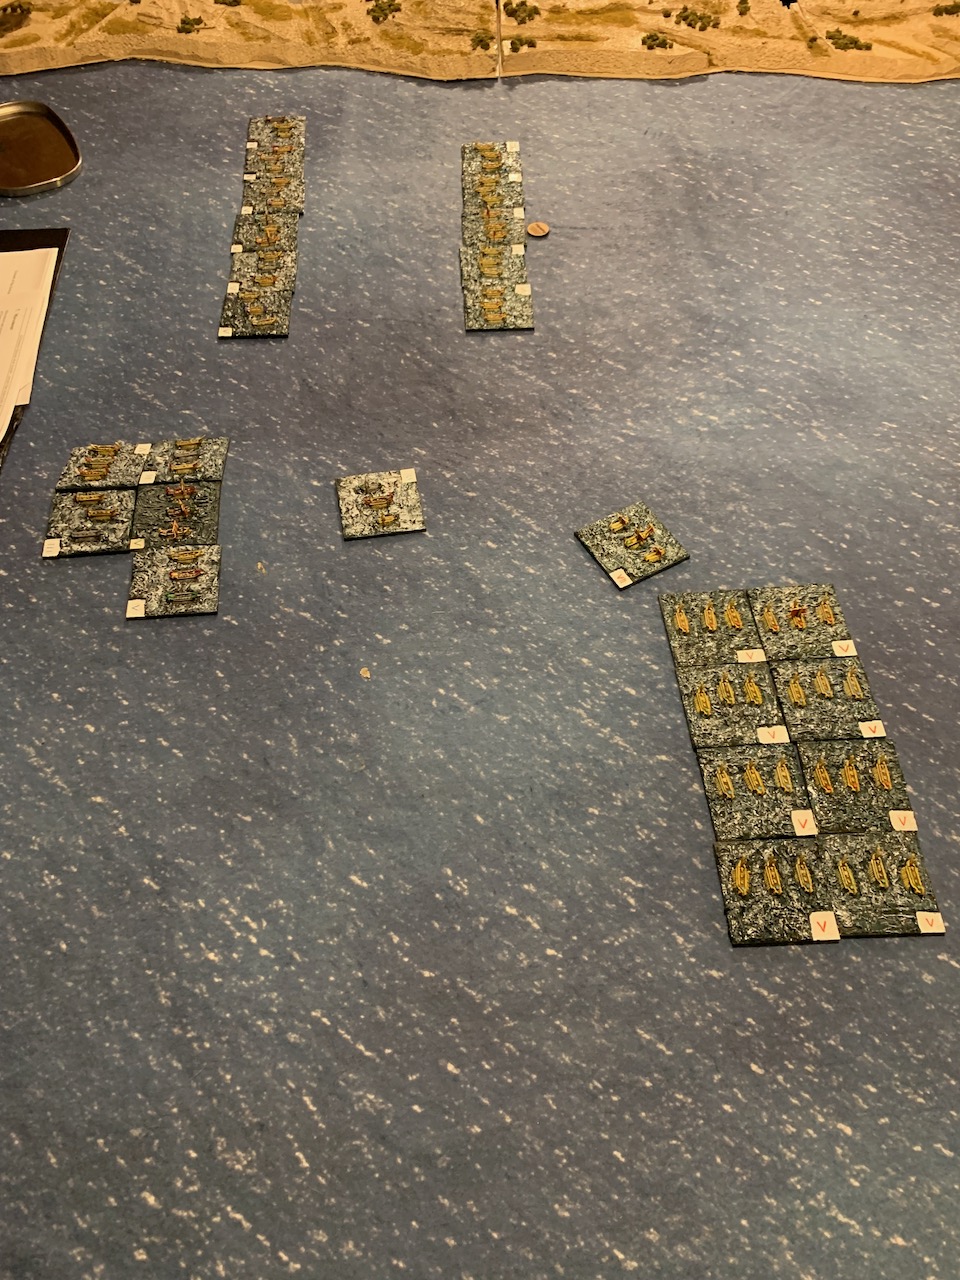
Mago Barca decides to have a go at Scipio Asina. in the background, Lutatius Catullus is doomed
Another Rules thing ; Scipio was hit in the side. The rules only talk about being hit from behind, so we supposed everything turned (not really a good answer for the Carthos),
Catulus Lost, and Hasdrubal has attacked Scipio. Bomilcar got hit somewhere along the line and went for an early shower. Or bath. Whatever.
The Romans, despite the admiral doing a Jack Hawkins impression were not much worse off with him absent than him being mediocre. And I managed to roll high, and the Carthaginians did not…
Rather to everyone’s surprise, Scipio Asina defeated both Carthaginian squadrons. Triumph coming up for that lad
Enjoyable and quick game, all in all. We will play again. And I’ll paint more boats.
The mediocrity of the Roman admirals is a severe drawback, but certainly made it interesting.
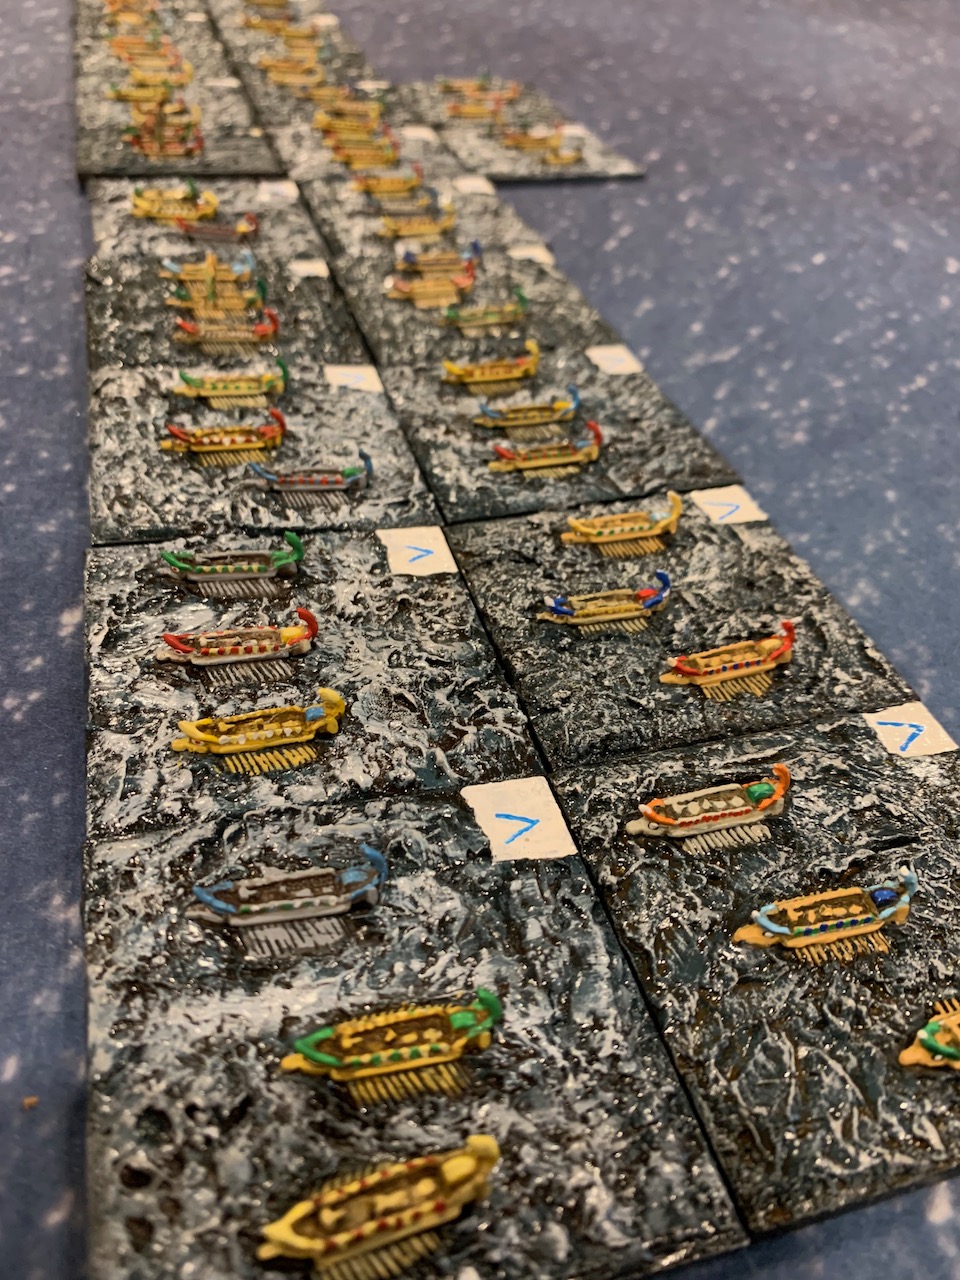
Romans, complete with corvii. At least one of these lads is going backward. All 5s
All I have to do now is make some coast. Can’t have galley fights without shore.
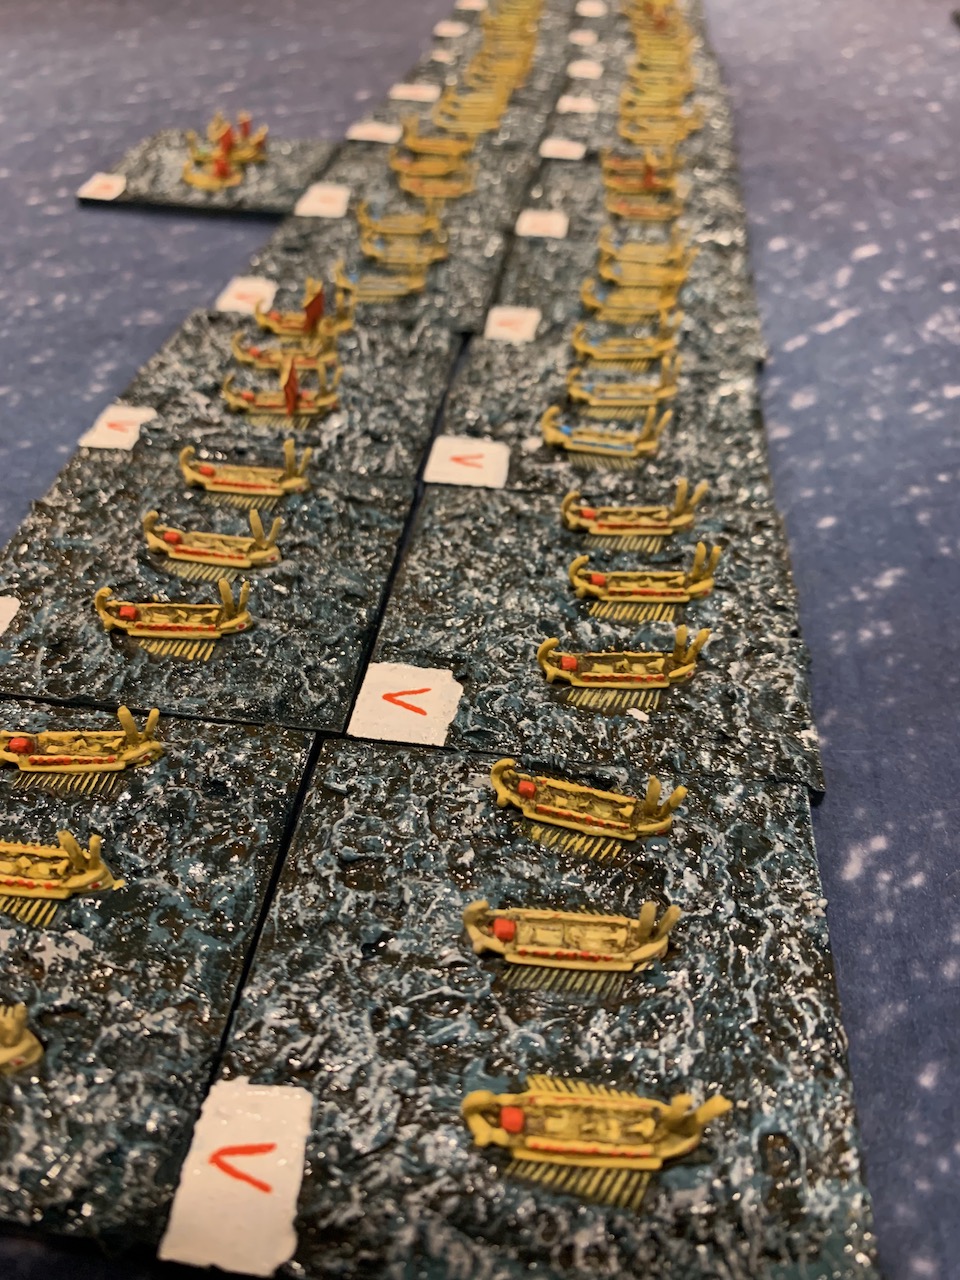
Roman admirals. I tried to make the different by the number of sails. (yes, I know they should have been landed, never mind)
These probably would be dark brown or black. But I thought that would look rather dark on such small models so I headed straight toward historical inaccuracy with all flags flying
I suspect, in common with many gamers, that I start rather more projects than I finish. So it seemed appropriate to have a minor celebration when something actually got done.
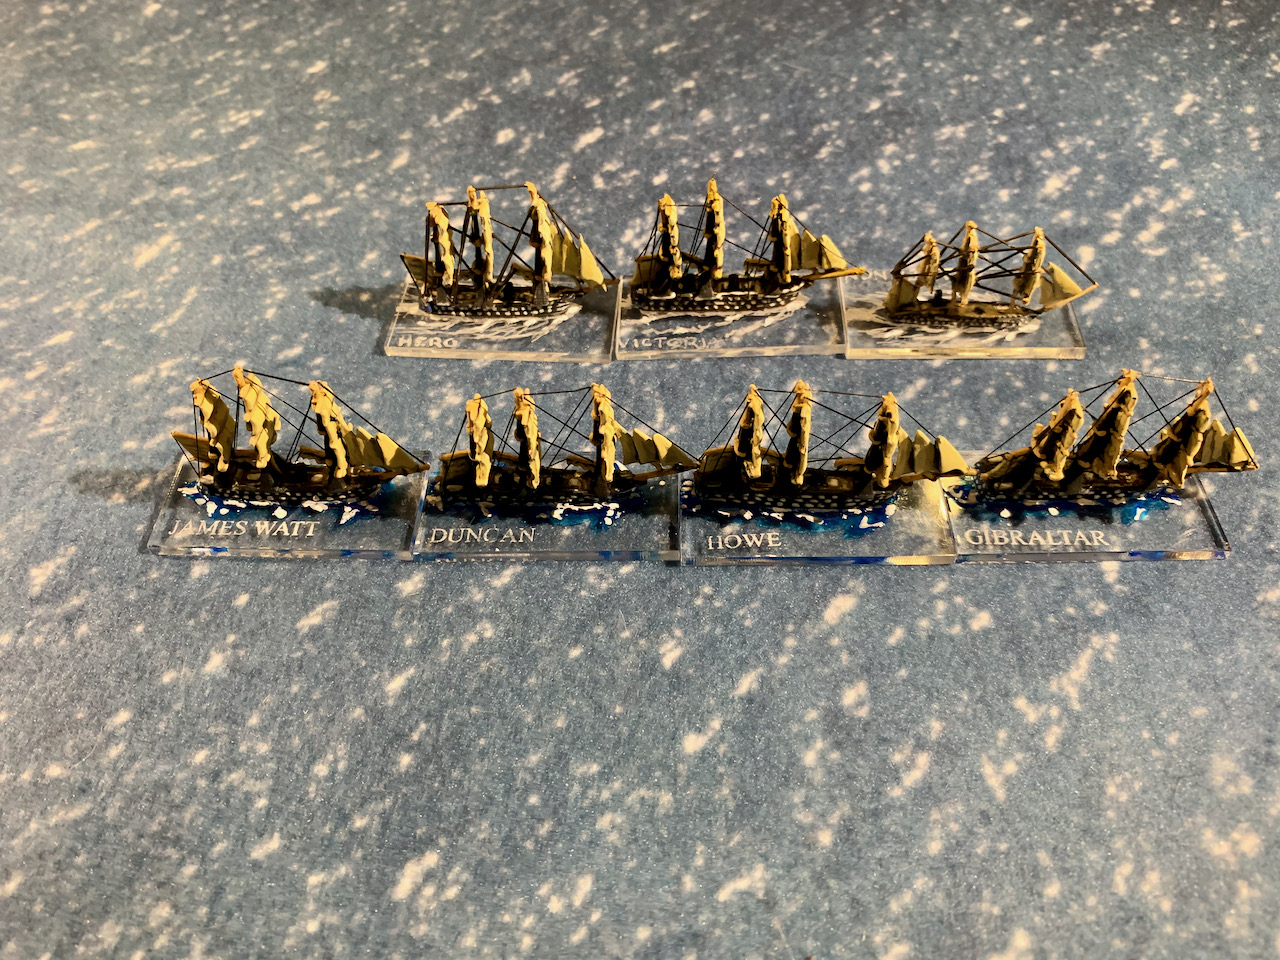
British Line of Battle Ships. I seem to have put Agamemnon’s label on the wrong side. And Howe was never commissioned, but I ran out of ideas.
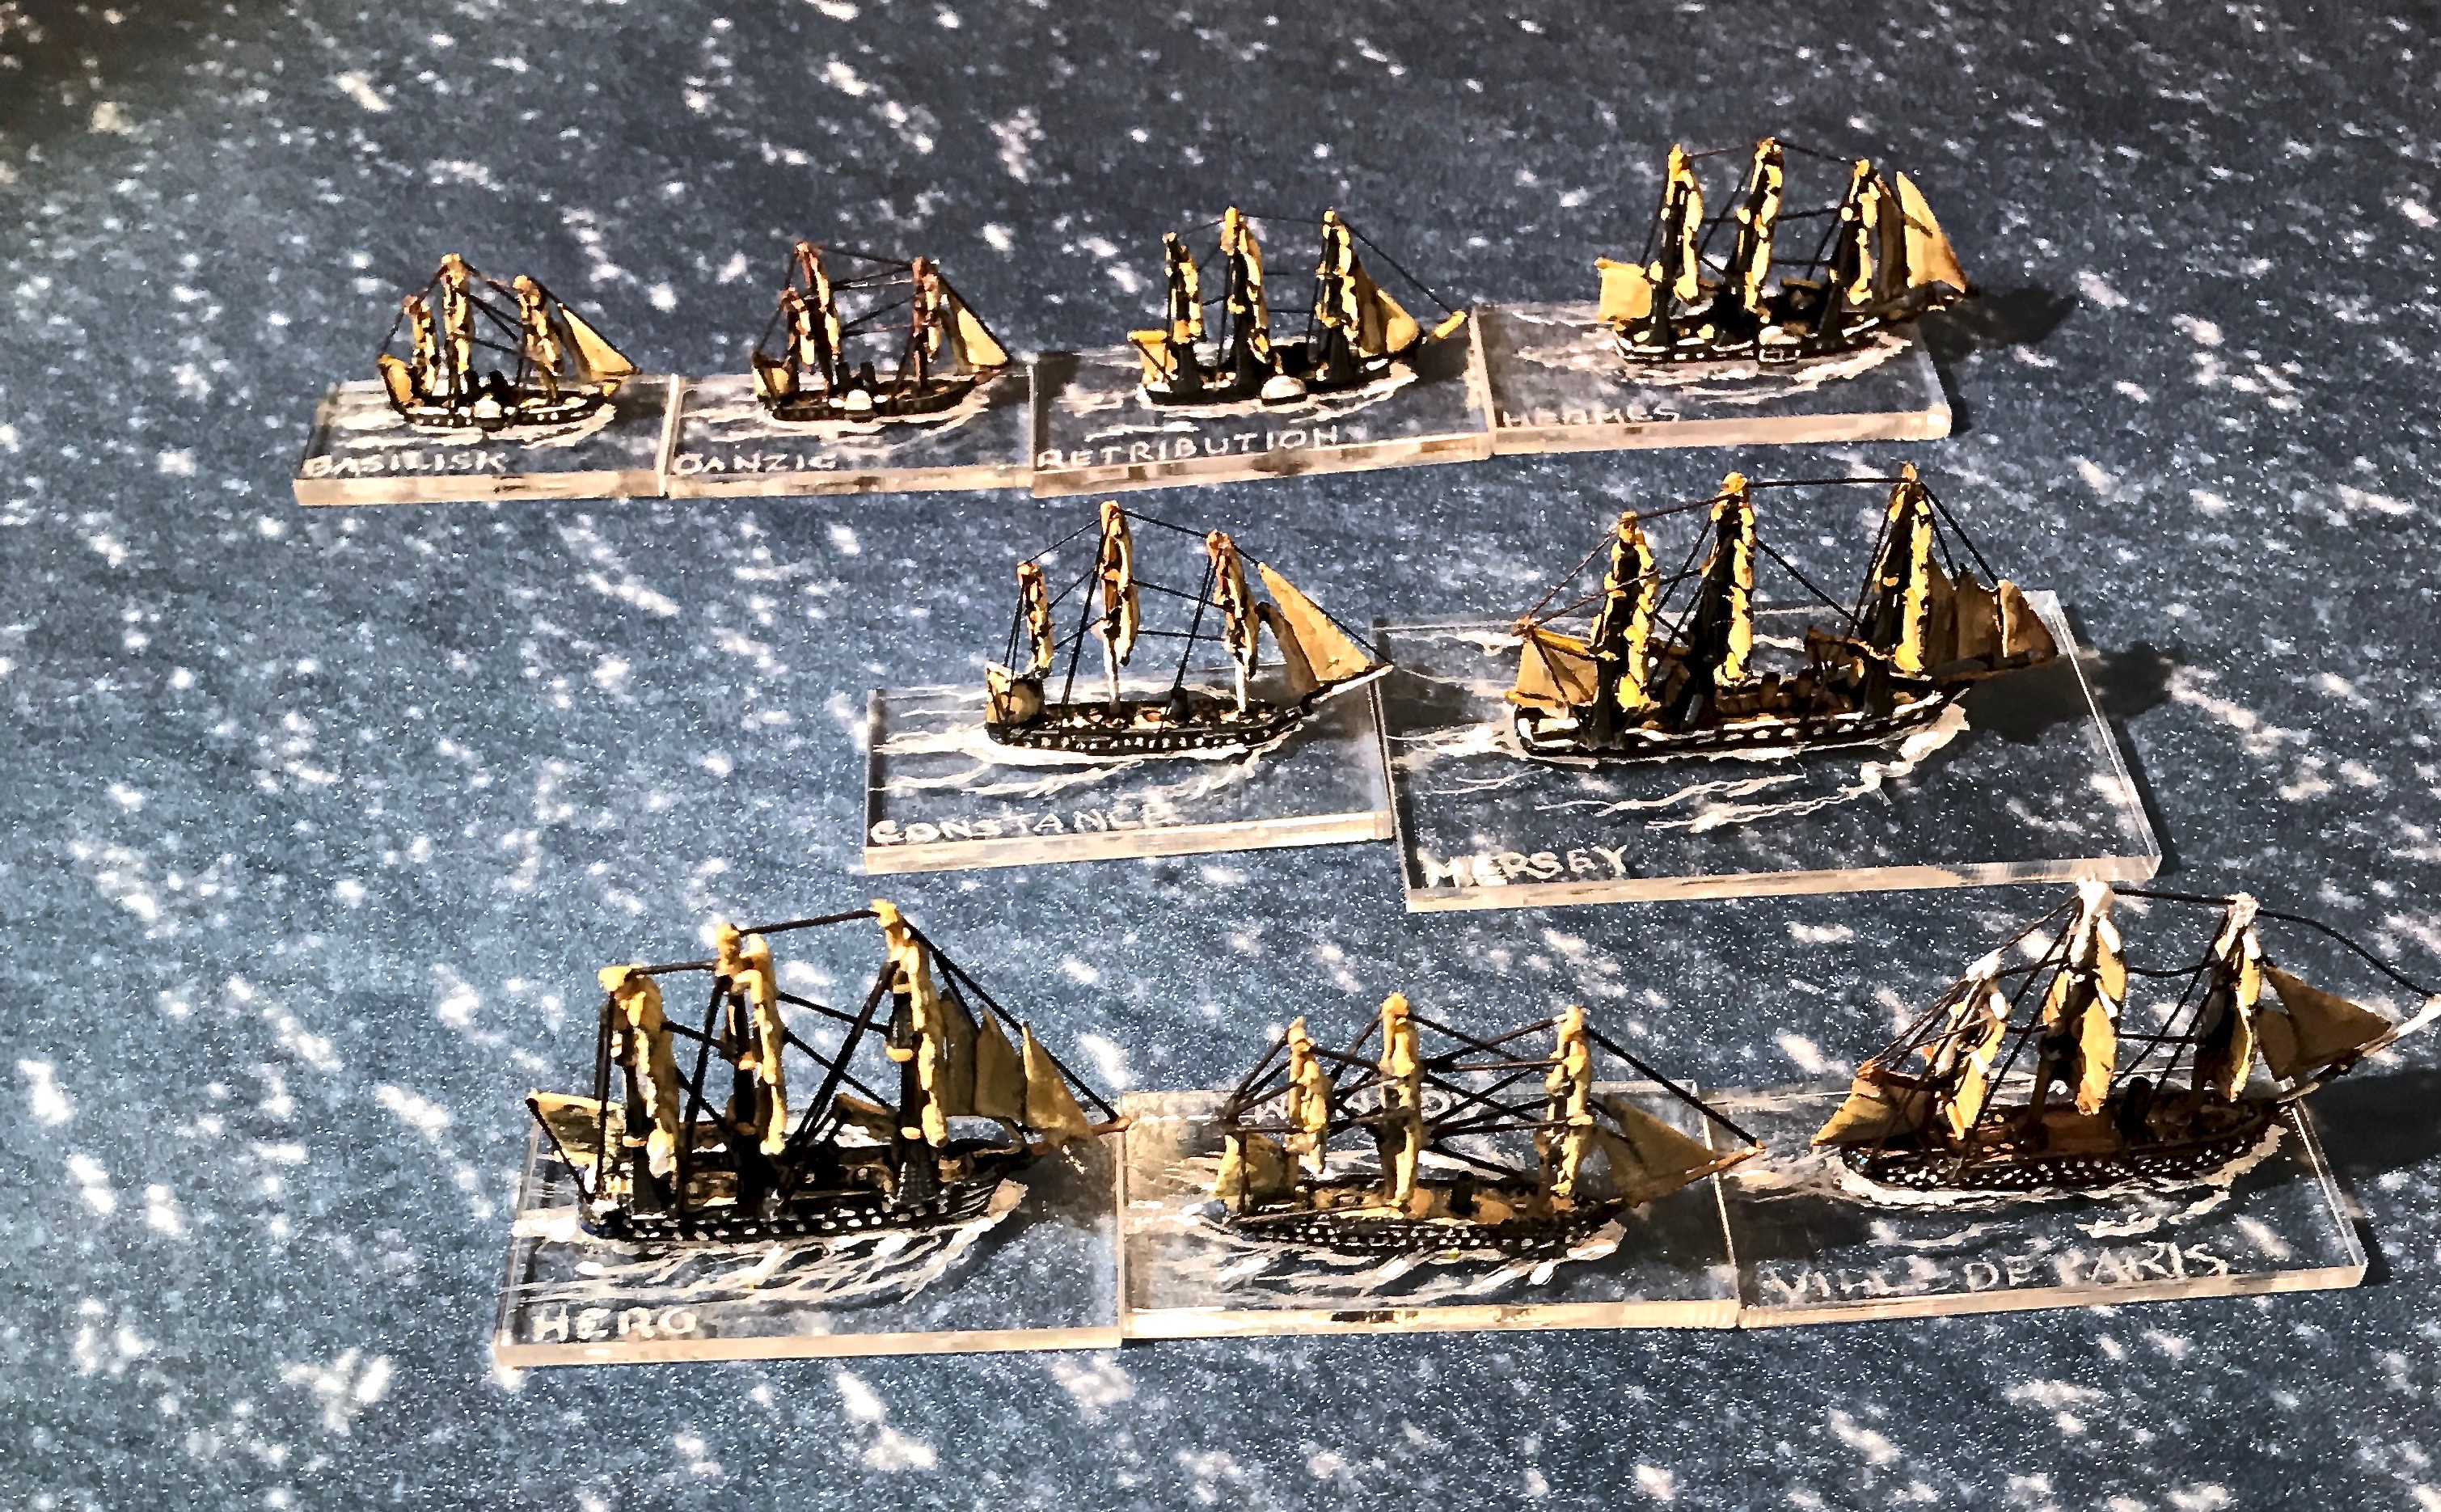
Some time ago I decided to paint some transitional ships (~1840-1860s) for use with Broadside and Ram fleet action rules (by David Manley, and which I can recommend. Not Mr Manley, whom I do not know, the rules). The project has more or less reached its designed goals (though those posts do shift every so often).
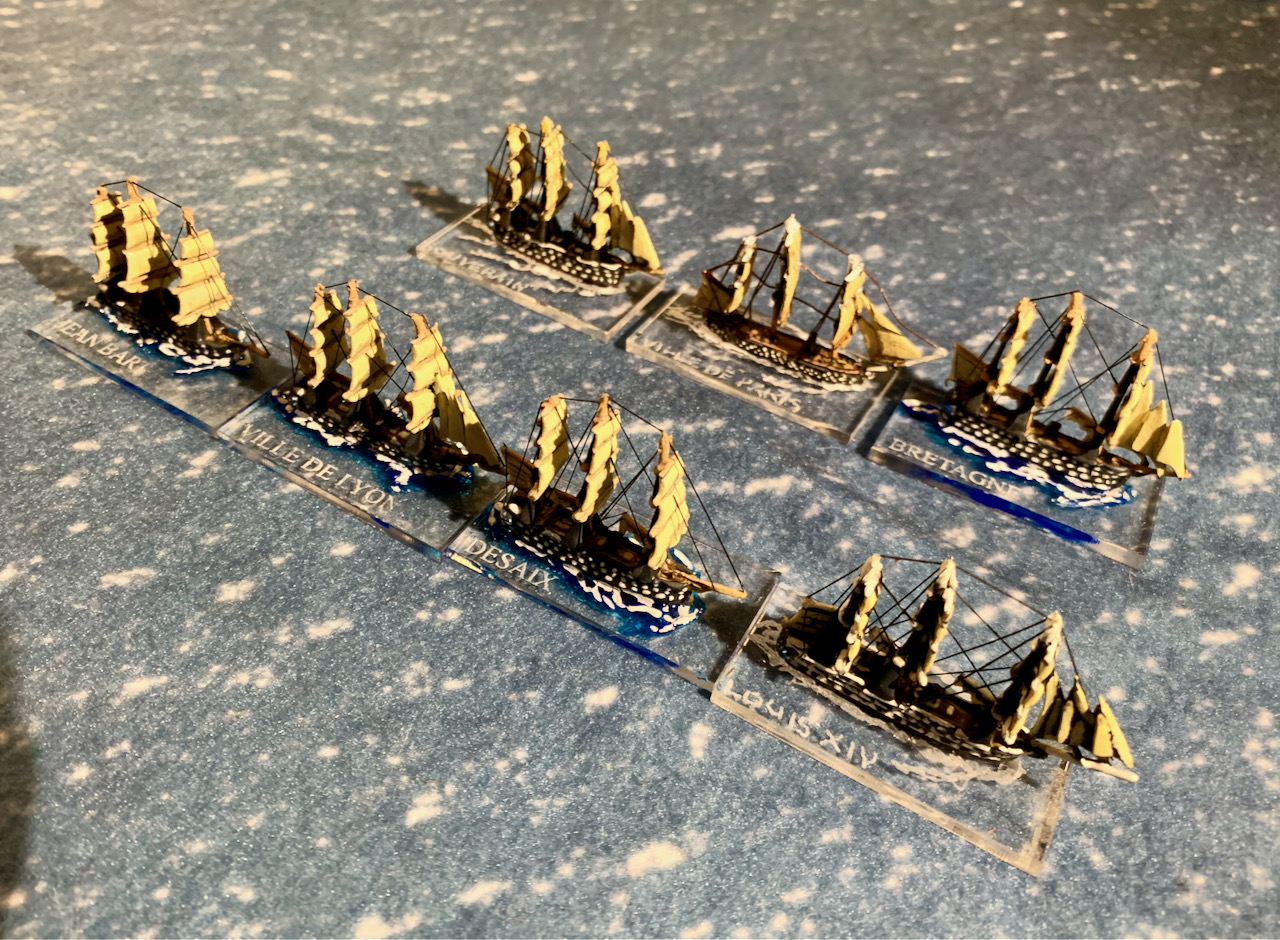
French Line of Battleships
Also, the basing protocol changed at least twice, and the rigging method once. I’d go back and alter things, but if I starting that, I should never get anything done.
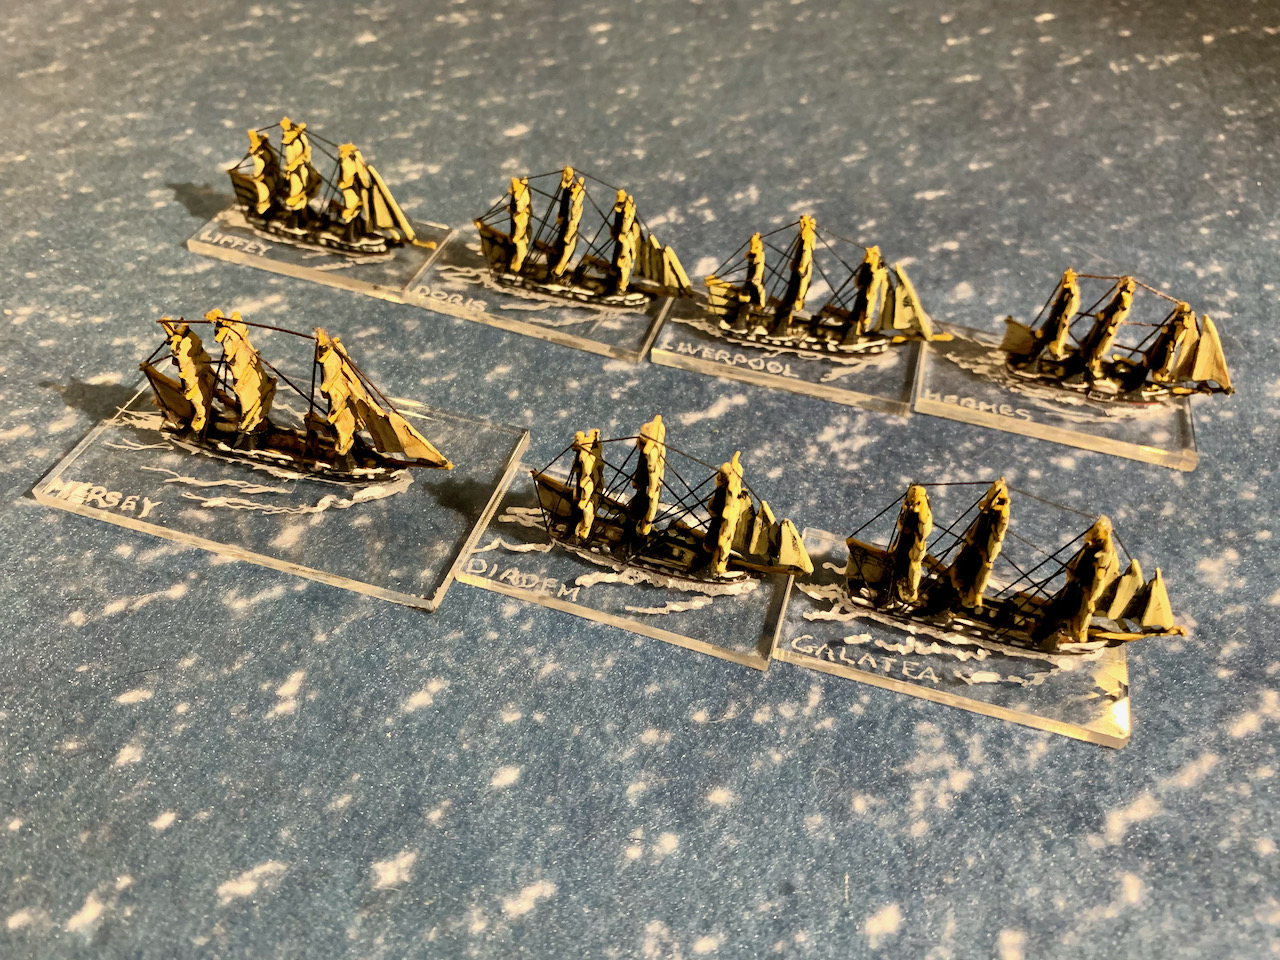
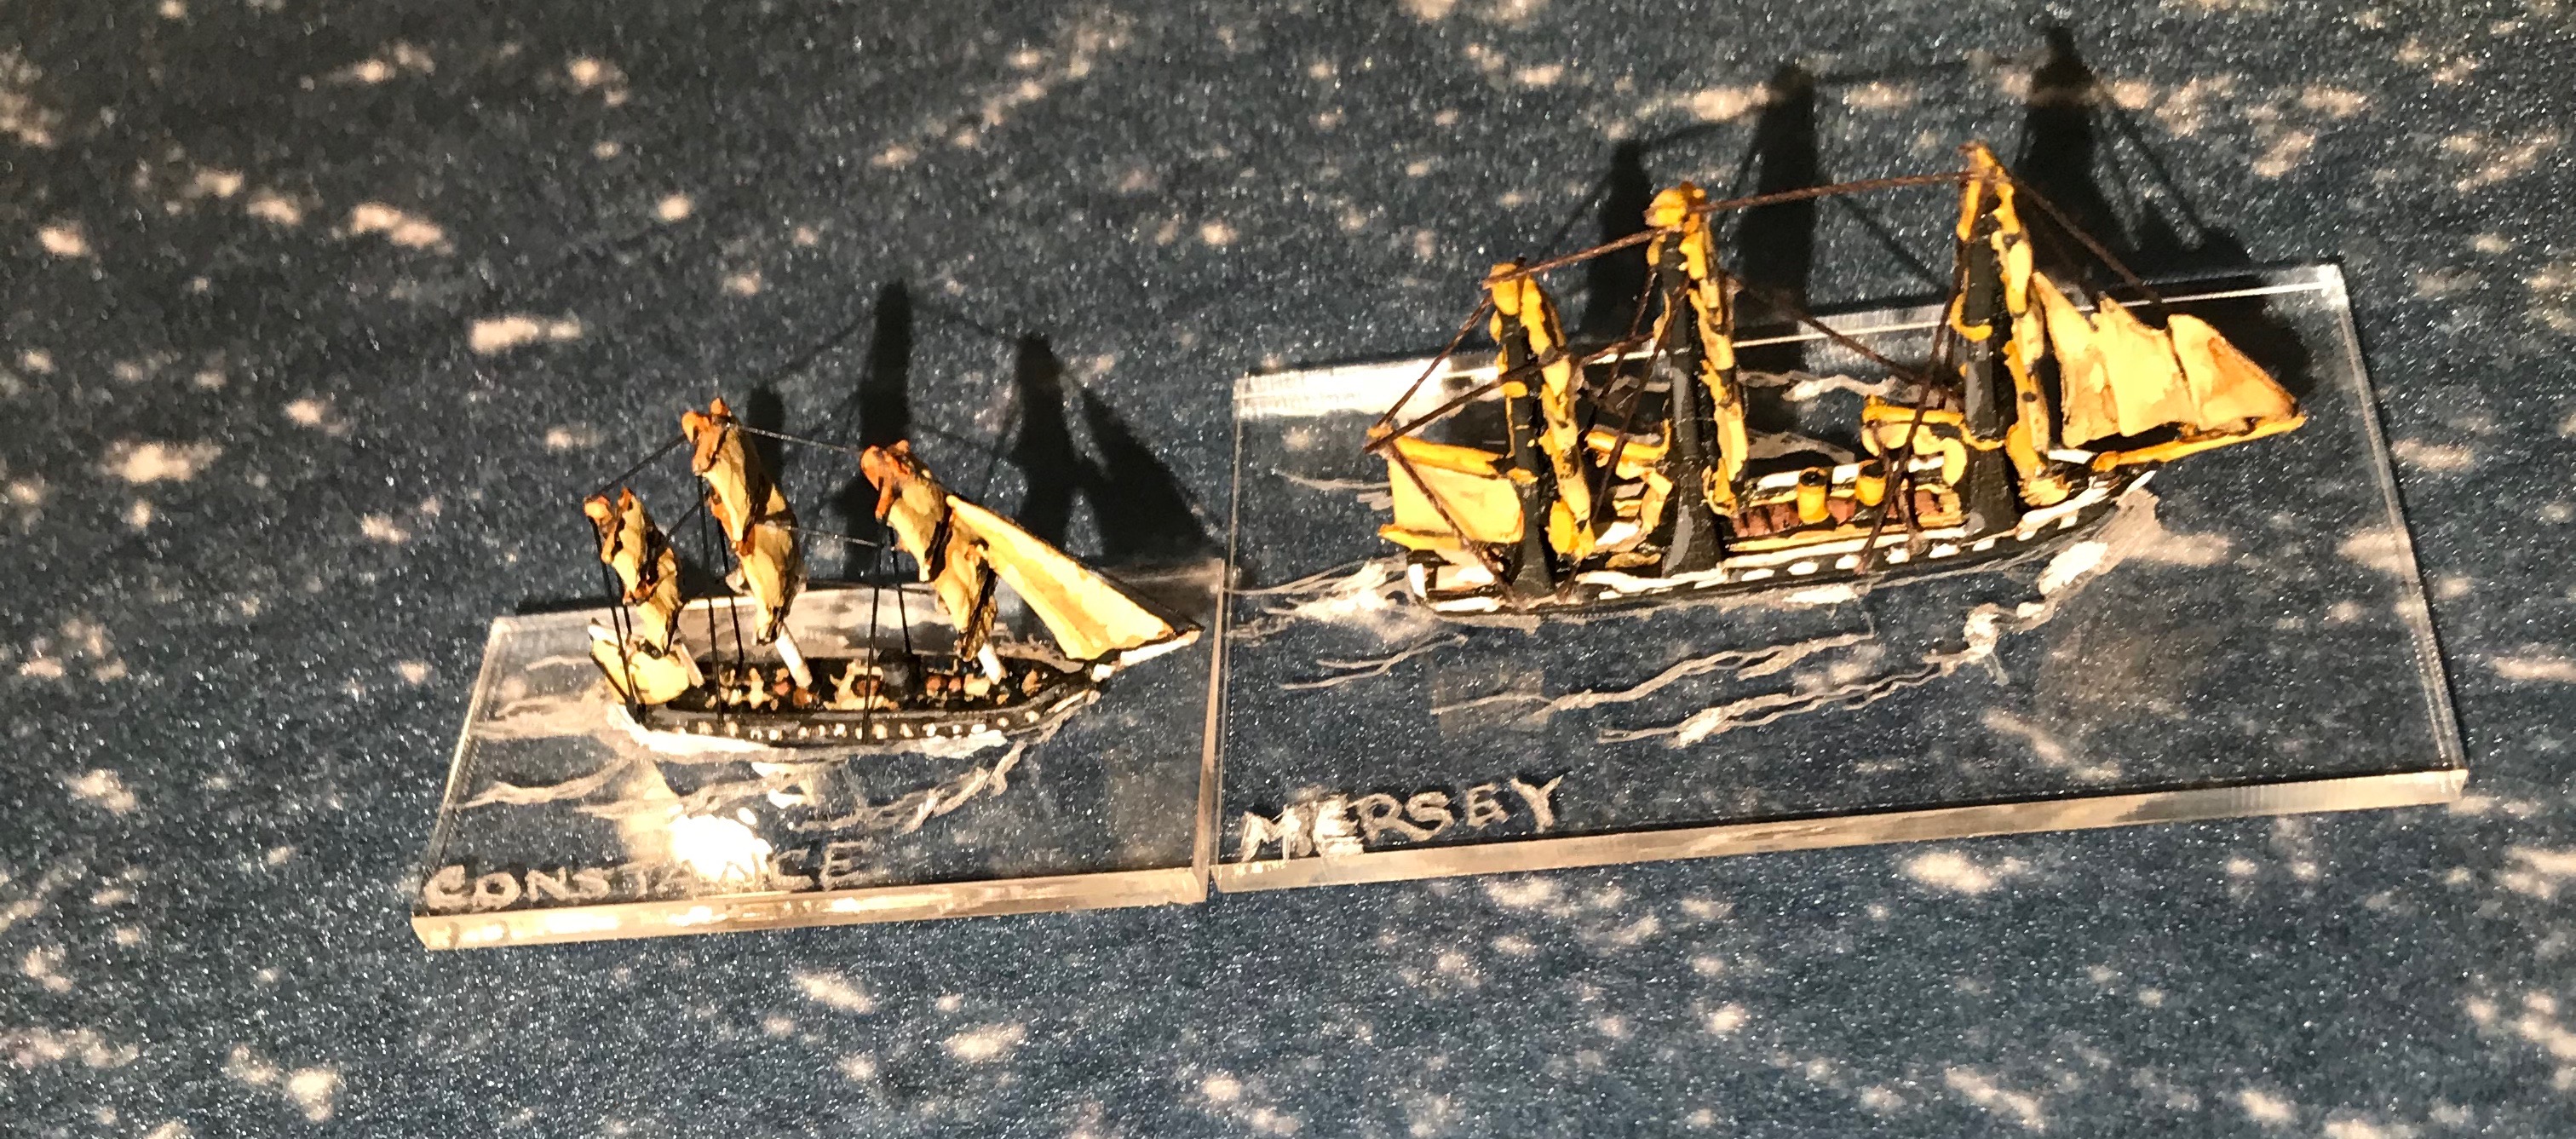
British frigates. The Mersey seems to have made its way onto a nonstandard base. Oh well. Lot of river names here…
The models are 1/2400 scale, mostly Tumbling Dice, with some few being Hallmark (so idea of a vendor for these, I think I picked them up at a show before contagion rendered those fairly rare), which all look smaller and more fragile.
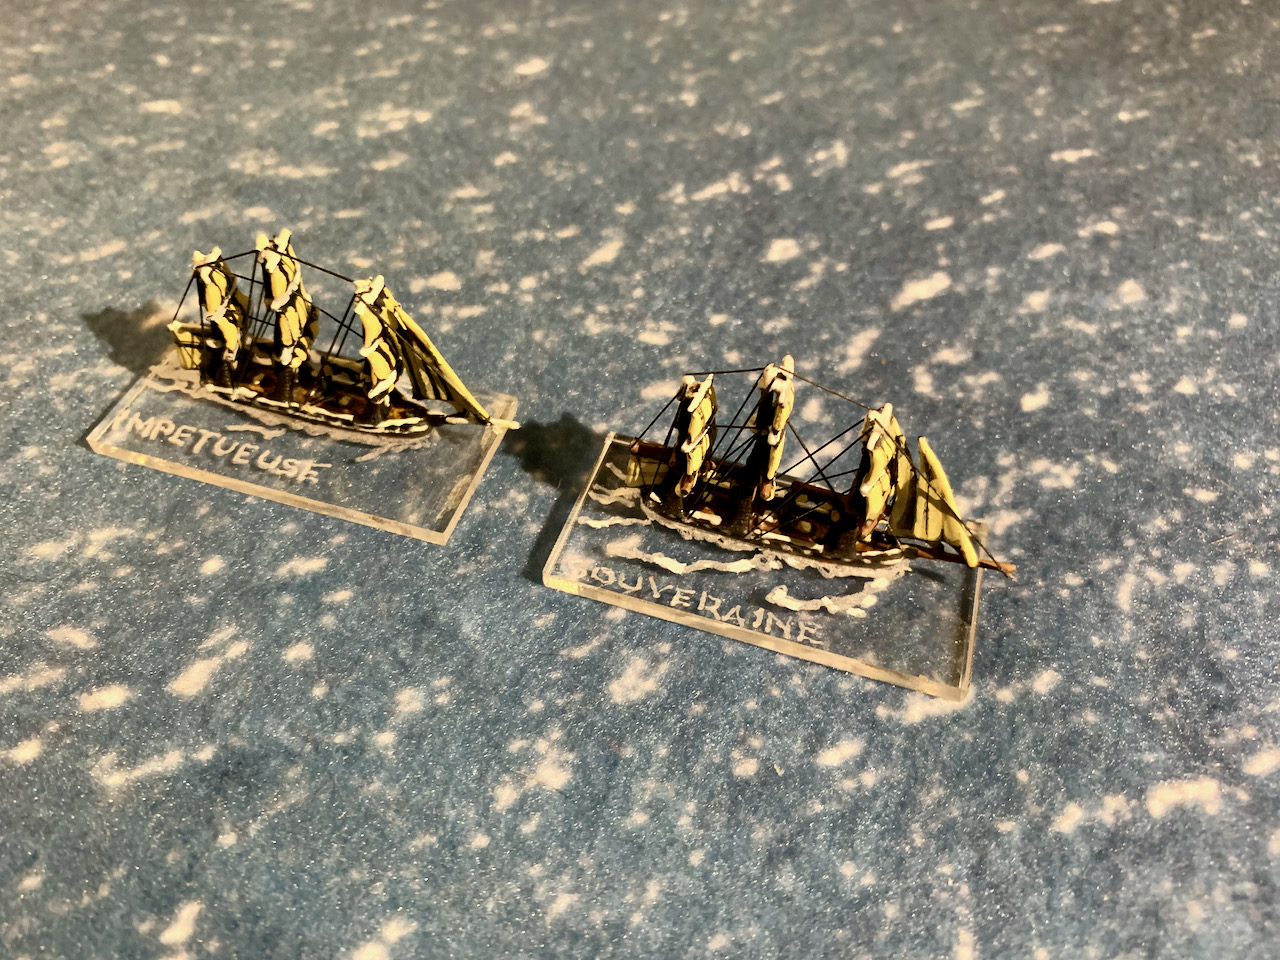
French Frigates. Rather understrength as compared to the opposition. OOPS
Of course, on consideration, I should probably look at some fortifications. And some sailing ships? I’m looking at you, Crimean war.
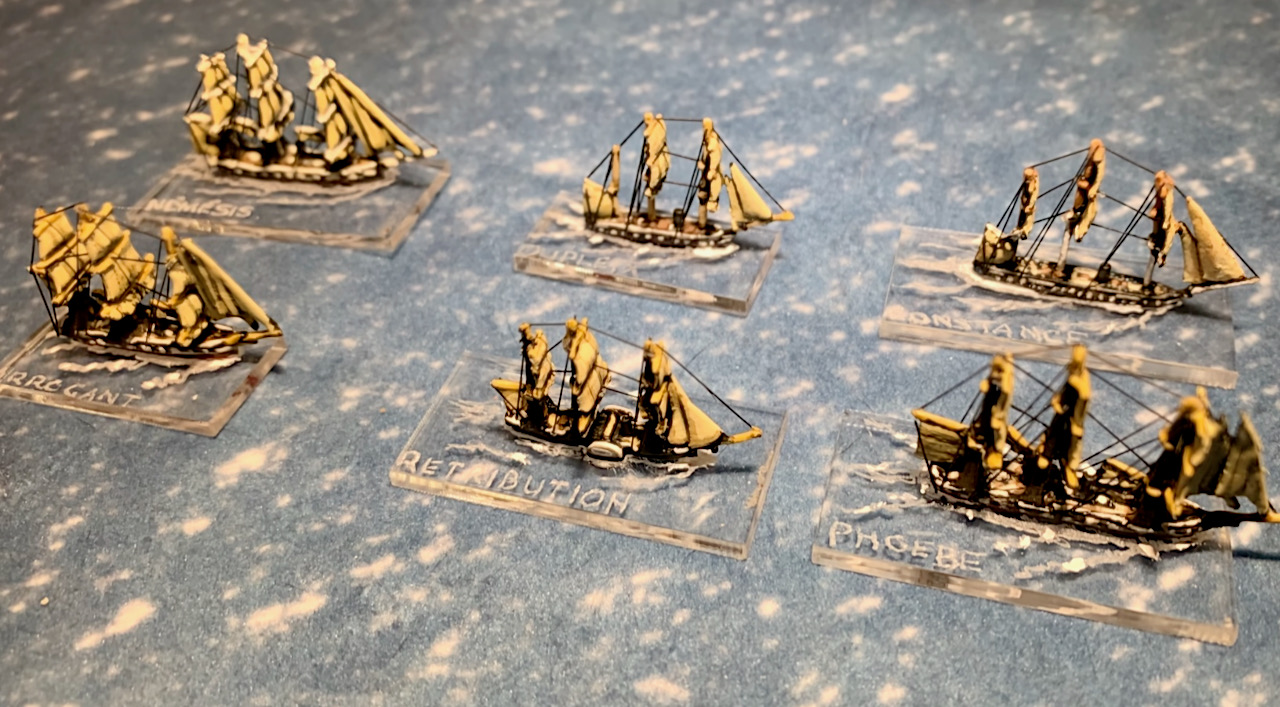
Assortment of sloops and corvettes
i did some minor research on the Battle of Sinop, and though the Russian side looks fine, there is not much on the Turkish side to spark enthusiasm. So maybe a Sebastopol breakout? Something in the Baltic?
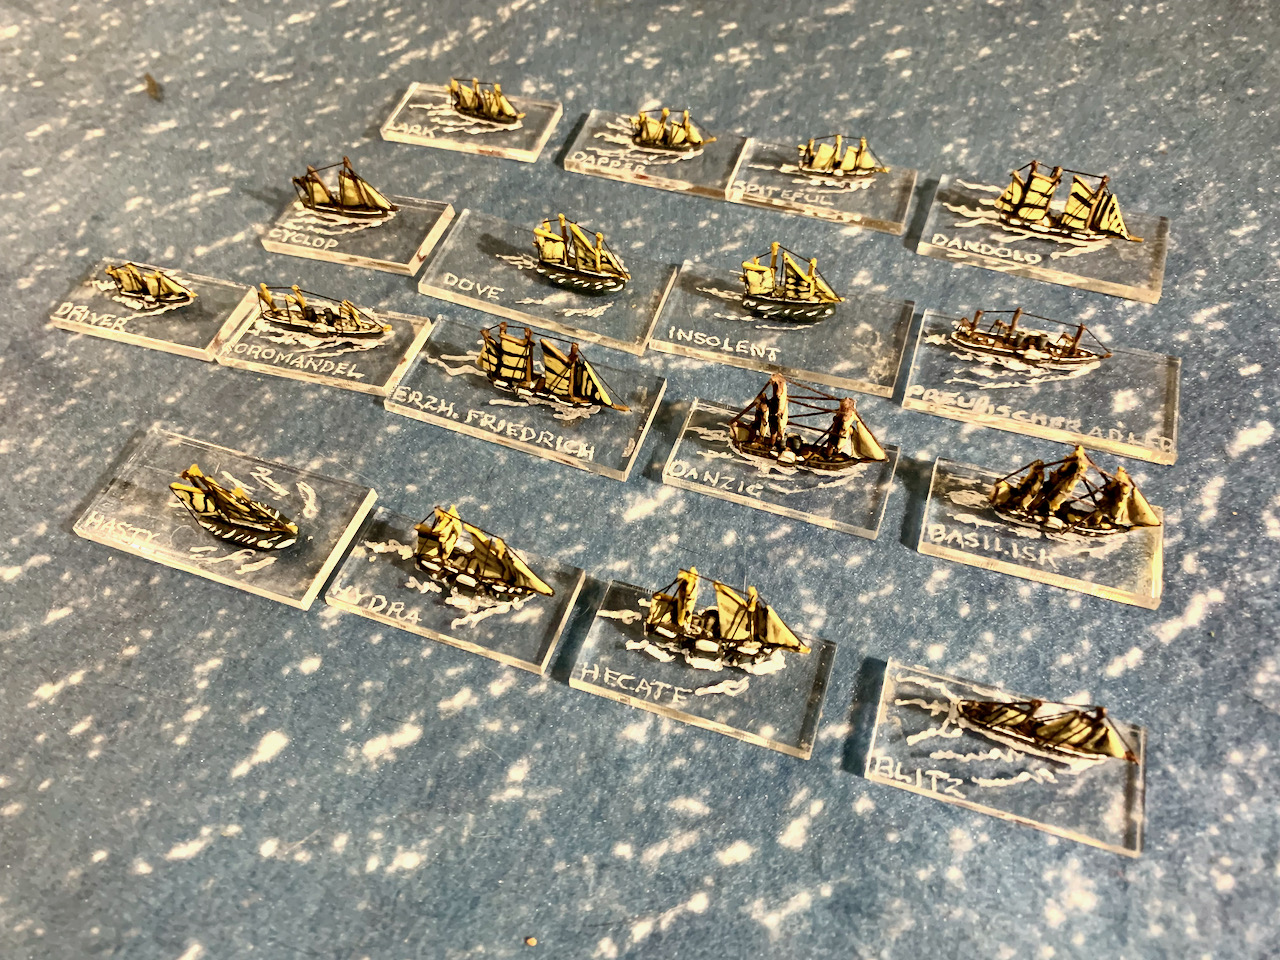
Gunboats and Avisios of all nations
I wonder can I get a good image of the Aland Island fortifications.
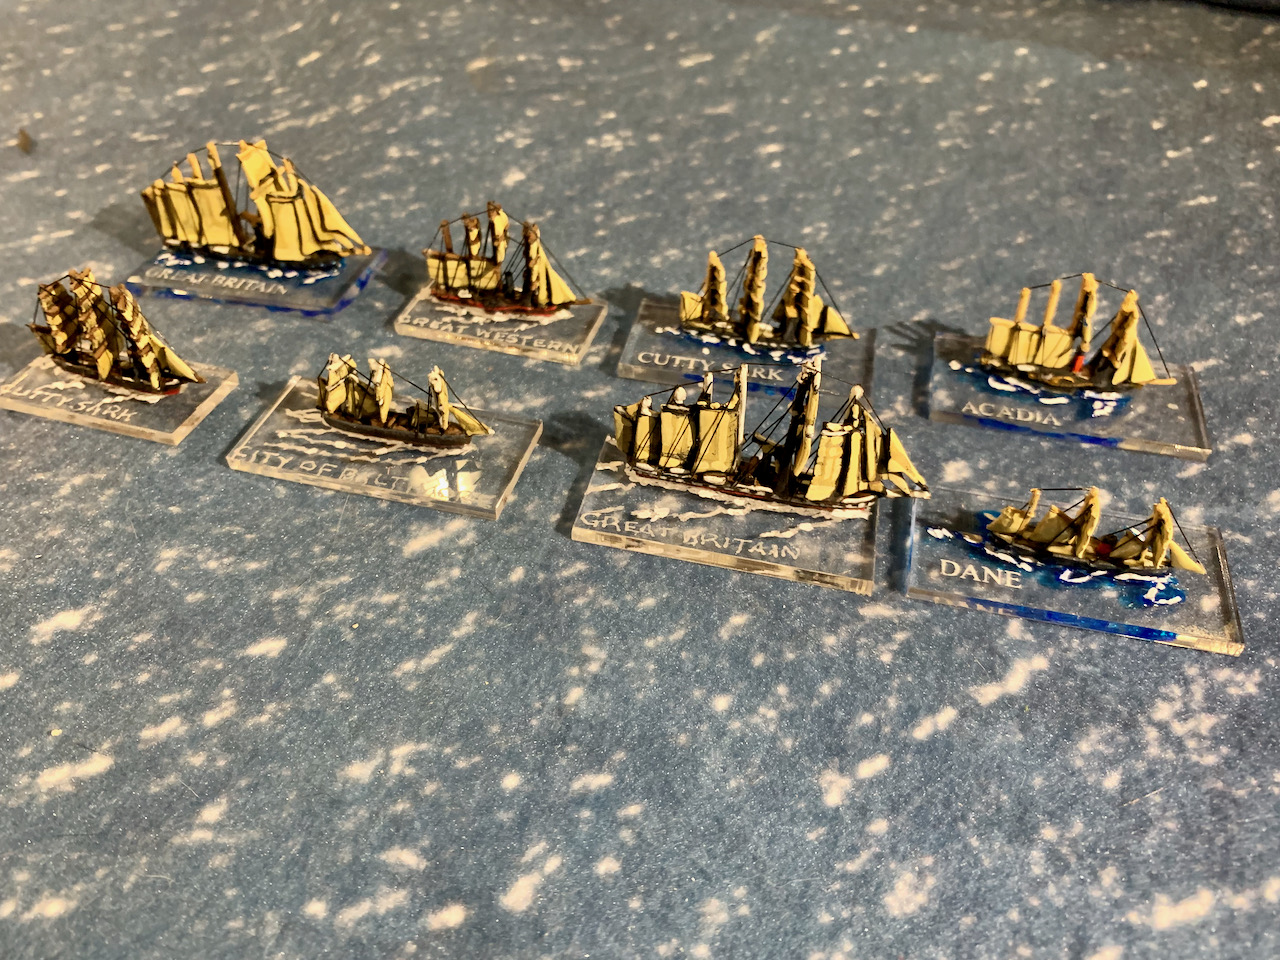
Some merchant shipping. Pickings were a bit thin, so there are 2 Cutty Sarks, and 2 Great Britains
Probably enough merchants for any rational use, even though Brunel appears to be an early adopter of mass production. The second Great Western is masquerading as the Acadia up there.
Tugs and Torpedo and Picket boats
Probably need more torpedo boats too, though I do recall reading somewhere that the Russians used rowboats with towing torpedoes on the danube at some stage. that could have been 1877 though.
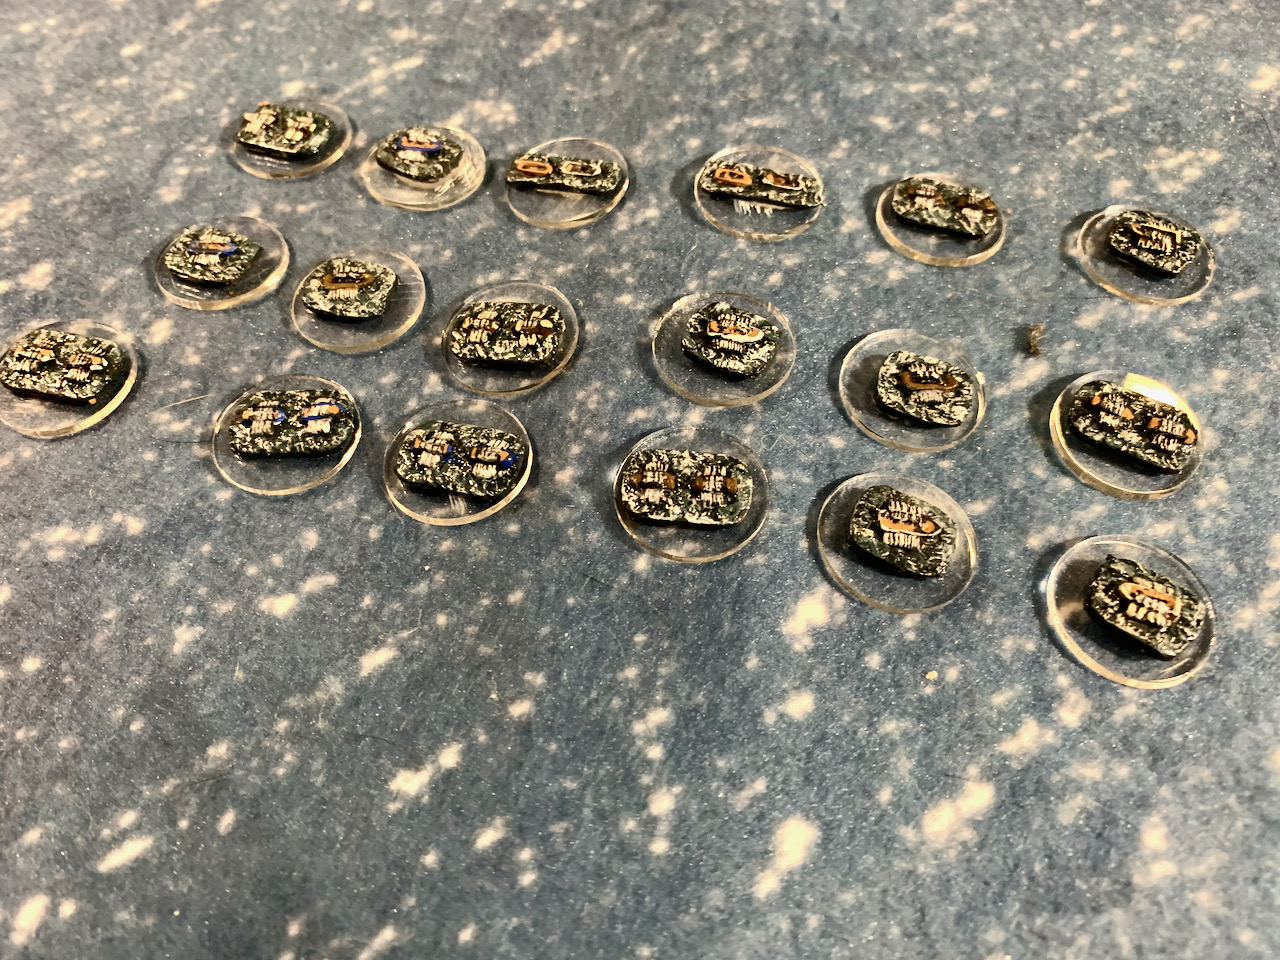
Boats and bits and pieces in case there is ever a landing, and to mark ships that have suffered a misfortune
And I certainly seem to have enough rowing boats.
Usual apologies for the Photography. Not enough time to learn everything one needs.
Oh well. Back to the painting table. I feel this urge to listen to HMS Pinafore…
“There are your guns, Sir”. Poor Nolan seems to be delivering the message and dying at the same time, which is a neat trick.
It took some considerable time, but I finally completed the Light Brigade at about 1:20. A little less than that because maths is not really my strong suit.
The figures are all Great War Miniatures, which are a pleasure to paint, though on the large side.
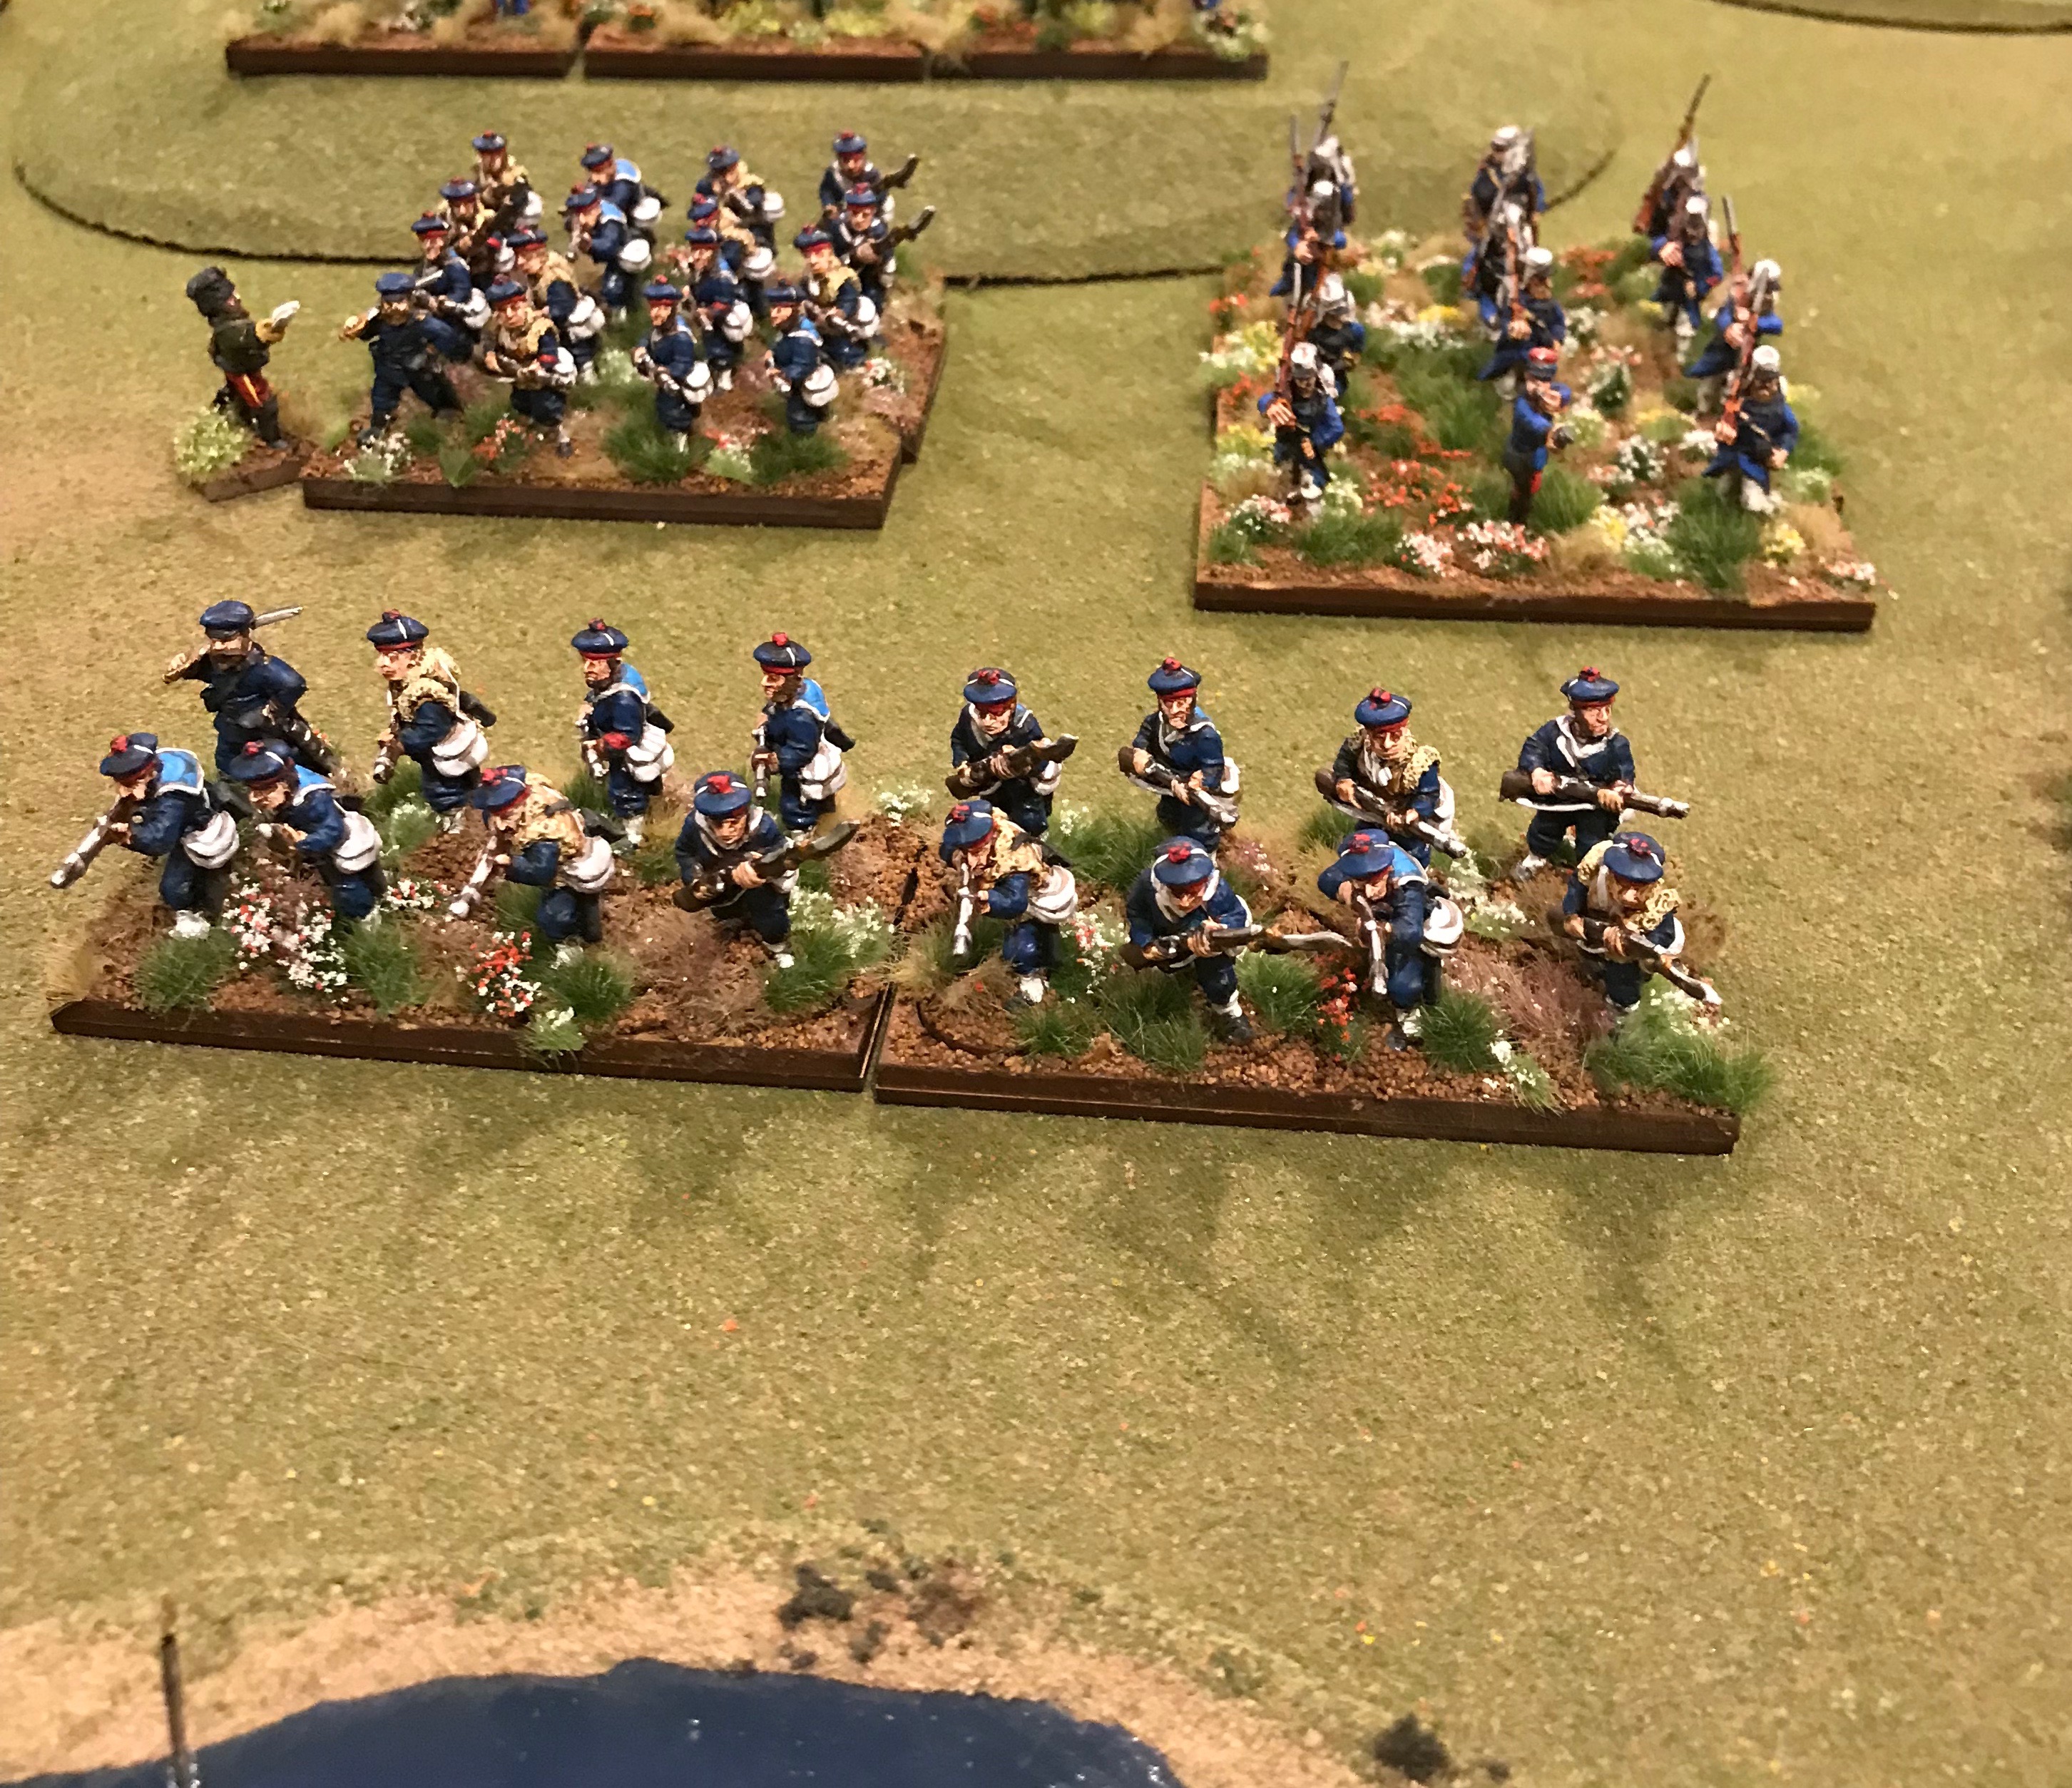
13th Light dragoons. The 4th got dropped because they looked sort of boring.
I am pleased with how they came out, overall.
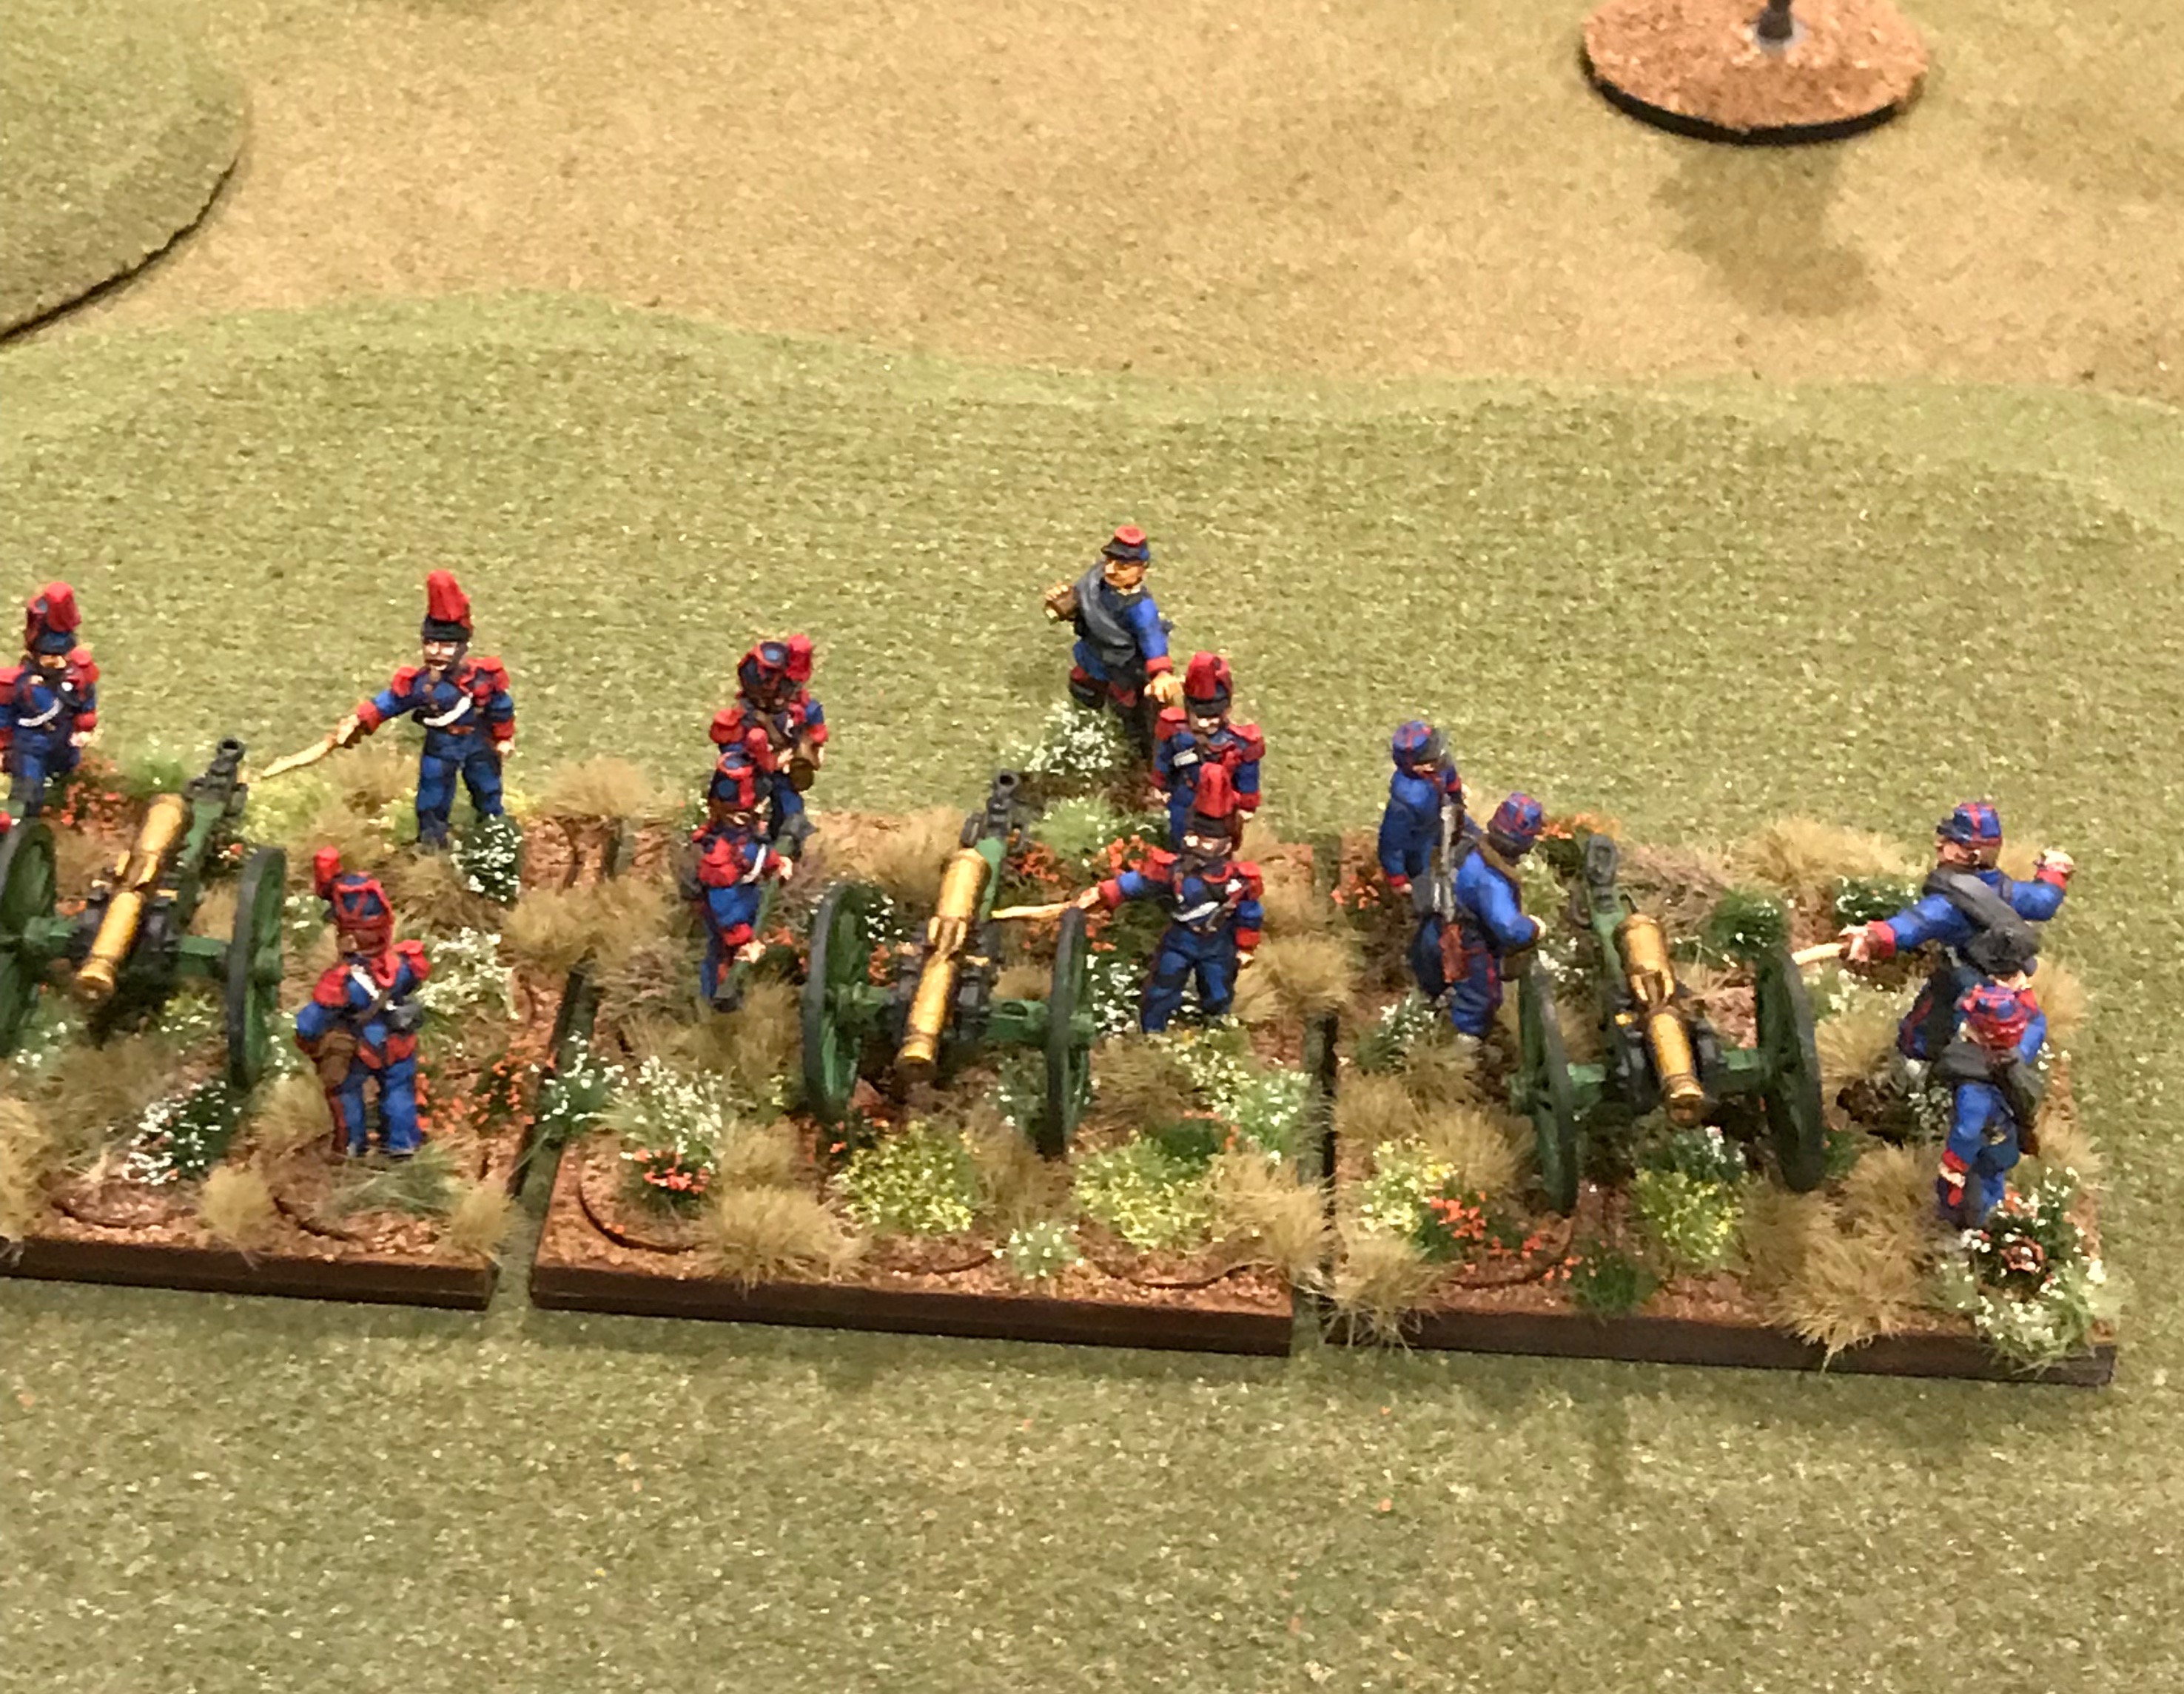
11th Hussars and the rocket scientists in charge
However it might be some considerable time before I paint any more horses……
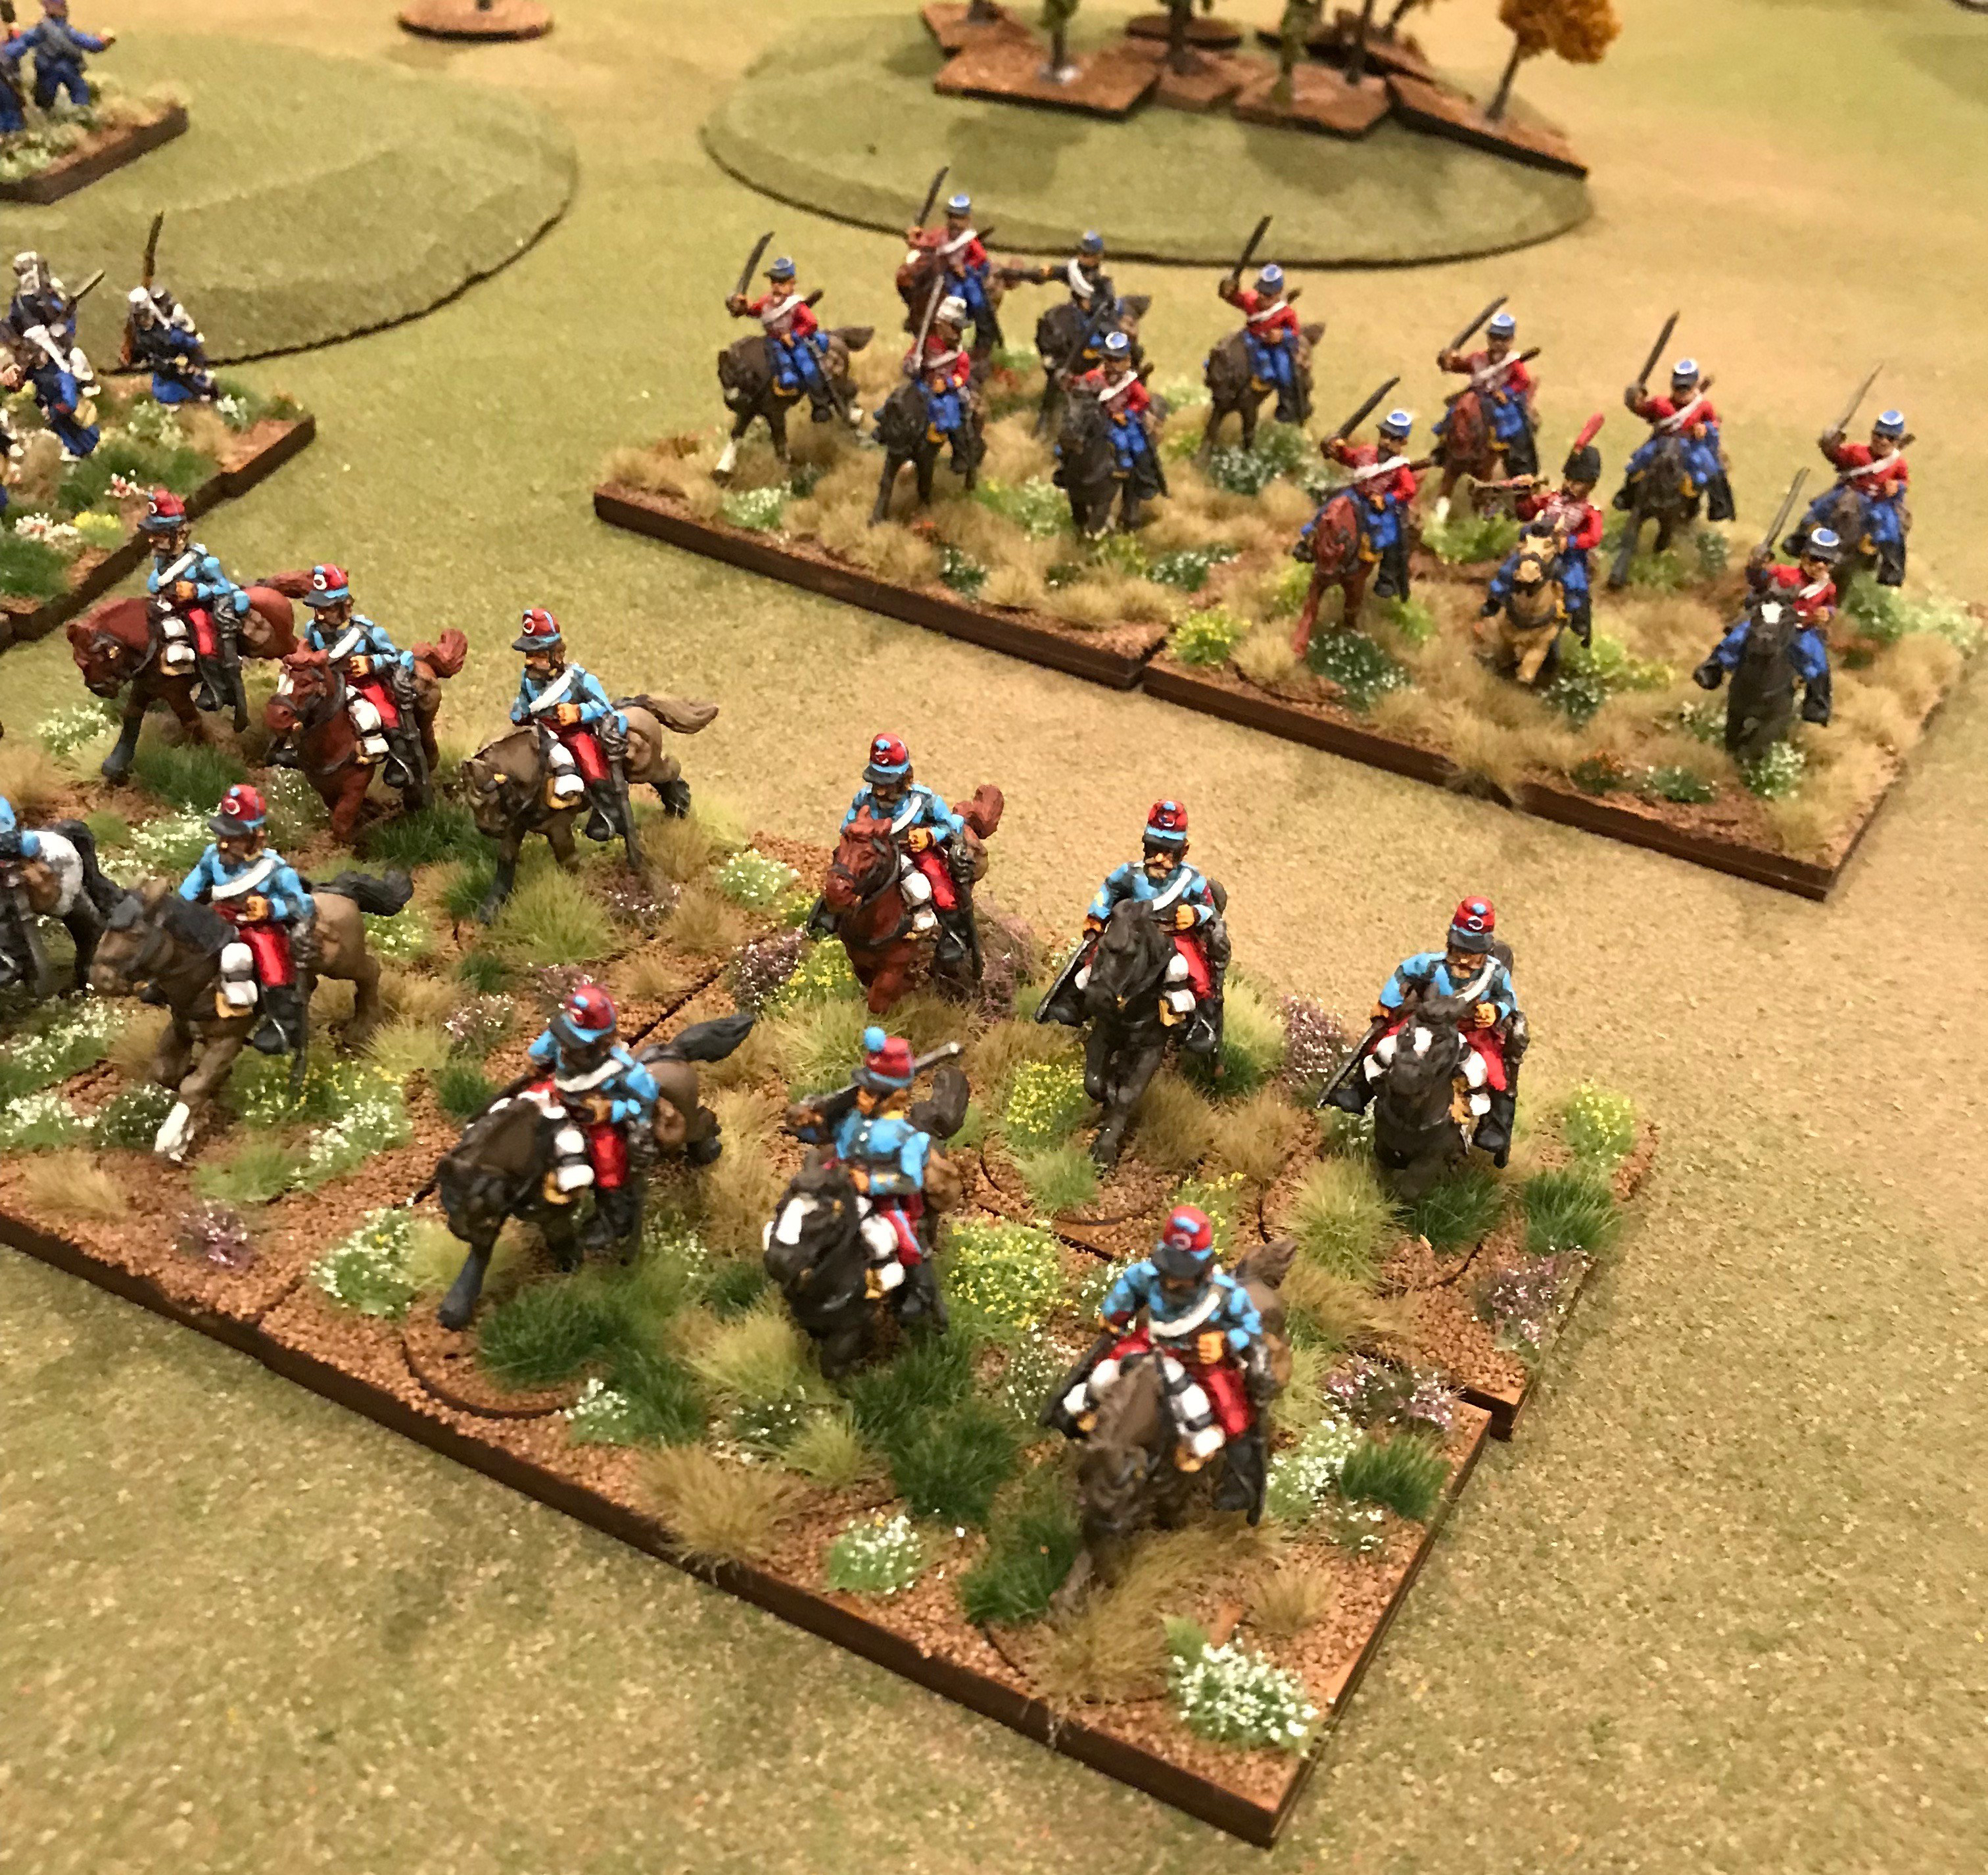
8th Hussars and 17th Lancers. The bloke at the back is the regimental butcher. Don’t ask
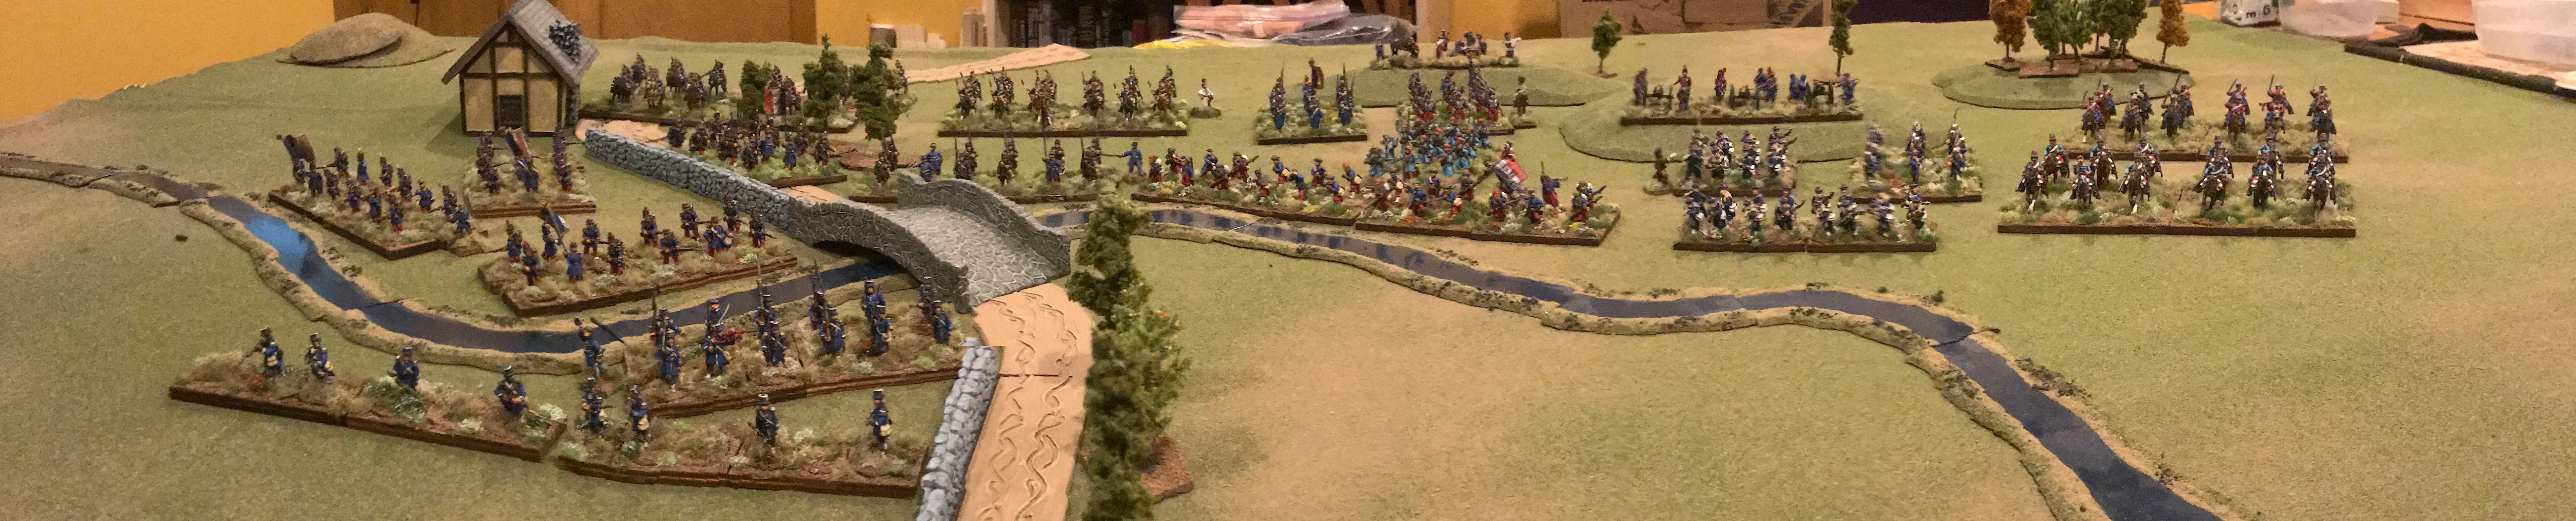
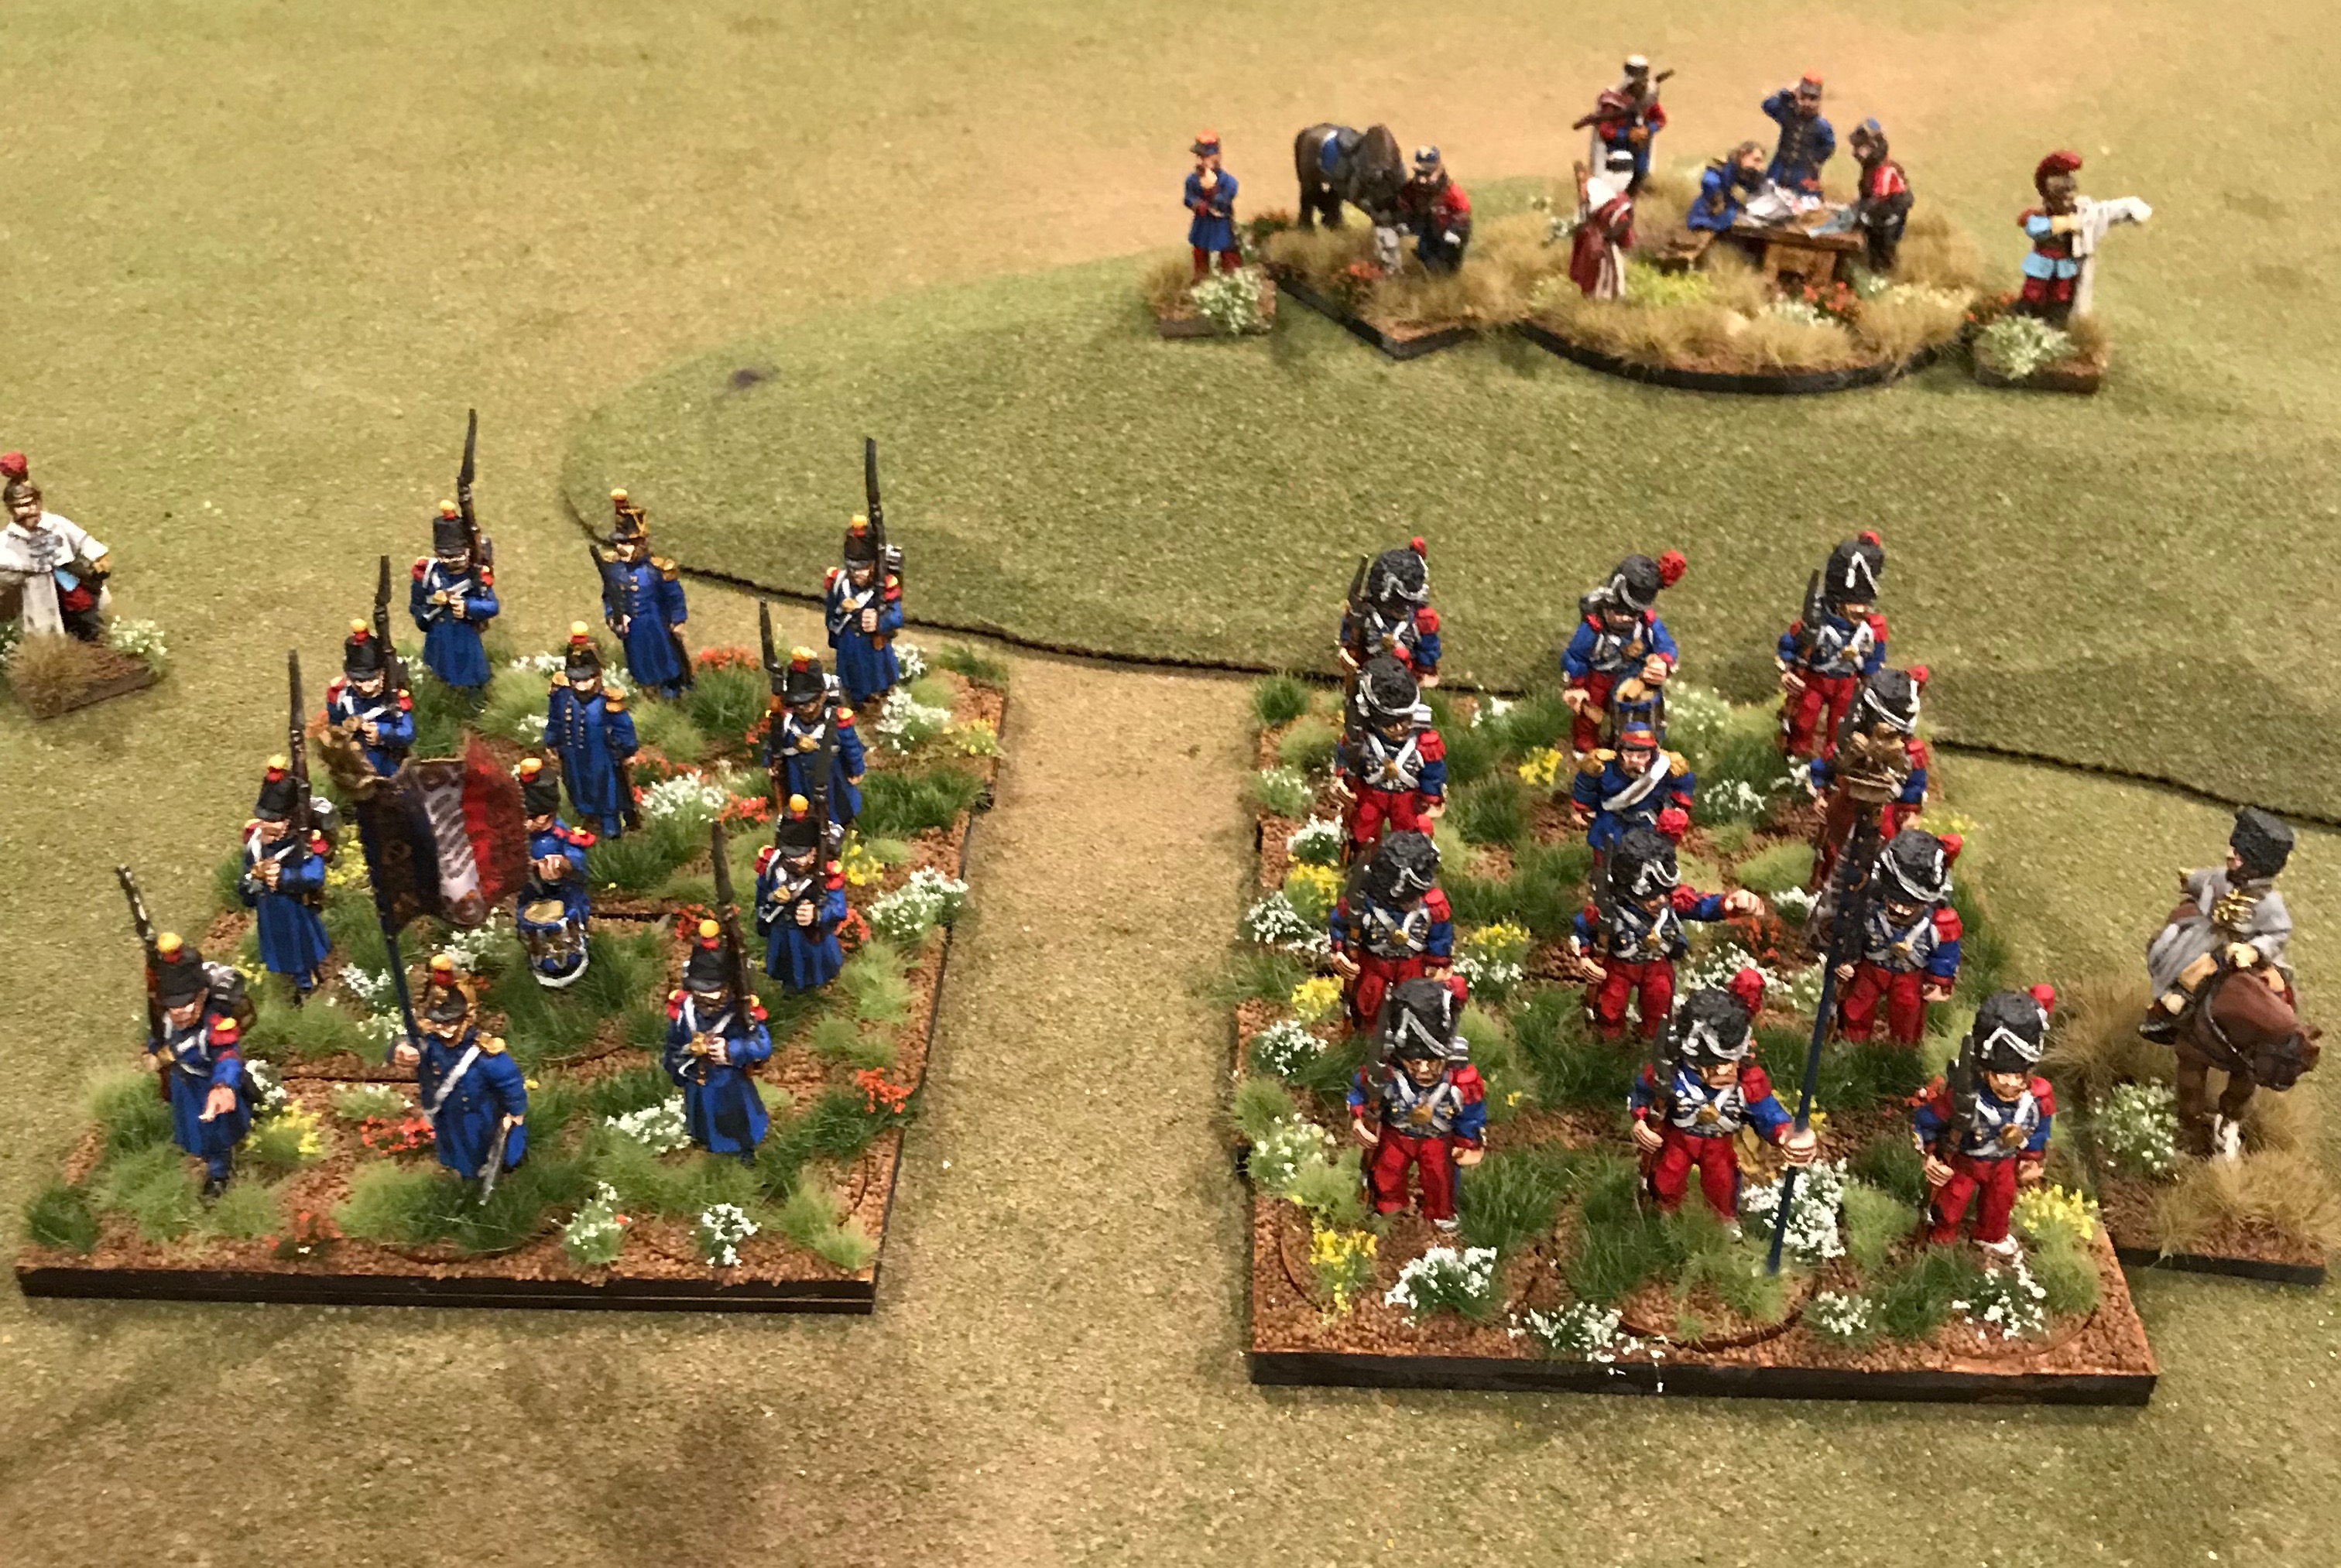
It has been a quiet year for gaming, unsurprisingly. In celebration of vaccinations and the ability to actually interact with other people, I put on the Alma scenario from Neil Thomas’s 19th century war-games rules. No optional rules were used. The game was enjoyed by all, though it turned out to be rather briefer than I expected.
The British line awaits ordersThe Russian position, looking across from the Causeway battery to the Great Redoubt
The rules were as written, save that we were using 28mm figures, and so I changed the distances in the rules to be measured in inches, and the squares on the map given to be 24” each.
I fear the Rifles have watched too many episodes of Sharpe on the tellyRussian Jaegers charge the incautious RiflesPrince Menshikov is awoken by his staff for a quick update on the battle
The battle was brief because the overly aggressive British poured across the river and up the slope, rather rapidly discovering that Cannister fire is a BAD THING (to quote messers. Sellars and Yateman). I must admit I feel slight guilt about this, because I prepared quick play sheets for those involved, and I am afraid I neglected to emphasize that the British infantry outranged the Russian by double, and that thy could engage the guns from outside close (canister) range, and that the Russian infantry were more or less constrained to melee. Closing allowed the Russians to respond with energy. Mea culpa, mea culpa, mea maxima culpa.
The Great Redoubt in actionThe Black Watch appears outnumbered
In any case the British crossed the stream without softening up the Russians at all, allowing both the russian infantry to charge home and the Russian guns to fire at close range. They were driven off the slope in a welter of fallen lead.
Sailors and Artillerists man the guns. Casualty figures represent hits.Lord Raglan discusses the 3:30 at Cheltenham with his staff
We called it on turn 7. Oh well, sorry lads.
Figures are a mix of Wargames Foundry and Great War Miniatures
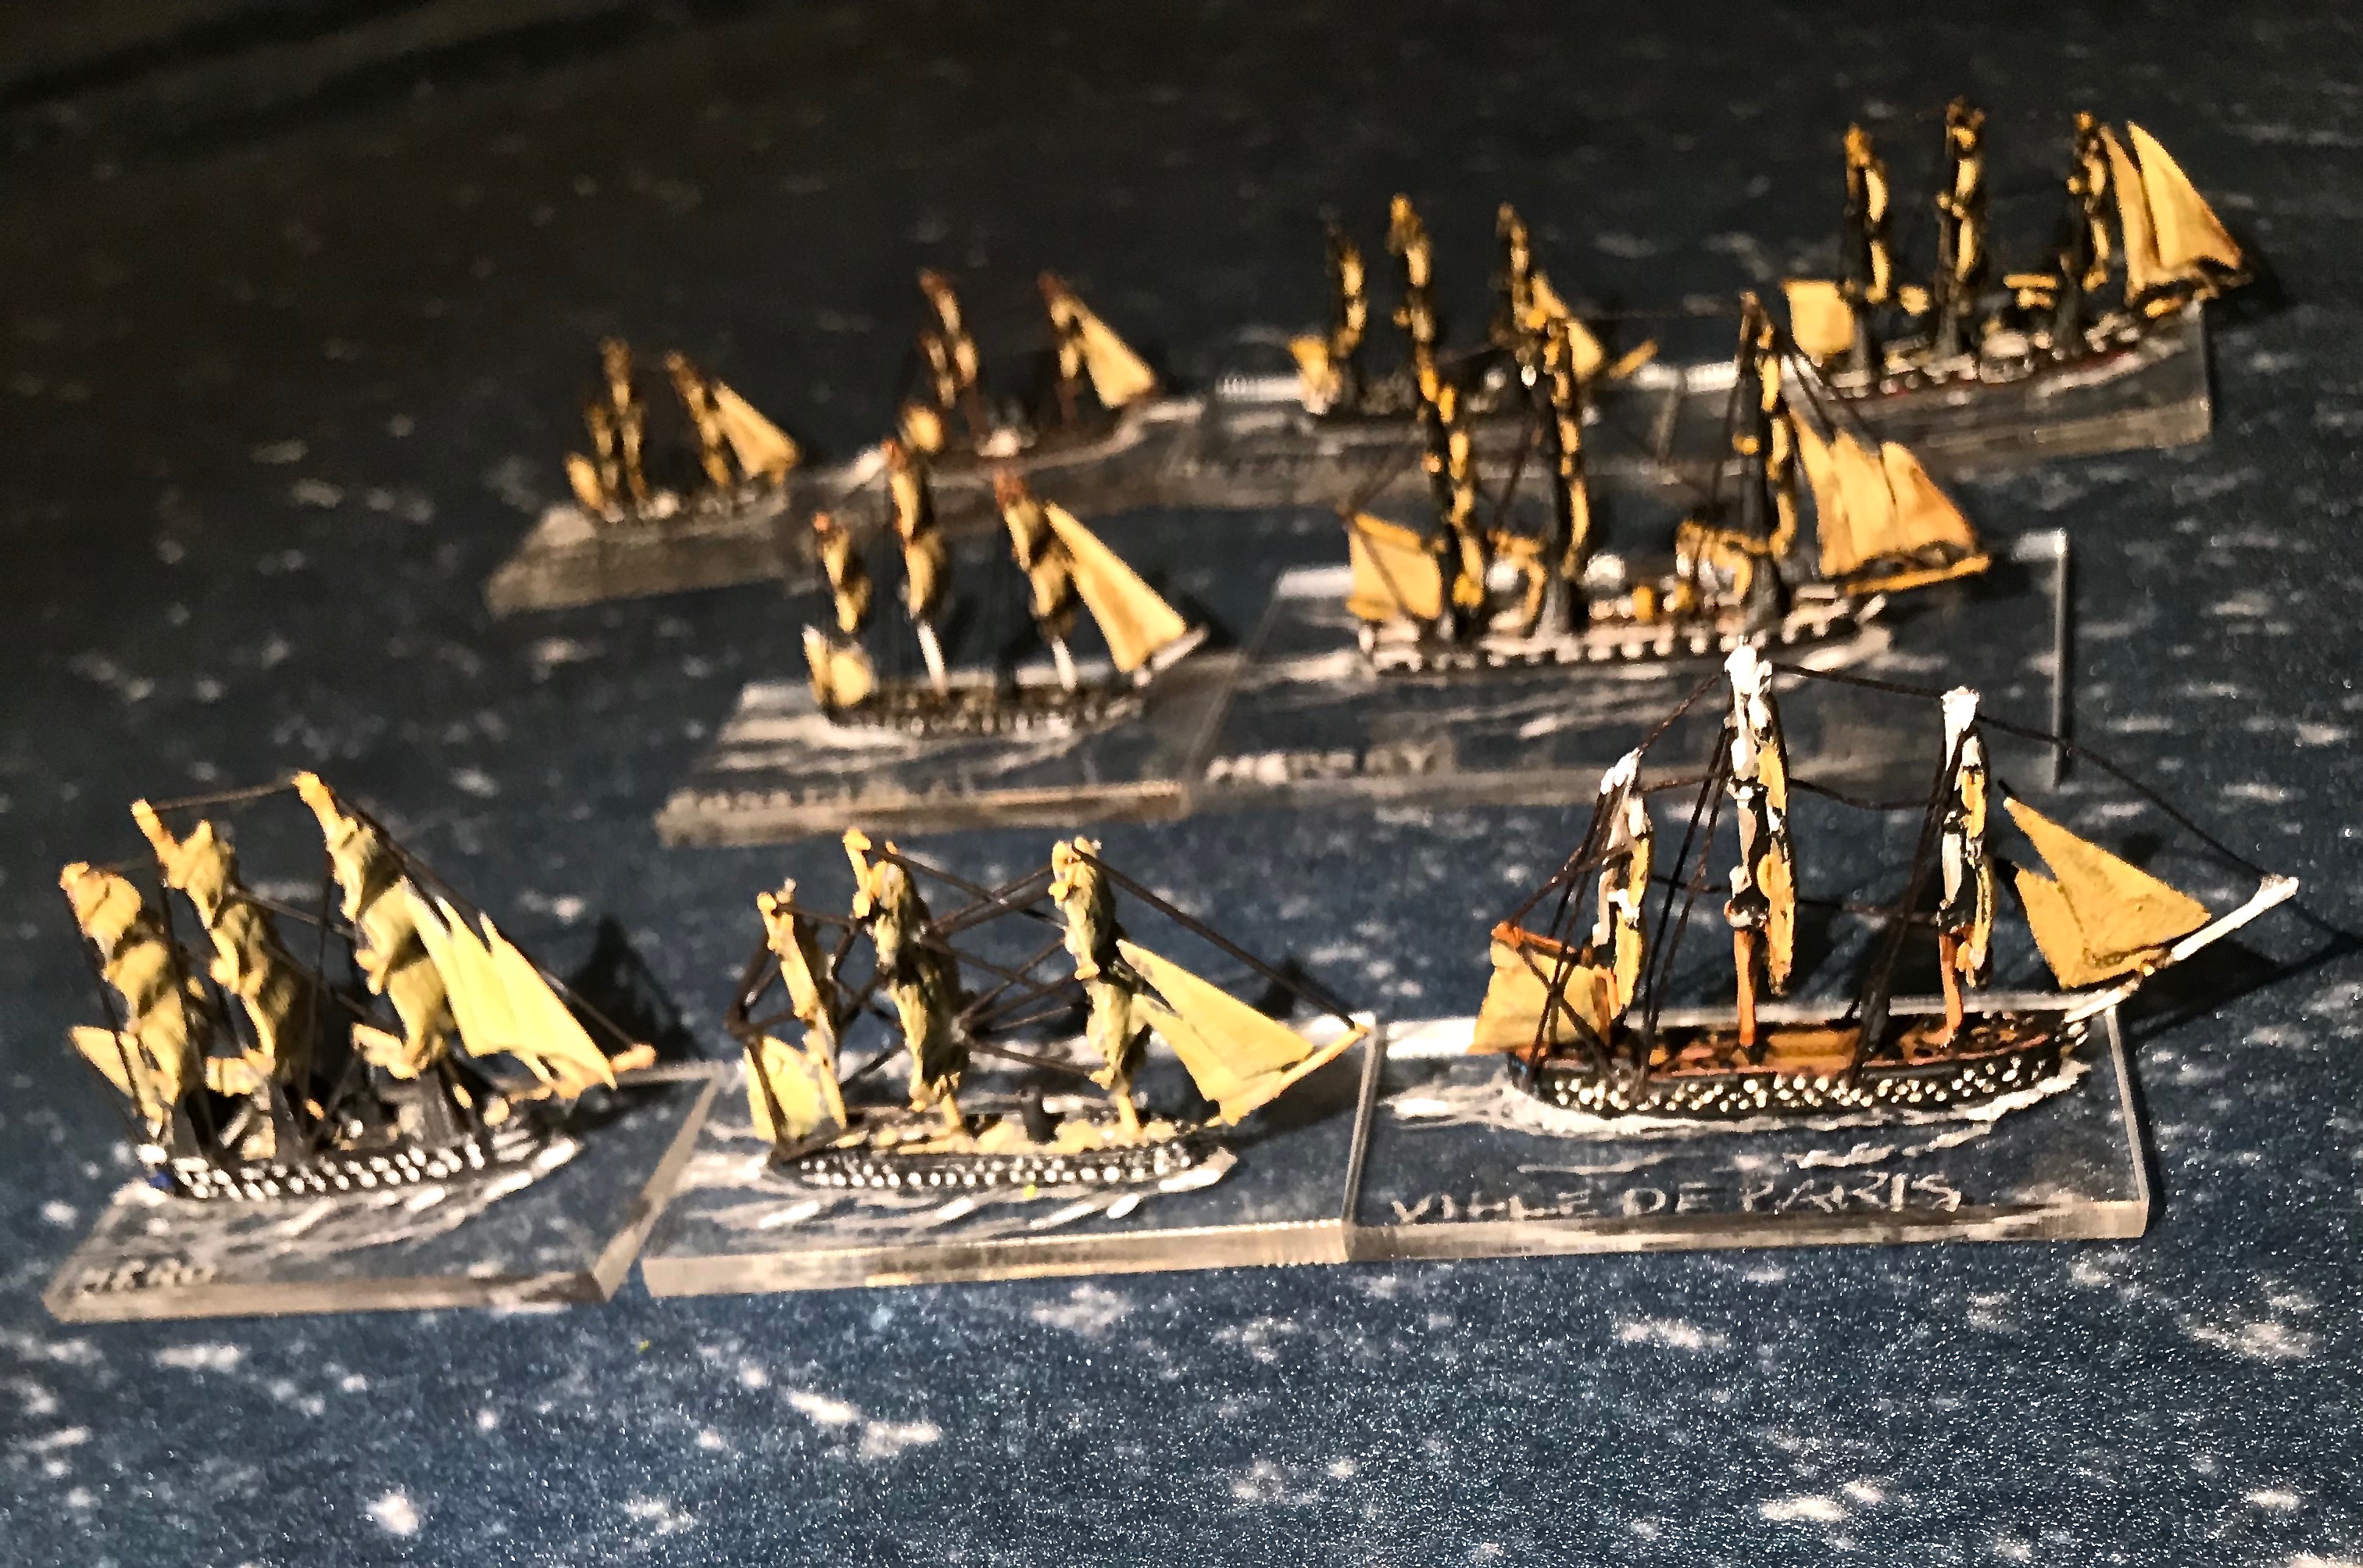
In what seems to have been an early iteration of Brexit, we staged a hypothetical naval battle set in the 1850s, using the Broadside and Ram rules. Originally this was intended to be an British vs French extravaganza, but shortage of equipment of the French side caused the inclusion of some Prussians and Austrians, turning it into a early Brexit conflagration.
The British Heavy Squadron
The British Fleet
Vice Admiral Sir Charles ffoulkes-Heatherington
Name
Type
Cruise
Max
Attack
Defense
Notes
Victoria
WS
3
4
3
3
SOL, Flag
Agamemmnon
WS
3
4
3
3
SOL
Hero
WS
3
4
3
3
SOL
Constance
WS
3
4
3
2
Steam Frigate
Mersey
WS
3
4
3
2
Steam Frigate
Phoebe
WS
3
4
3
2
Steam Frigate
Diadem
WS
2
3
3
2
Steam Frigate
Rear Admiral The Hon. Algernon Gore-Booth
Name
Type
Cruise
Max
Attack
Defense
Notes
Arrogant
WS
2
3
3
3
Corvette
Retribution
WS
2
3
2
2
Corvette
Basilisk
WS
3
4
2
2
Corvette
Hecate
WS
2
3
1
2
Sloop
Hasty
GB
2
3
1
1
Gunboat
Insolent
GB
2
3
1
1
Gunboat
City of Baltimore
SS
3
4
0
2
Armed Merchant
The French (and Allied) Fleet
Contre-Amiral Auguste Fevrier-Despointes
Name
Type
Cruise
Max
Attack
Defense
Notes
Louis XIV
WS
2
3
3
3
SOL
Ville De Paris
WS
3
4
3
3
SOL, Flag
Souveraine
WS
3
4
3
3
SOL
Impetueuse
WS
3
4
3
2
Steam Frigate
Souveraine
WS
3
4
3
2
Steam Frigate
Némésis
WS
2
3
3
2
Steam Frigate
Cormandel
SS
4
6
0
1
Dispatch Vessel
Chef de division Marie-Joseph-Camille de Saint-Jean d’Angély
Name
Type
Cruise
Max
Attack
Defense
Notes
Dupleix
WS
3
5
2
2
Corvette
Dandolo
WS
2
3
2
2
Corvette
Erzherzog Friedrich
WS
2
3
2
2
Corvette
Blitz
GB
2
3
1
1
Sloop
Cyclop
GB
2
3
1
1
Gunboat
Danzig
SS
4
6
1
2
Dispatch Vessel
Preussischer Adler
SS
4
6
1
2
Dispatch Vessel
The fleets were composed, more or less, of the ships I had available, and the values worked out from the rules. In general, I used values for ships found in the data sections. While the smaller ships I’m fairly happy with I suspect the Ships of the Line should have higher offensive value, especially the 120-130 gun ships. For instance the Kaiser (91) in the data section of the Lissa scenario has an offensive value of 4, rather than 3. I decided to leave them all at 3 for a first outing, rather than wrestle with broadside throw weights. This would be because I am lazy.
The scenario is roughly this. The British squadron has been sent to intercept a vital French supply convoy, consisting of desperately needed ormolu clocks and rare columbian mustache wax. The French and their European allies will fight to retain these treasures, without which Parisian life would not be worth living.
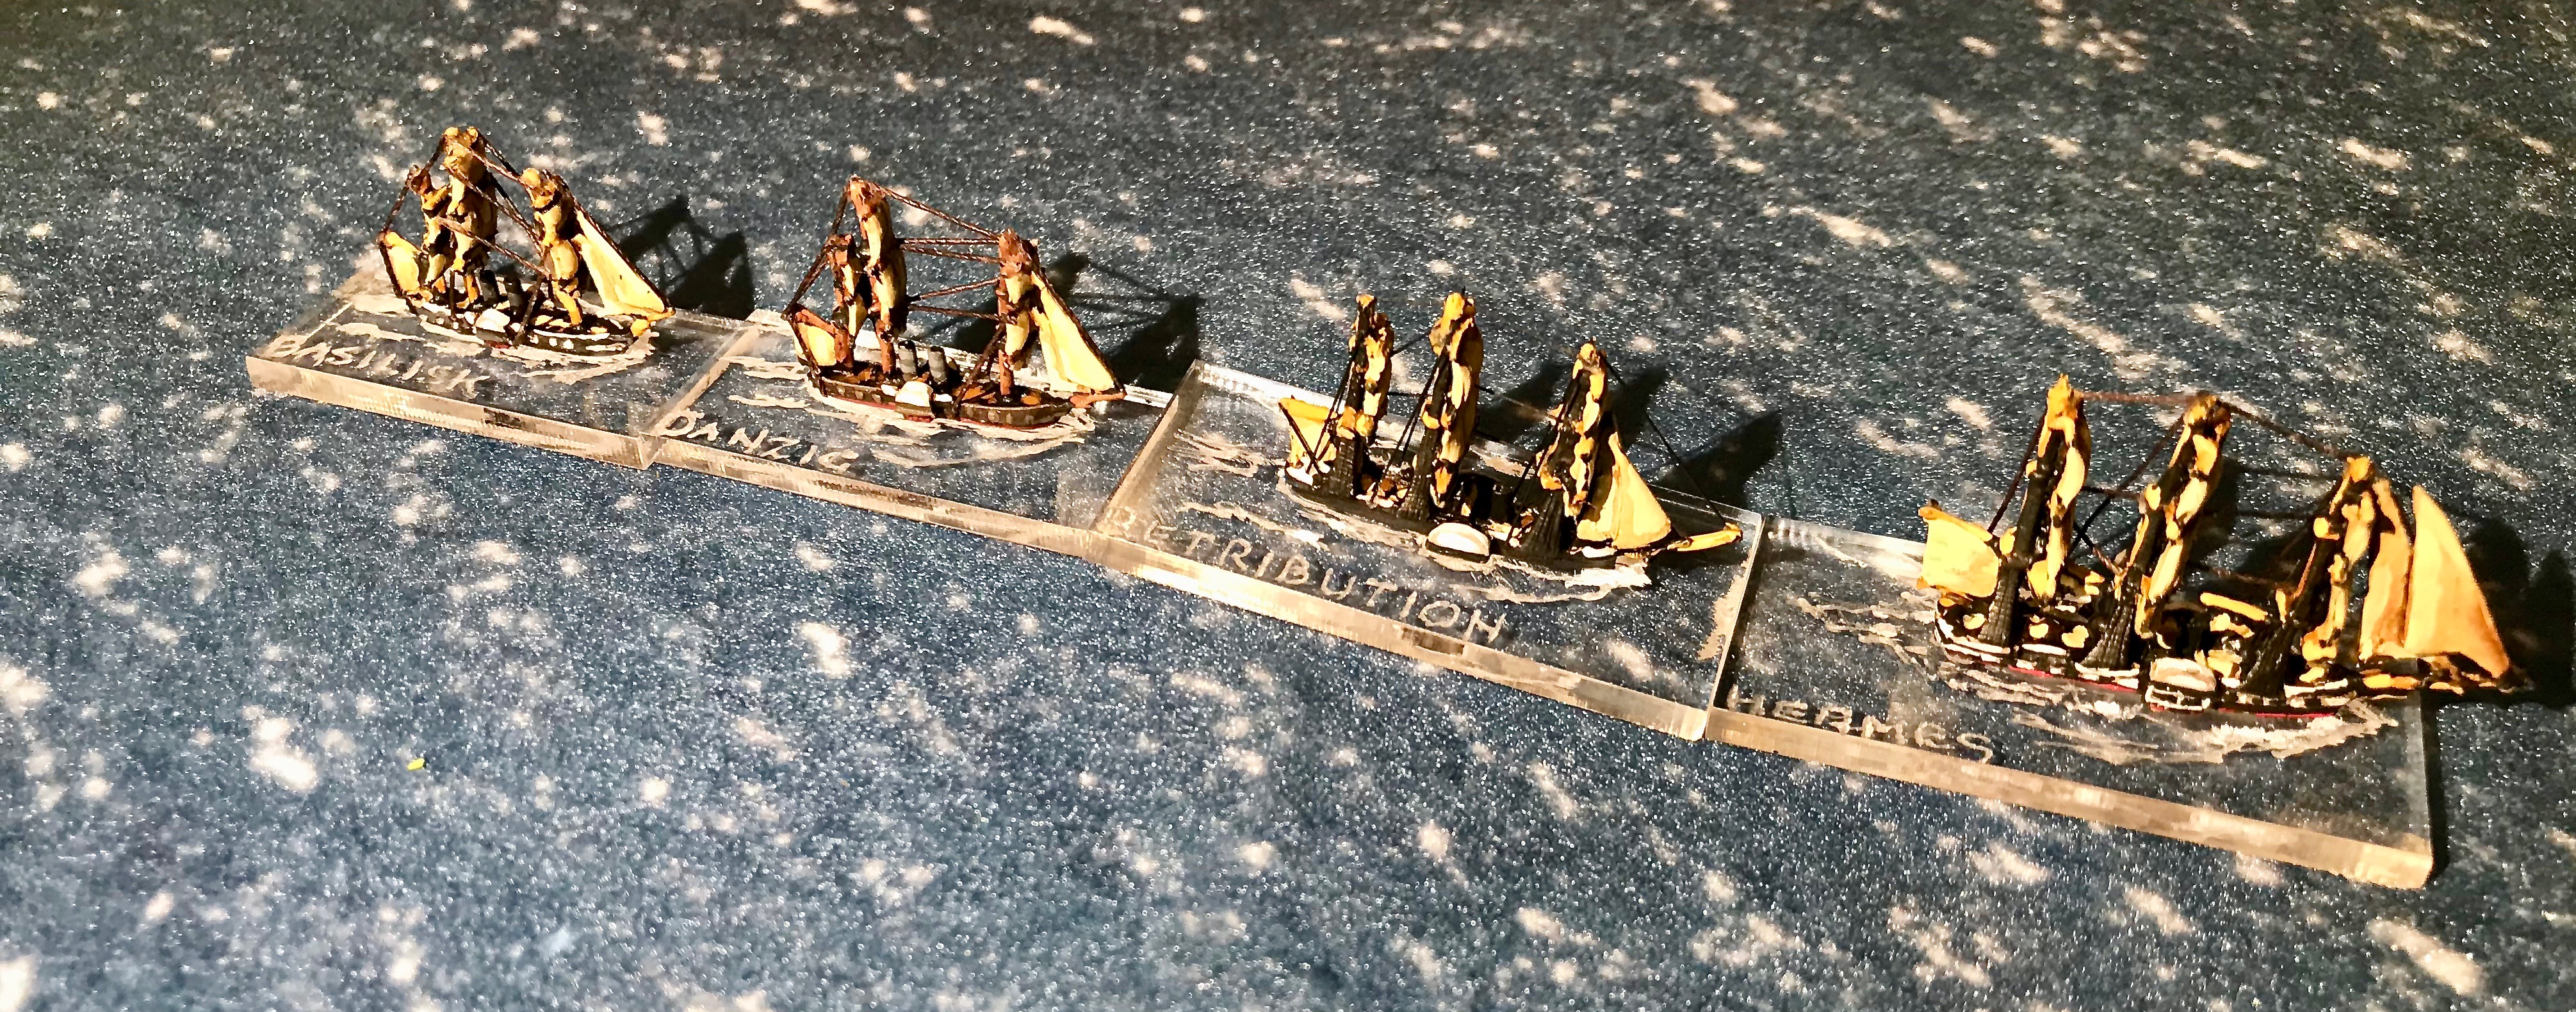
Initial deployment. The two heavy squadrons approach each other at the top of the picture, and the light squadrons at the bottom
The French won the scouting roll, as I seem to have given them too many plusses, but then I messed up the benefits for winning, so it worked out, really.
The British Light Squadron. The counters show how many Action Points a command has, and the Admirals flag shows the flagship
The two pairs of squadrons engaged their opposite numbers more or less in insolation, partially because Admiral Gore- Booth (i.e. me) lost the plot, and did not support his superior as he was told until too late.
The French approach the British line, aiming to break though
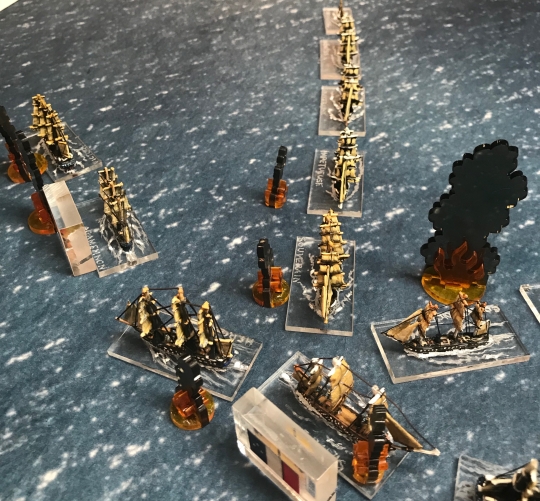
The French heavy squadron approached the British head on, attempting to break through the line, clearly having read the Trafalgar post match review.British fire caused some damage, but was not effective enough.
The French piece the British Heavy Squadrons line, damaging most of the lead ships severely
The French broke the line, collisions being avoided (we decided if no damage took place, the ships would not stop their movement), and rapidly Shattered or Crippled enough British ships that the formation fell apart. This processes was enabled by poor births command and clearly substandard damage control training. In other words, ffoulkes-Heatherington showed a marked reluctance to roll greater than a 2 on either command or combat dice, resulting in the rapid destruction of his squadron.
The light squadrons engaged as well. The French detached two faster ships for an end run.
The two Prussian ships, finding the French advance too sedate for their liking, break away to approach the British
However the dices that had deserted the senior British admiral had scurried over to join the junior, and the French squadron found itself in difficulties.
The initial engagement between the light squadrons. The French are already suffering
Things only got worse for the French, though they had some success, Saint-Jean d’Angély’s squadron was reduced to wrecks, though managing to set a fire on the British second in line with almost their final shots.
The French light squadron has been doubled and is in difficulties, with two ships shattered, and more crippled. However, HMS Retribution is on fire! I don’t recall if we put that out or not…. The sinking wrecks of the other British squadron can be seen in the background
At this stage ffoulkes-Heatherington ordered a general withdrawal, gently reminding Gore-Booth of his ignored orders (oops again) , and the match was called, with a French/Euro victory.
General Thoughts
The rules played well and smoothly, even allowing for the umpire messing things up (including forgetting that there was a fleet break rule in the game. Sigh). The rules were clear, and no trouble was had proceeding through turns very rapidly.
The only things I’d look at to change are increasing the gunnery values of some of the larger ships (though not necessarily the defense factors), and adding some more things to do with command points. Some of the David Manley’s other rules have a similar system, but some additional things to spend action points on, and I think I shall adopt them in here, if only to provide variety.
I suspect also that I will not allow ships not in formation to provide supporting fire. This may be in the rules, but I couldn’t find it…
All in all a fun time, and we shall have another go sometime.
I finally painted enough stuff to have a go at Neil Thomas’s 19th century rules. I’ve been looking forward to this for a while (what can I say, I’m a slow painter).
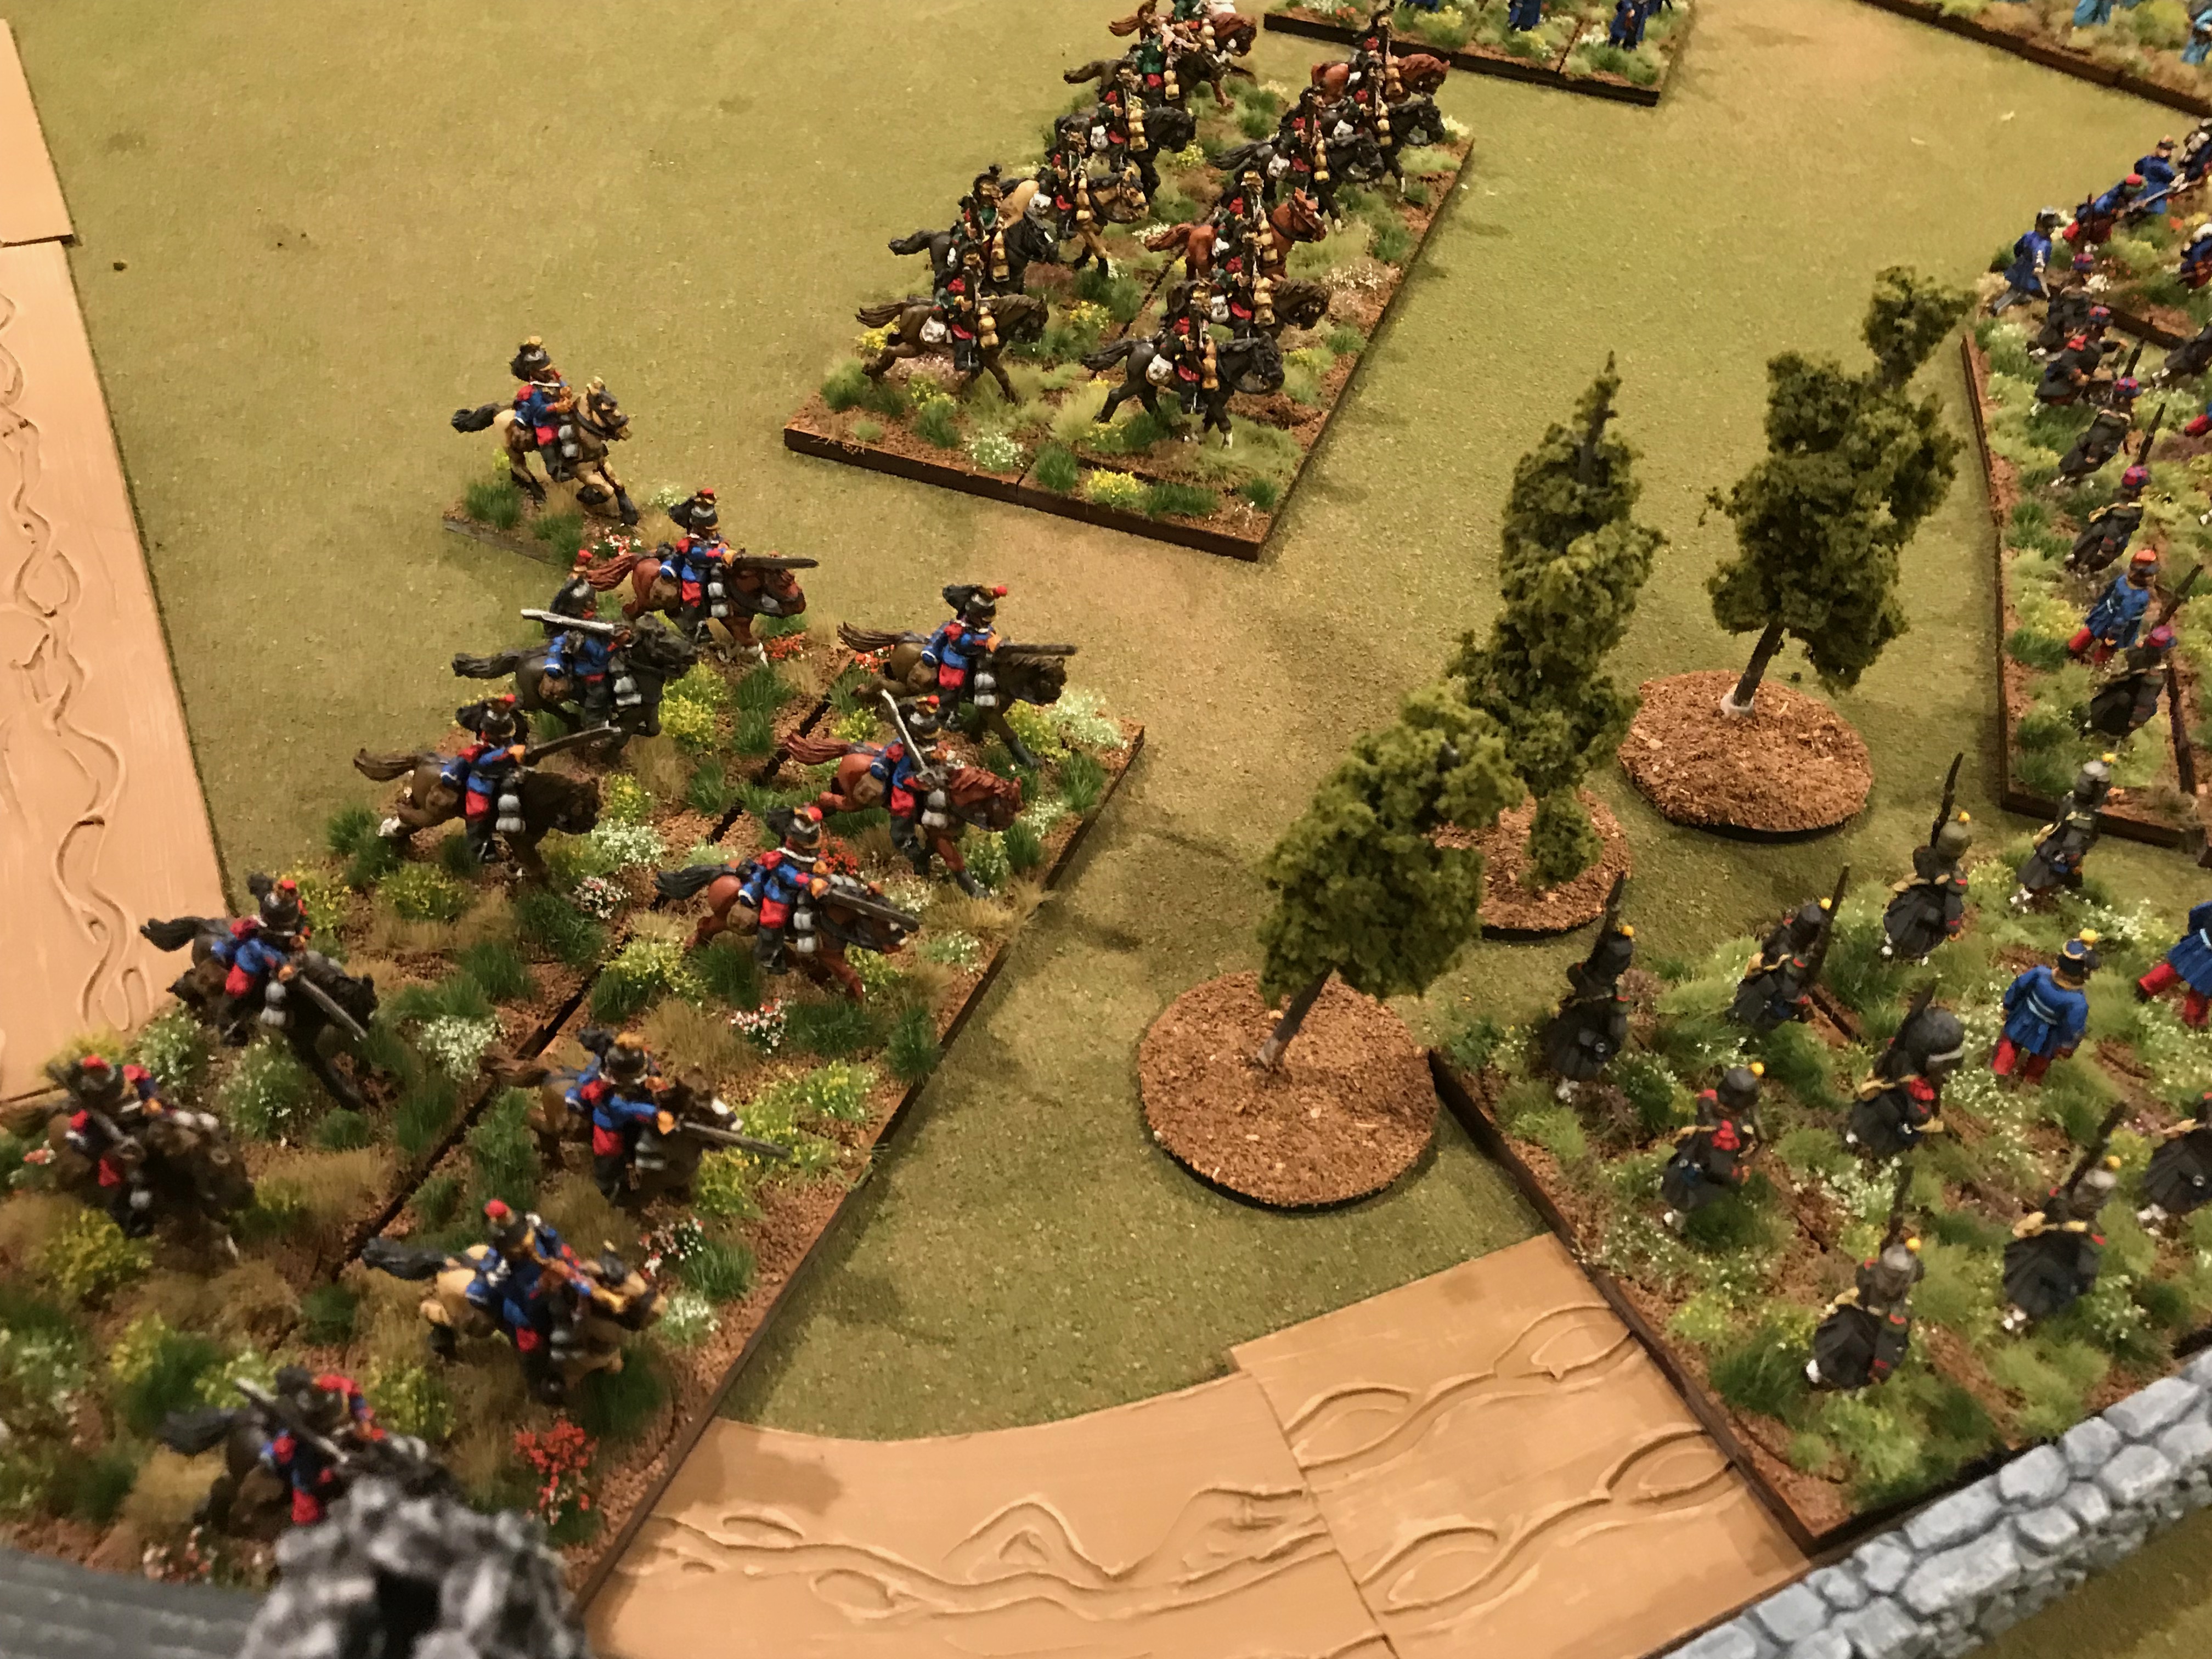
The Russians prepare to advance
We used the scenario setup as in the rules, and ended up with the Pitched Battle scenario. The attacking French sent their 3 cavalry units on a flank march, and the Defending Russians (me) had a forward deployment, allowing the two cossack units to deploy well up the board. this proved to be a terrible mistake as the French shot them to pieces with their fancy rifled muskets.
The French line awaits the Russian advance
As a side note, I have doubled the moves and ranges more or less, because I have based things on very large bases.
The French flank march arrives
Hindered by their truly appalling command status, the Russians lumbered toward the French getting shot to pieces in the process. I was fairly sure it was a doomed outing, but the remnants of one infantry unit managed to stagger into the objective village on the left, and the grossly surprised 22nd Lancers managed to drive off a flank attack from the French hussars, then drive them from field, shortly afterward seeing the remnants of the Chasseurs d’Afrique off too. The Chasseurs had a previous close encounter with canister while charging a battery, and were regretting their enthusiasm by the time they met the lancers.
22nd Lancers charged in the flank! Doomed!
It was to be a flash in the pan, all the same. The flank marching French cavalry took the two batteries that had softened up the French in the objective village, though took severe casualties. The Russian remnants in the village were shot out of it, and the village reoccupied by the French.
The Chasseurs d’Afrique discover that charging guns can be a phyrric victory
Having seen off the hussars, the 22nd lancers face off with the Chasseurs d’Afrique. A few Russians in the village in the background face their doom.
The despairing Russian charges on the Russian right drove from the field two french units, but the scant remnants of the french musketry were insufficient to drive the French from either of their remaining objectives.
We called it at that stage, not wanting to continue farther. All in all we enjoyed the game, and are looking forward to having another go.
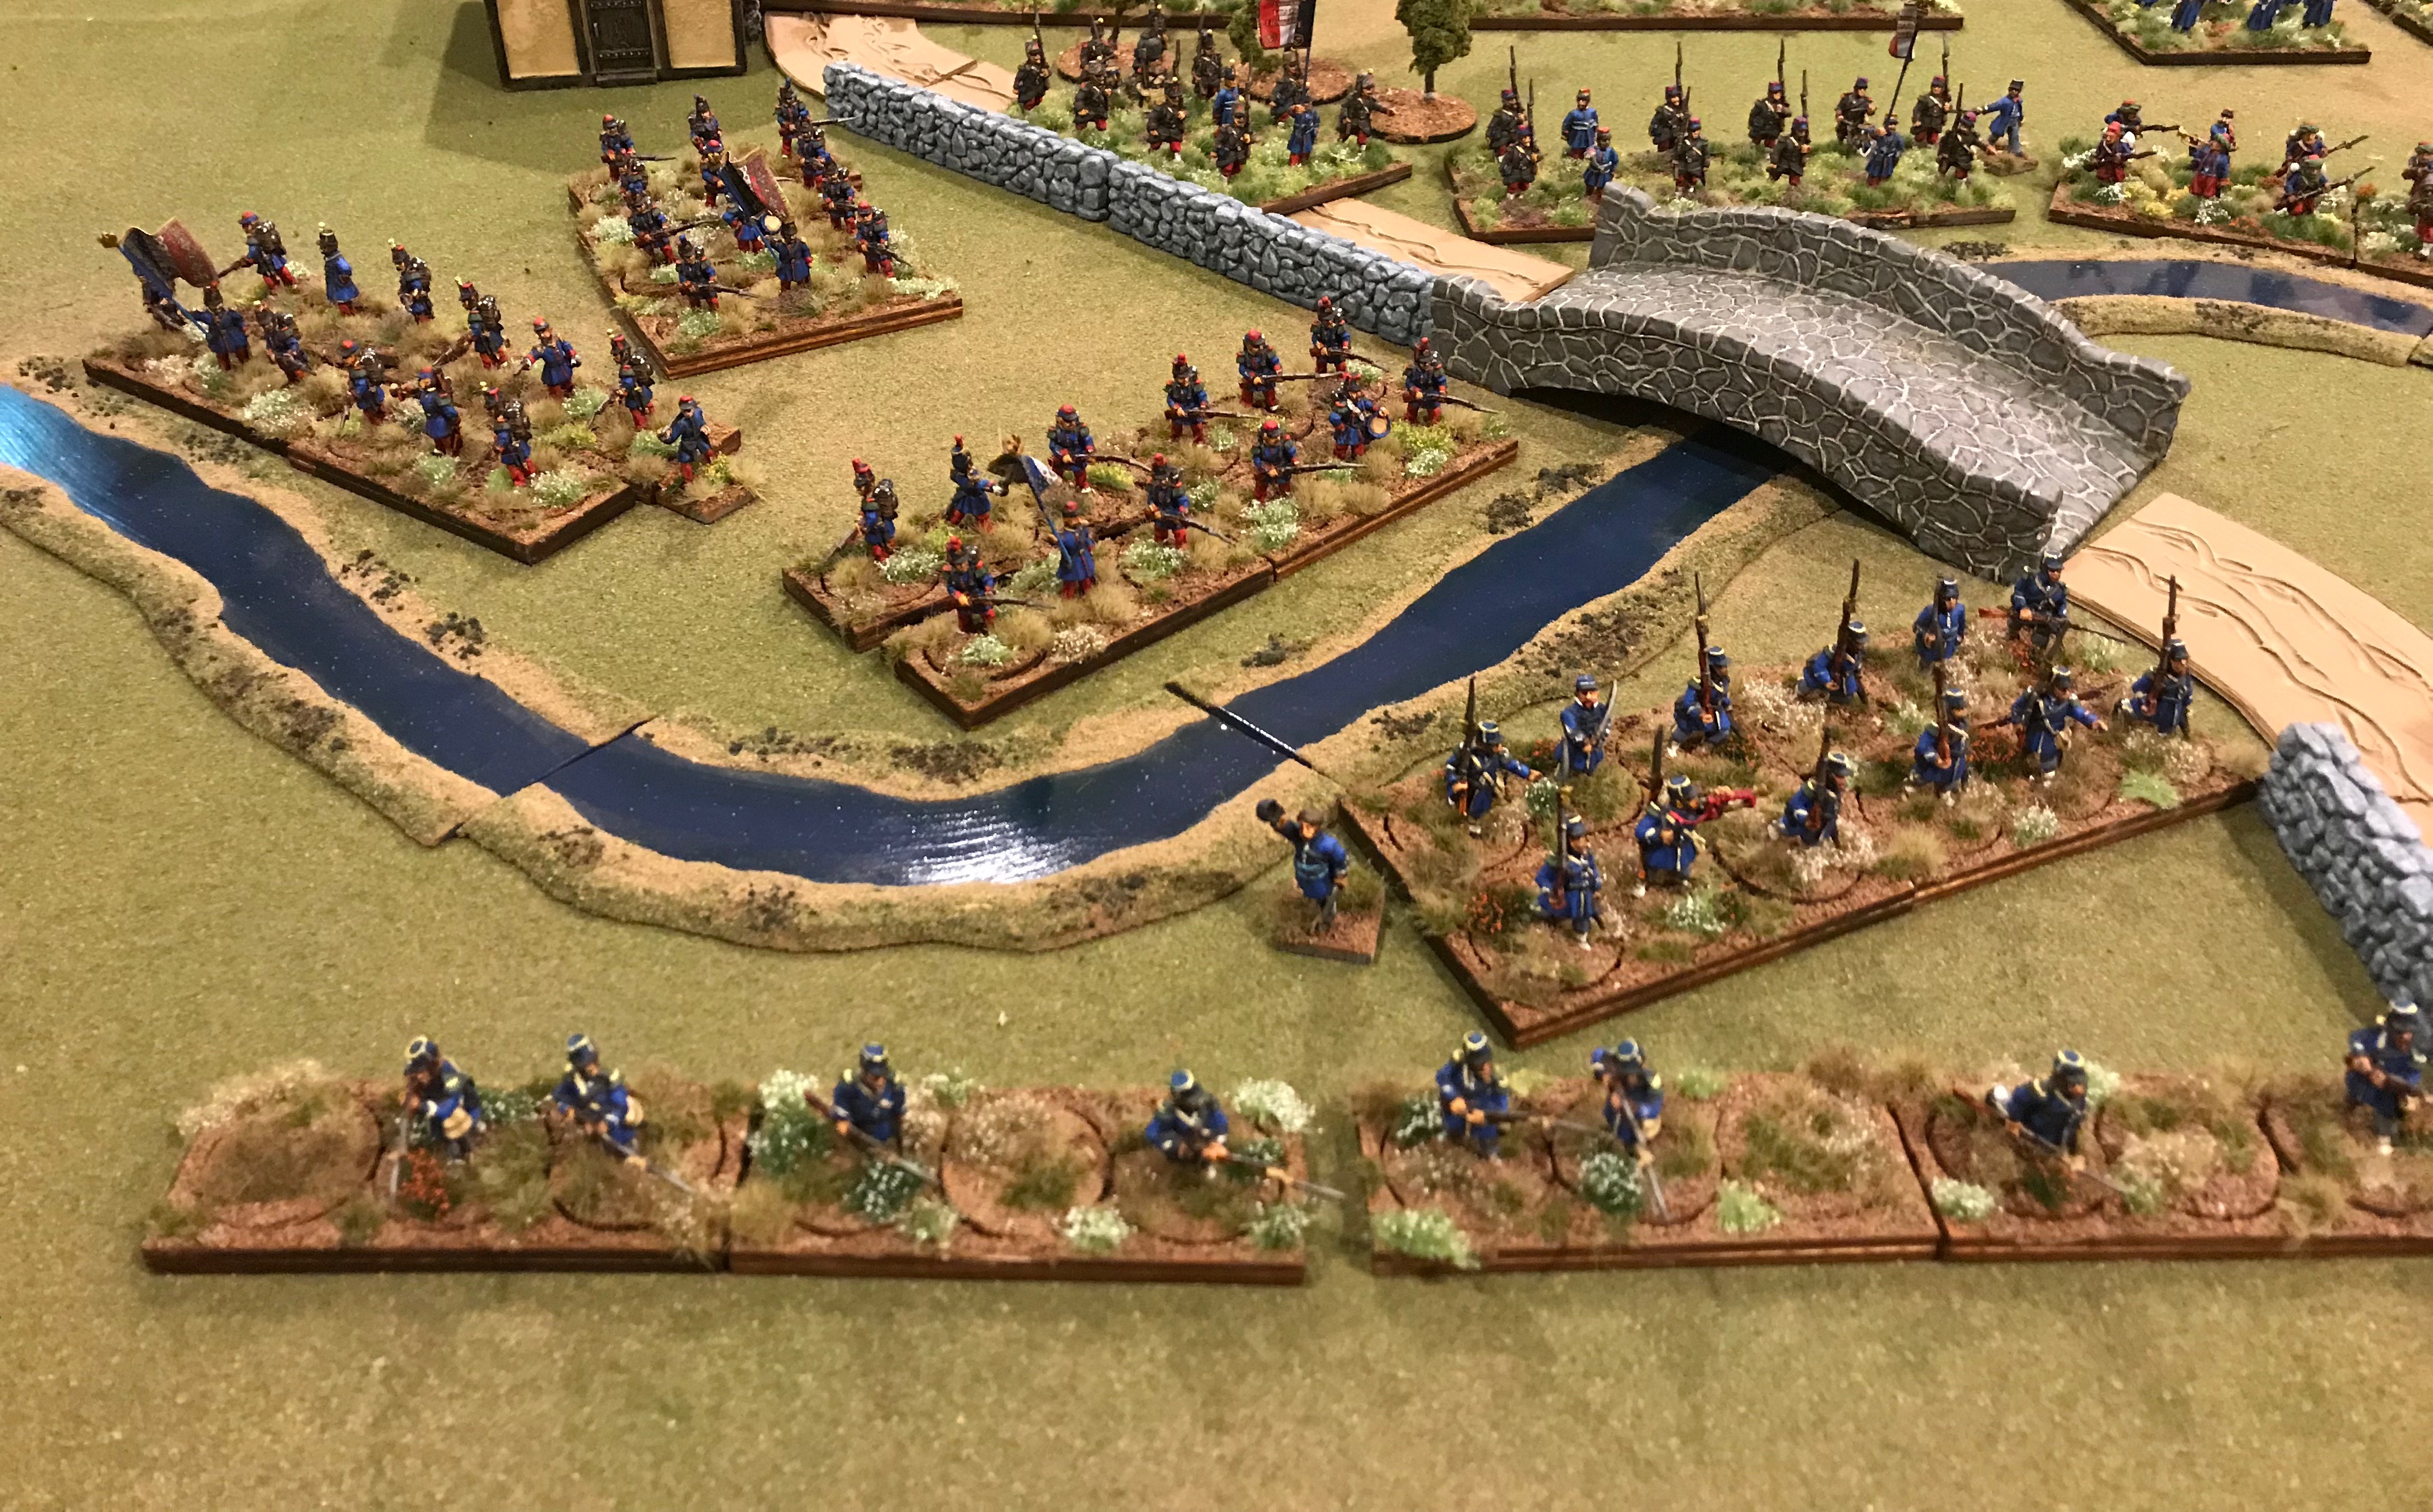
I have been interested in the Crimean war for a long time, but never really got motivated to do anything about it. Having discovered some time, and no motivation to address anything else, I have started to build some armies to game it, using Neil Thomas’ 19th century war-games rules.
The army poses for one of those new fangled Daguerreotypes
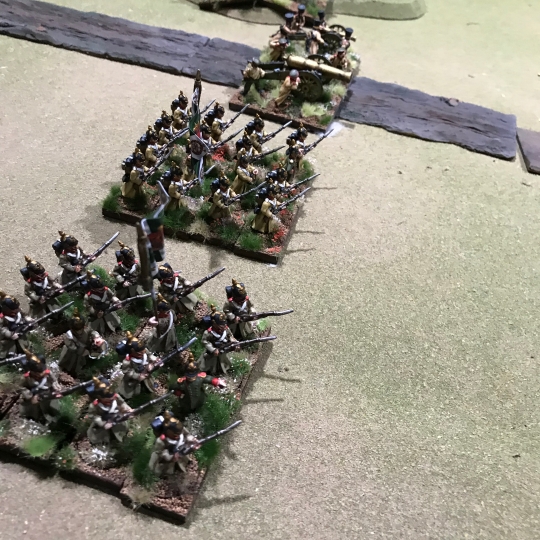
I have finished the French (for the moment), having already gone a little over the top. I started with them because I think they get short shrift in the Anglo Centric histories, and rather a lot of them showed up to the ball.
The Cavalerie Légère minds the open flank. Chasseurs d’Afrique supported by Les Hussards
The individual figures in the photos are to be used as markers, showing that the unit has received orders. I’ve come to dislike counters or tokens on the table.
La Armée d’Afrique waits by the stream also. Zouaves in front, Turcos behind
Some of the individual figures came from other manufacturers. I think the Sipahi is Askari, for instance.
La Garde Impériale in reserve. Voltigeurs and Grenadiers. I know the Grenadiers should have blue trousers for Crimea, but Le Pantalon Rouge, C’est La France! Besides, I can use them for 1859.
And my little army has too much Guard. But they are so handsome.
The Cuirassiers and Dragoons wait to exploit their chance
I did try and use the Orders of battle I could find, so that the units I painted were there. The Dragoons and Cuirassier regiments were both present.
La Ligne. Lots of vin rouge très ordinaire here. The Chasseurs have crossed the stream, the rest of the infantry waits
I’m going to have to fiddle with the ranges and movement rates in the rules. My bases are rather large, with removable individual figures, so they can be used for other games.
Maréchal Saint-Arnaud and his staff consider a particularly knotty problem
That’s the lot then. Somewhat more than I needed, but fun to paint.
Despite appearances, I’ve still been painting things, and gaming. I just haven’t been writing about it that much. Probably because there was nothing much worthy of photography.
Some 1/2400 ships from Figurehead and Tumbling Dice.
I’ve painted something new, though, and thought I might share. I’ve become interested in mid-19th century games, and I found two companies producing small scale naval miniatures for the period (Figurehead and Tumbling Dice). For the moment, I’m sticking with wooden ships. I may do something with ironclads later, but my current interest is around the time of Crimea, so wooden ships it is. I was just pleased to find someone making the things.
The ships are in 1/2400, which is fairly challenging for me, so I regard this bunch as test pieces. I can only hope they’ll improve as we go along. Also, the manufacturers pieces are different, with Figurehead’s stuff looking smaller and frailer, and Tumbling Dice models having the ratlines moulded on. I’m not sure which I prefer.
Steam ships of the Line. Only 3, and I managed to put Agamemnon’s name on the wrong side of the base. And the bloody photo is fuzzy too
I even attempted to rig them, in a number of different methods, hoping to find something that will be acceptably fast and not result in my fingers getting stuck together and me swearing.
Two steam screw frigates
The bases I got from Warbases and etched them with a dremel. Again, I’m hoping that practice will improve the results.
Four paddle frigates and corvettes
I chose the names and color schemes with the help of reference books and Google. Most, for the moment, ended up being British, so I’ll try and insert more foreigners later. I’m not overly concerned with nationality, I think they are going to end up being pressed into service for somewhat imaginary things.
For rules, I’m planing to use David Manley’s Broadside and Ram rules, so clearly I need more boats as this is very much a fleet set. I could certainly use his Dahlgren and Columbiad rules, but for the moment, I’m enamored with the command and control elements so I’ll keep those as a backup.